![]() |
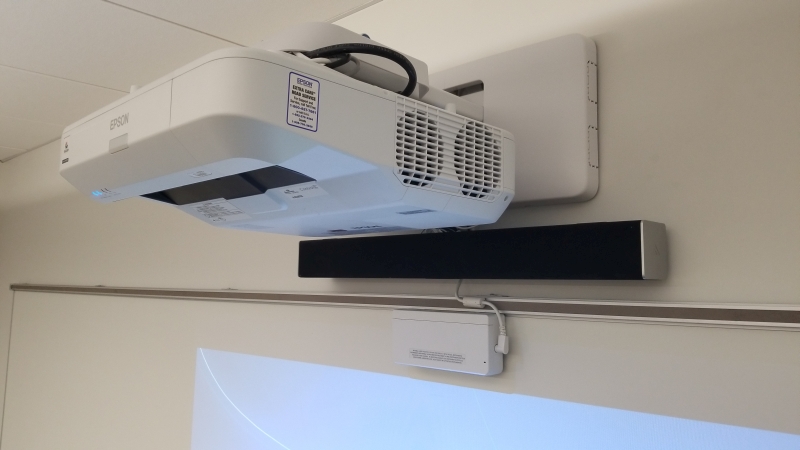
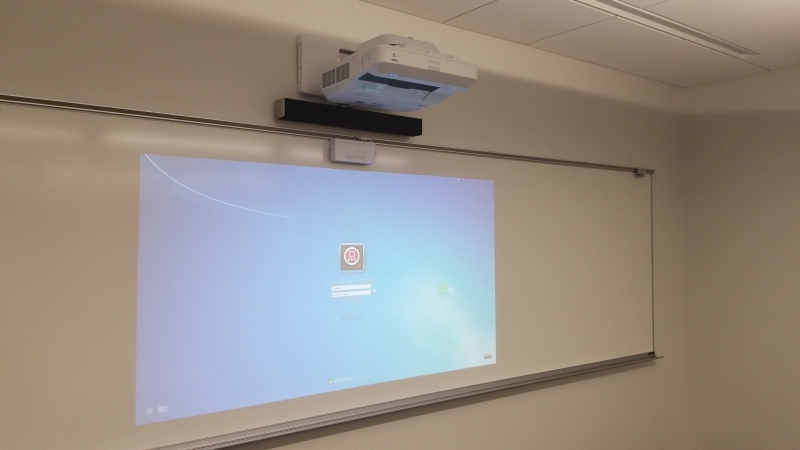
These projectors, in conjunction with a non reflective whiteboard, allow the instructor to control the computer by touching the projected image with an electronic pen. Users can also write or draw on the board, and save these annotations for reference at a later time. Follow this link for instructions on the Epson interactive feature of these projectors. For instructions on how to use Smartboard Notebook software on these projectors, see the Smartboard Instruction page.
|
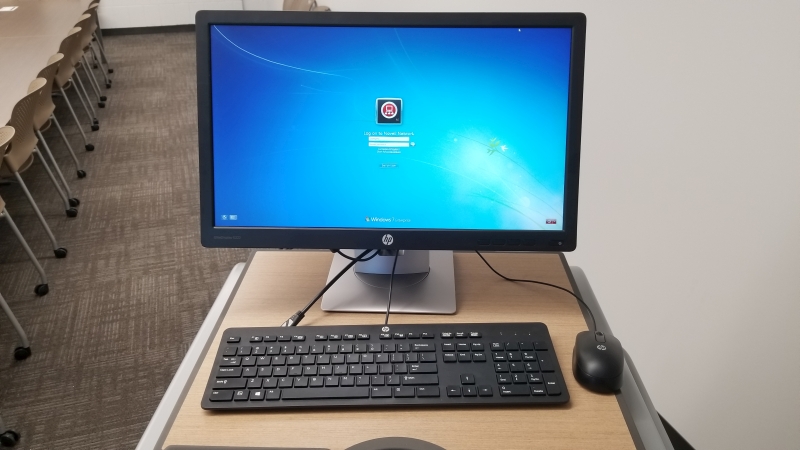
| Step 1 | Turn on and log into the computer using your college login and password. | ![]() |
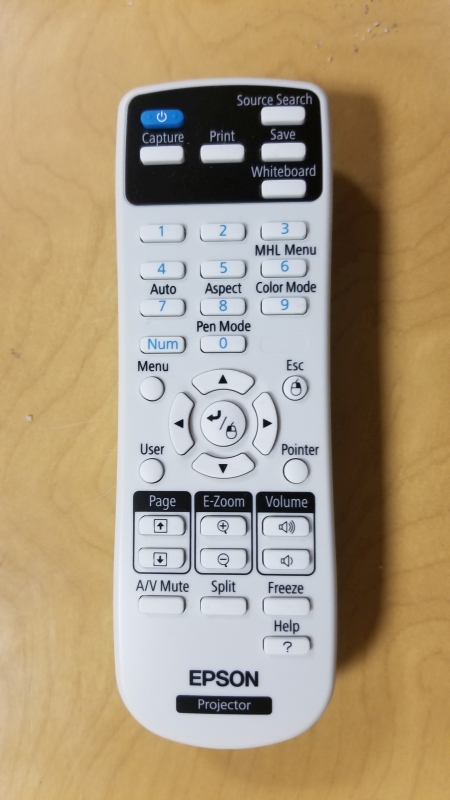
| Step 2 | Turn on the Epson projector. Press the blue "Power" button on the Epson remote control. |
![]() |
| Audio Volume Control |
||
HDMI carries the audio from the desktop or laptop computer to the projector. Then, the ceiling speakers amplifiy the audio for listening in the classroom. There are several items affecting the volume level, please check them all if adequate sound is not present. |
![]() |
|
| First | Check the volume on the computer taskbar. The volume should not be muted, and should be raised above 50 percent. | |
| Second | Check the volume on YouTube or any other program you are using. | |
| Third | Use the Epson projector remote control to adjust the projector volume. The volume buttons are located near the bottom right of the remote control. A level indicator will show up on the projection screen during volume adjustment. |
![]() |
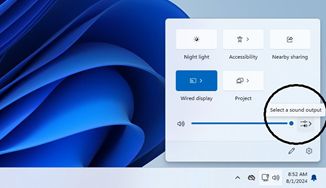
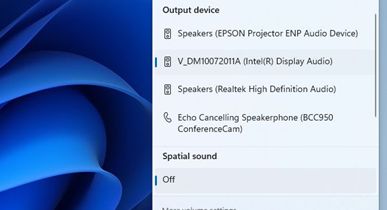
| Hint | If the audio is still not working, check the computer's playback device to ensure it is set to V_DM10072011A. To do this, left click on the speaker icon in the computer taskbar. Click on the arrow at the right of the volume indicator bar to reveal the available playback devices.
|
|
If V_DM10072011A is not shown, please reboot the computer, and the device should then be recognized and displayed as an audio option. |
||
| Connecting a Laptop Computer |
||
| It is easy to connect a laptop computer to the projection equipment in the classrooms. Turn on the projector (follow steps 1, 2 above), then continue with the steps below: |
||
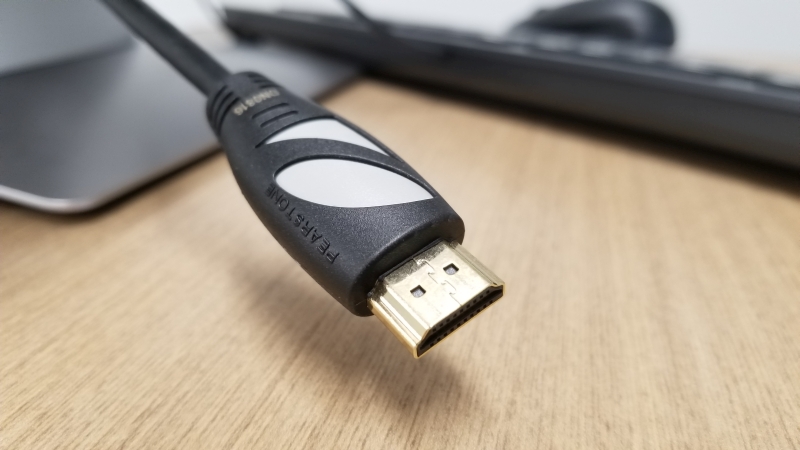
| Step A | Locate the loose HDMI cable on the top of the equipment cabinet. | ![]() |
| Step B | Plug the HDMI cable into the HDMI port on the laptop computer. Depending upon the type of computer you have, an adapter may be needed to convert the computer output to HDMI. |
|
Step C
|
The projector will automatically detect a new device, and display the laptop onto the projector. |
|
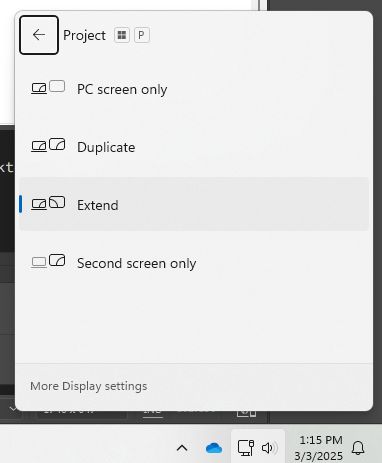
| Hint | If the laptop computer is turned on and connected properly, and steps A and B have been followed, yet the image is not seen on the data projector, use the laptop computer's display toggle feature. These steps vary from manufacturer, but generally the external display port can be turned changed by holding down the Windows key, and pressing "P" Then, select "Duplicate" from the menu that appears. For Mac computers, open the display settings and make certain "Mirror Displays" is checked. |
![]() |
| Power Down |
||
| Step a | When finished, press the blue power button on the Epson remote control, pause a second, then press it again a second time. The first press will bring up a dialog asking if you wish to turn off the projector. The second press will agree and turn off the projector. |
![]() |
| Step b | Log off the computer. Logging off will keep the computer powered up and ready for the next user to log in. | |
| Revised 07-26 Send comments about this page to Tom Gill,Audio Visual Technology Coordinator tmgill@noctrl.edu |