Using the Projector to Control the Computer |
|
| Step 1 |
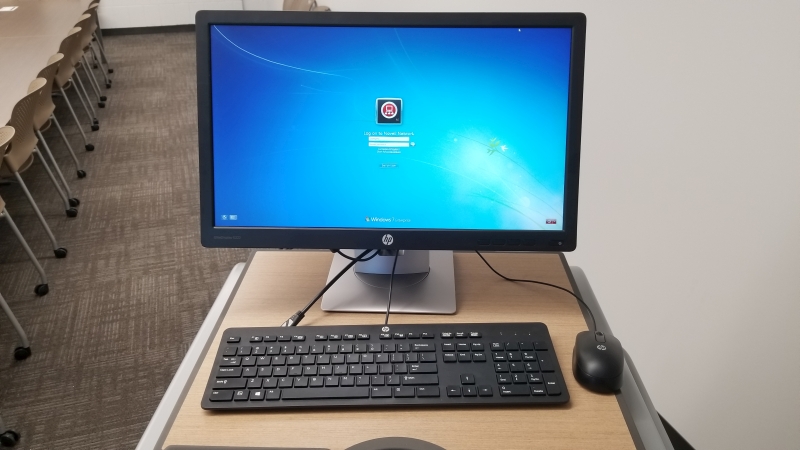
Turn on and log into the computer using your college login and password. |
 |
| Step 2 |
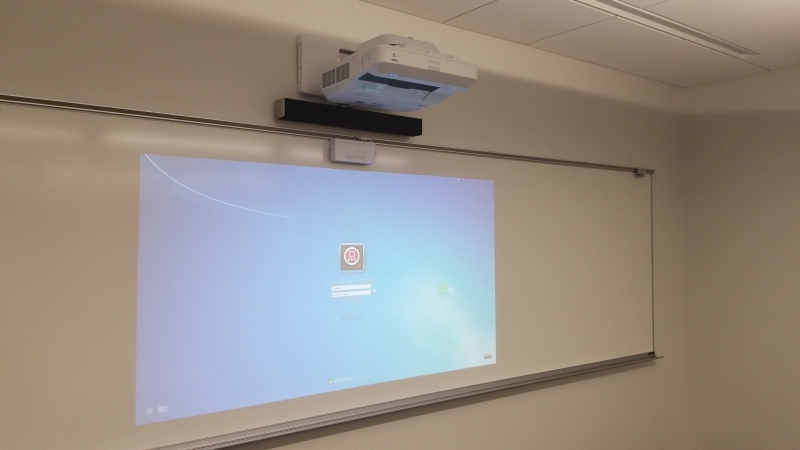
Turn on the Epson projector.
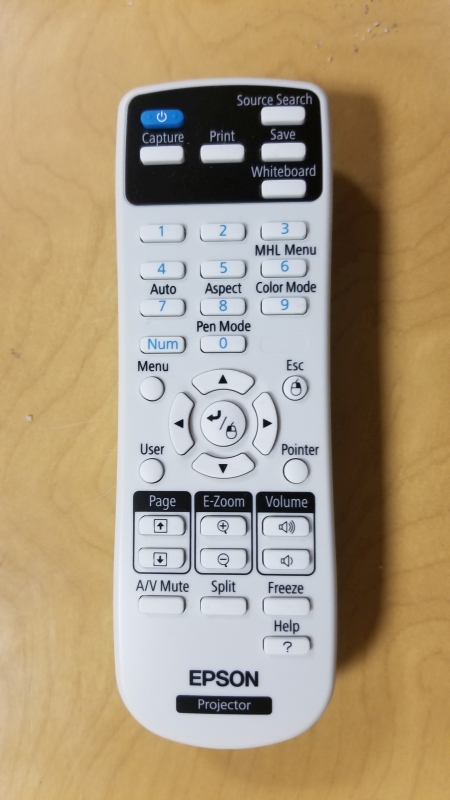
Press the blue "Power" button on the Epson remote control.
The projector will automatically select the HDMI 1 input, so there is no need to change the projector input at any time.
|
|
| Step 3 |
The projector will display the desktop computer by default.
Once a laptop computer is plugged into the HDMI cable (provided on the computer cabinet) the projector will automatically switch to show the laptop computer.
Once the laptop is unplugged from the HDMI cable, the desktop computer will once again be displayed on the projector.
|
|
| Step 4 |
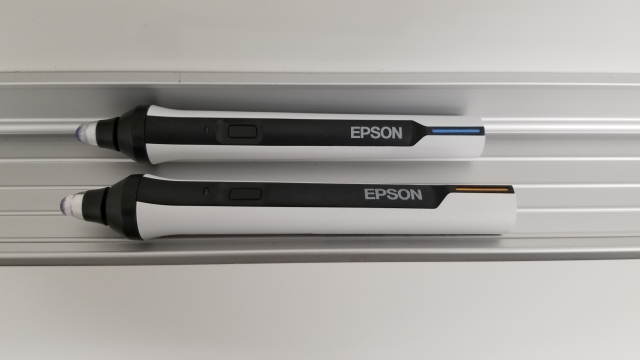
Use one of the supplied Epson electronic pens to select PEN MODE on the whiteboard
Press the button on the pen to power it up. The indicator light will illuminate for a moment, then go dark.
|
 |
| Step 5 |
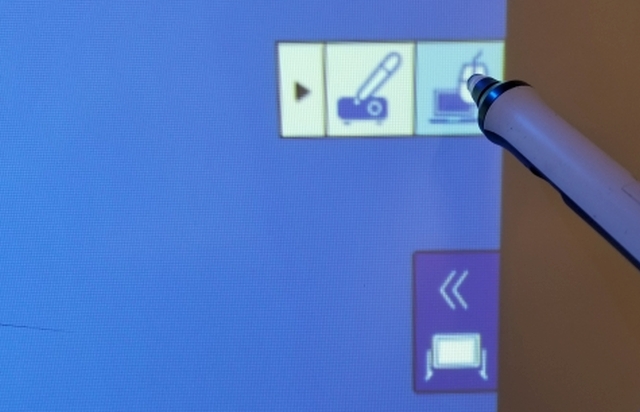
Hover about an inch over the whiteboard surface, you will see a cursor appear.
Move the cursor over to the lower right side of the projected image, and an icon will appear.
Press the icon that appears, and expand it, then select the icon that looks like a mouse. This will allow you to control the computer.
|
 |
| |
Now, the electronic pen will act exactly like a computer mouse.
You may select and click on any icon on the desktop, within a program, or click links on a webpage.
Anything you can do with the computer mouse, you can do by touching this pen to the whiteboard surface. |
 |
| Note |
This function will not work with a laptop connected to the projector. |
|
| |
|
|
Using the Electronic Pens to Annotate on the Whiteboard |
|
| Step A |
Use one of the supplied Epson electronic pens to select PEN MODE on the whiteboard
Press the button on the pen to power it up. The indicator light will illuminate for a moment, then go dark. |
|
| Step B |
Hover about an inch over the whiteboard surface, you will see a cursor appear.
Move the cursor over to the lower right side of the projected image, and an icon will appear.
Press the icon that appears, and expand it, then select the icon that looks like a pen. This will allow you to write and draw on the projected image.
|
|
| Step C |
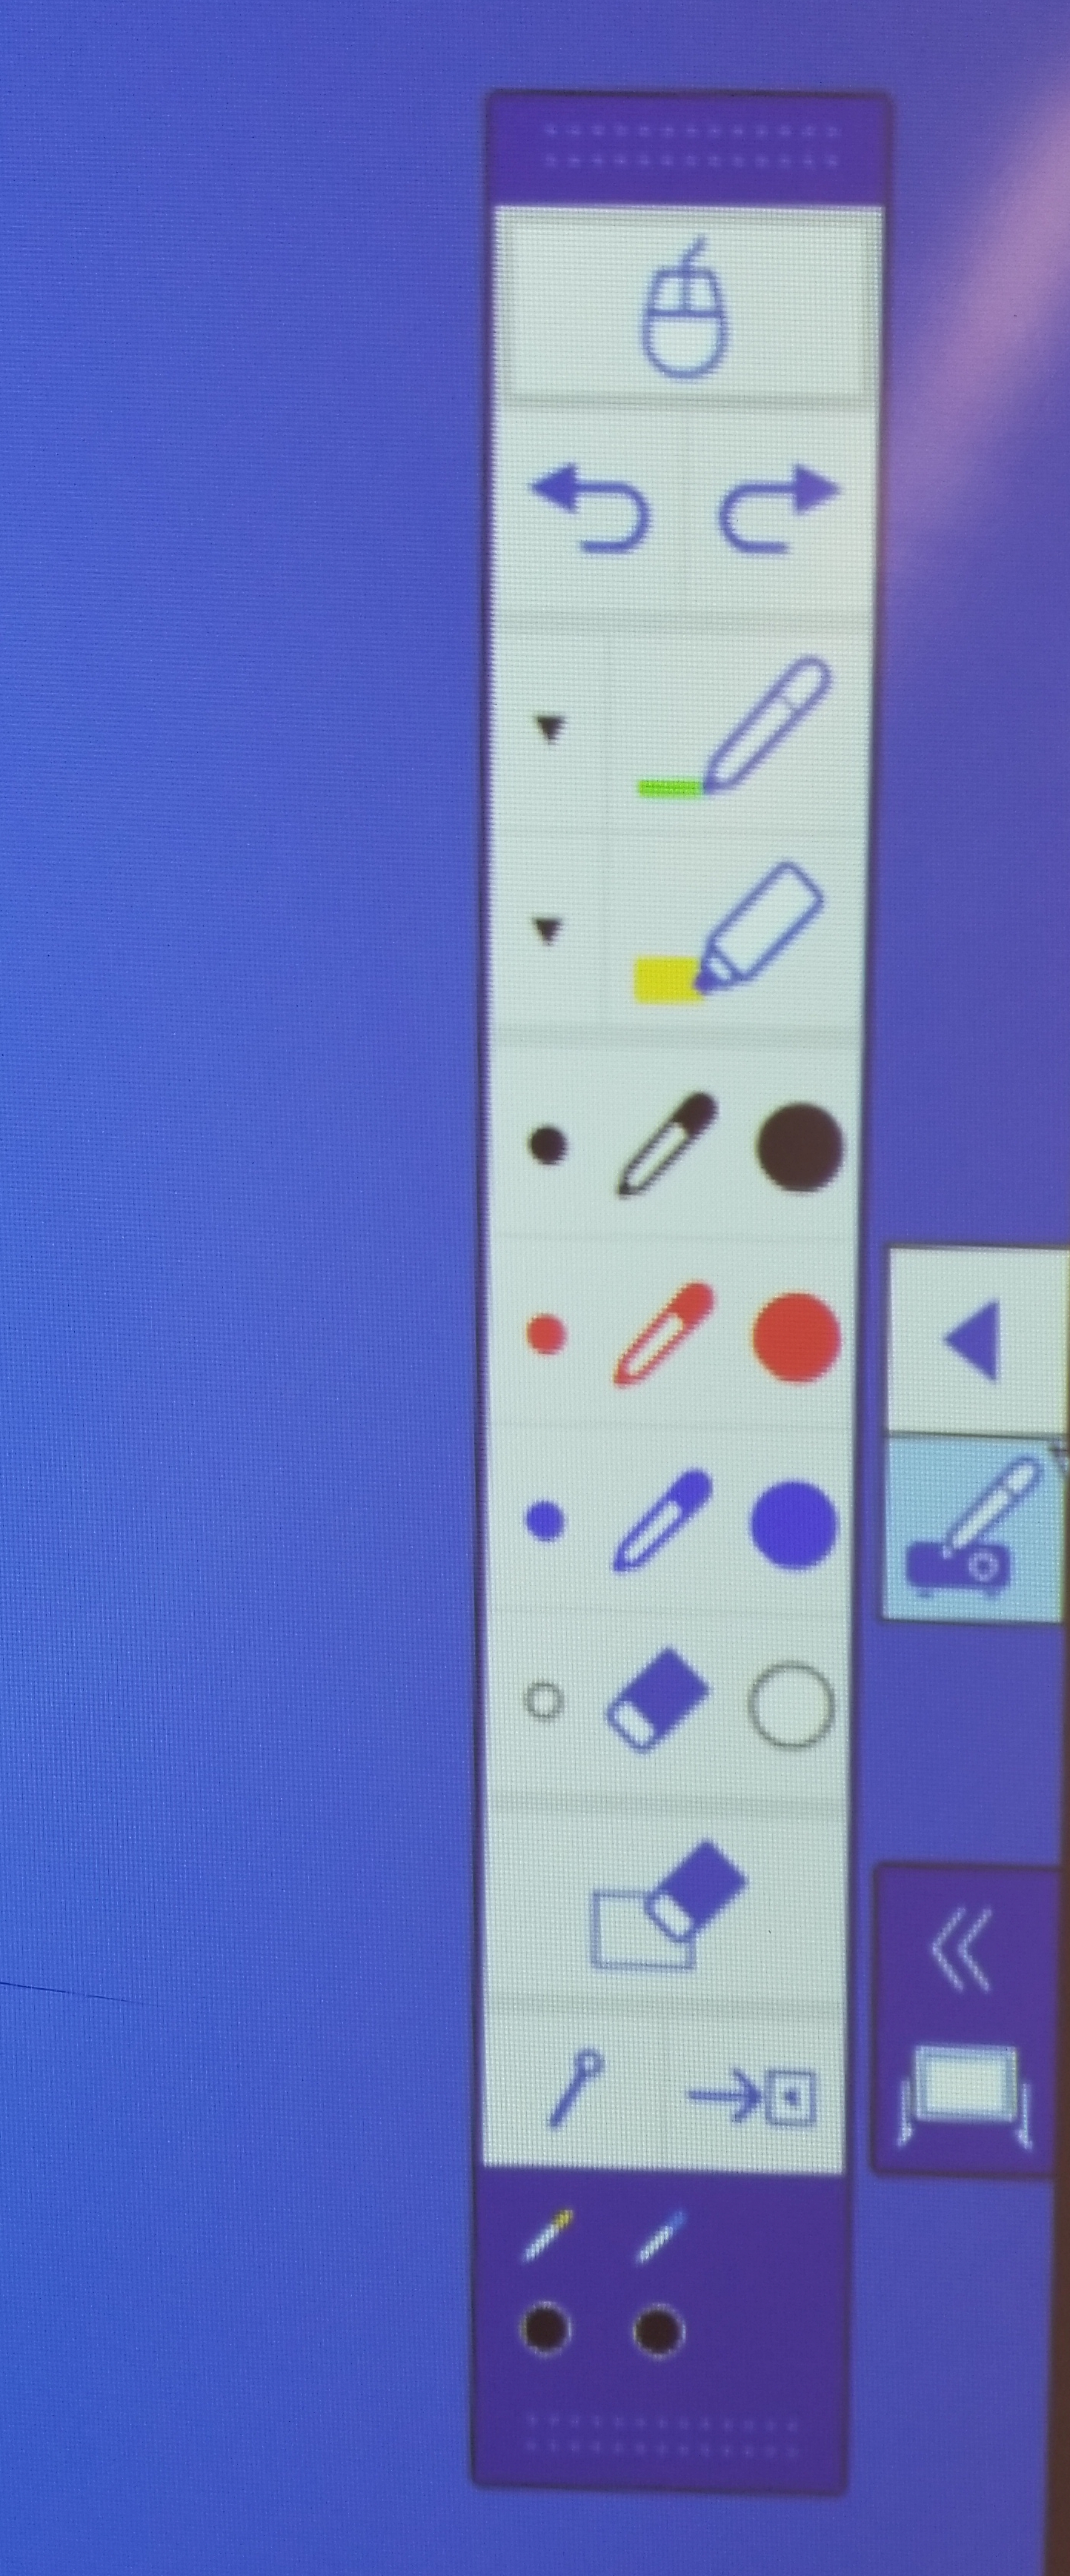
Expand the toolbar by pressing the arrow above the pen icon.
The toolbar appears allowing you to choose ink color, line weight, and other options.
Choose color and line weight at the same time, by selecting either the small colored dot or large colored dot next to the pen color you wish to use.
To erase part of an image, click on the eraser icon, then draw on the ink you wish to erase.
To erase the entire screen, choose the block eraser icon, and click YES when prompted. |
 |
| Important Note |
These writings, drawings, and annotations cannot be saved, they will clear as soon as the projector is turned off. |
|
| |
|
|
Saving Whiteboard Slides
Using the Espon Easy Interactive Tools Software
|
|
| |
Your whiteboard writing and drawing CAN be saved for use later, sharing with students, or continuation in the next class, but you must first open the Epson Easy Interactive Tools Software on the desktop computer. |
|
| Step Ia |
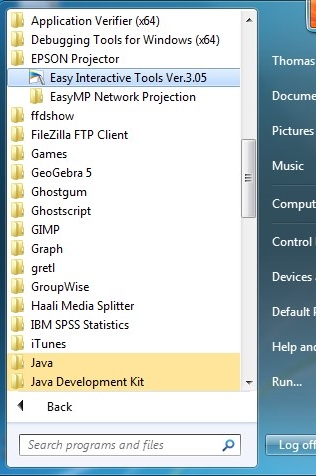
From the Start menu on the desktop computer, choose "All Programs"
Find the "Epson" folder, then select "Easy Interactive Tools" |
 |
| Step Ib |
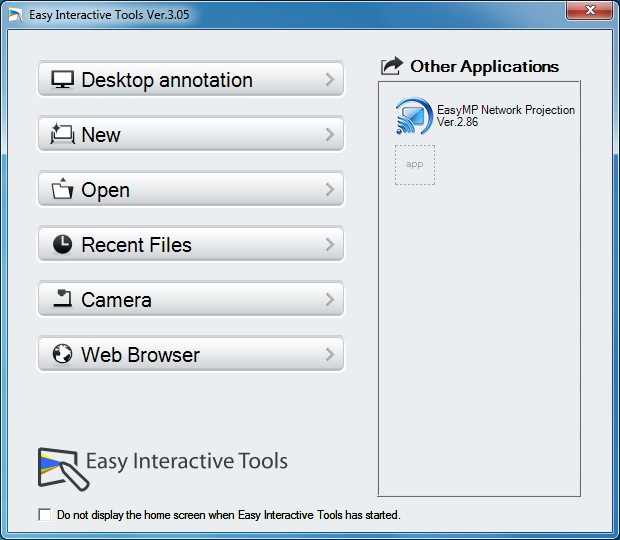
The Epson Easy Interactive Tools dialog will appear.
To begin a new session, choose "New" and a blank whiteboard session will open.
To continue a previously saved session, choose "Open", then choose the saved file. The saved whiteboard session will open for viewing, and/or editing.
|
 |
Step Ic
|
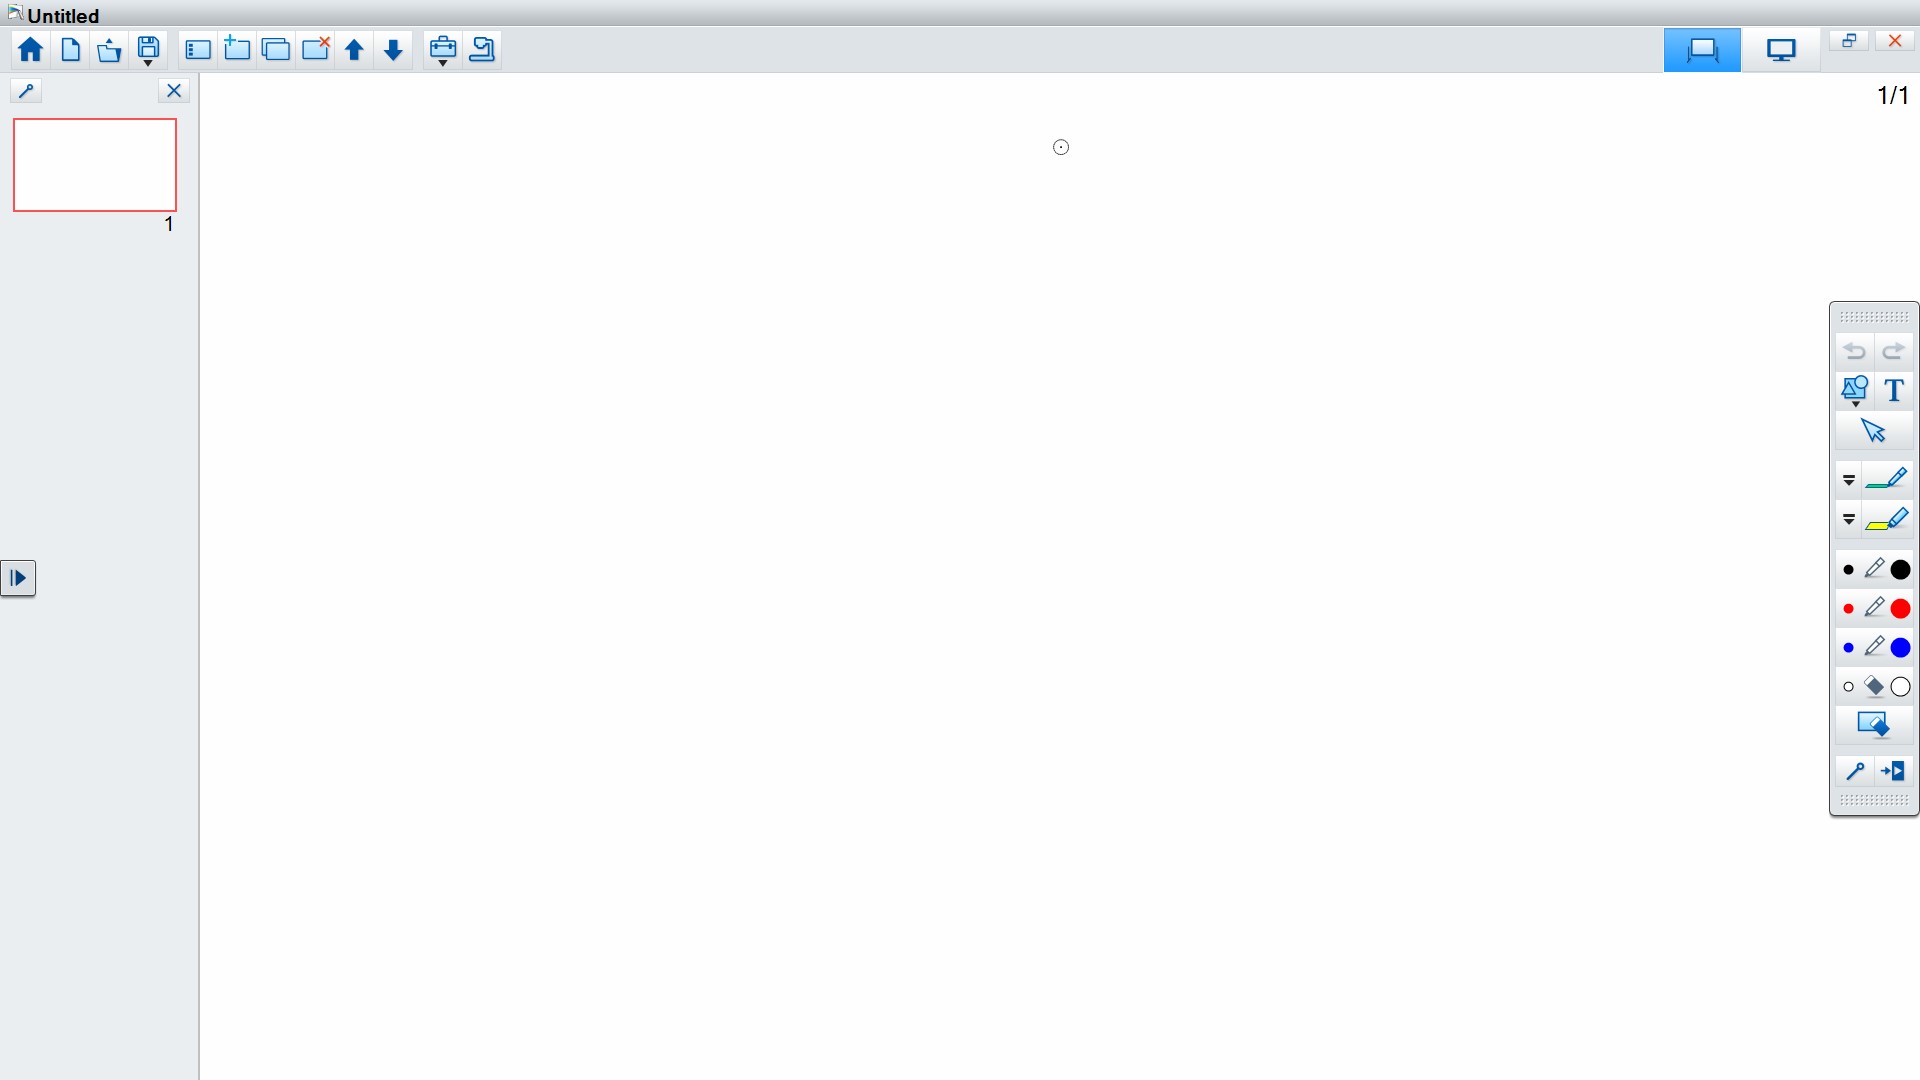
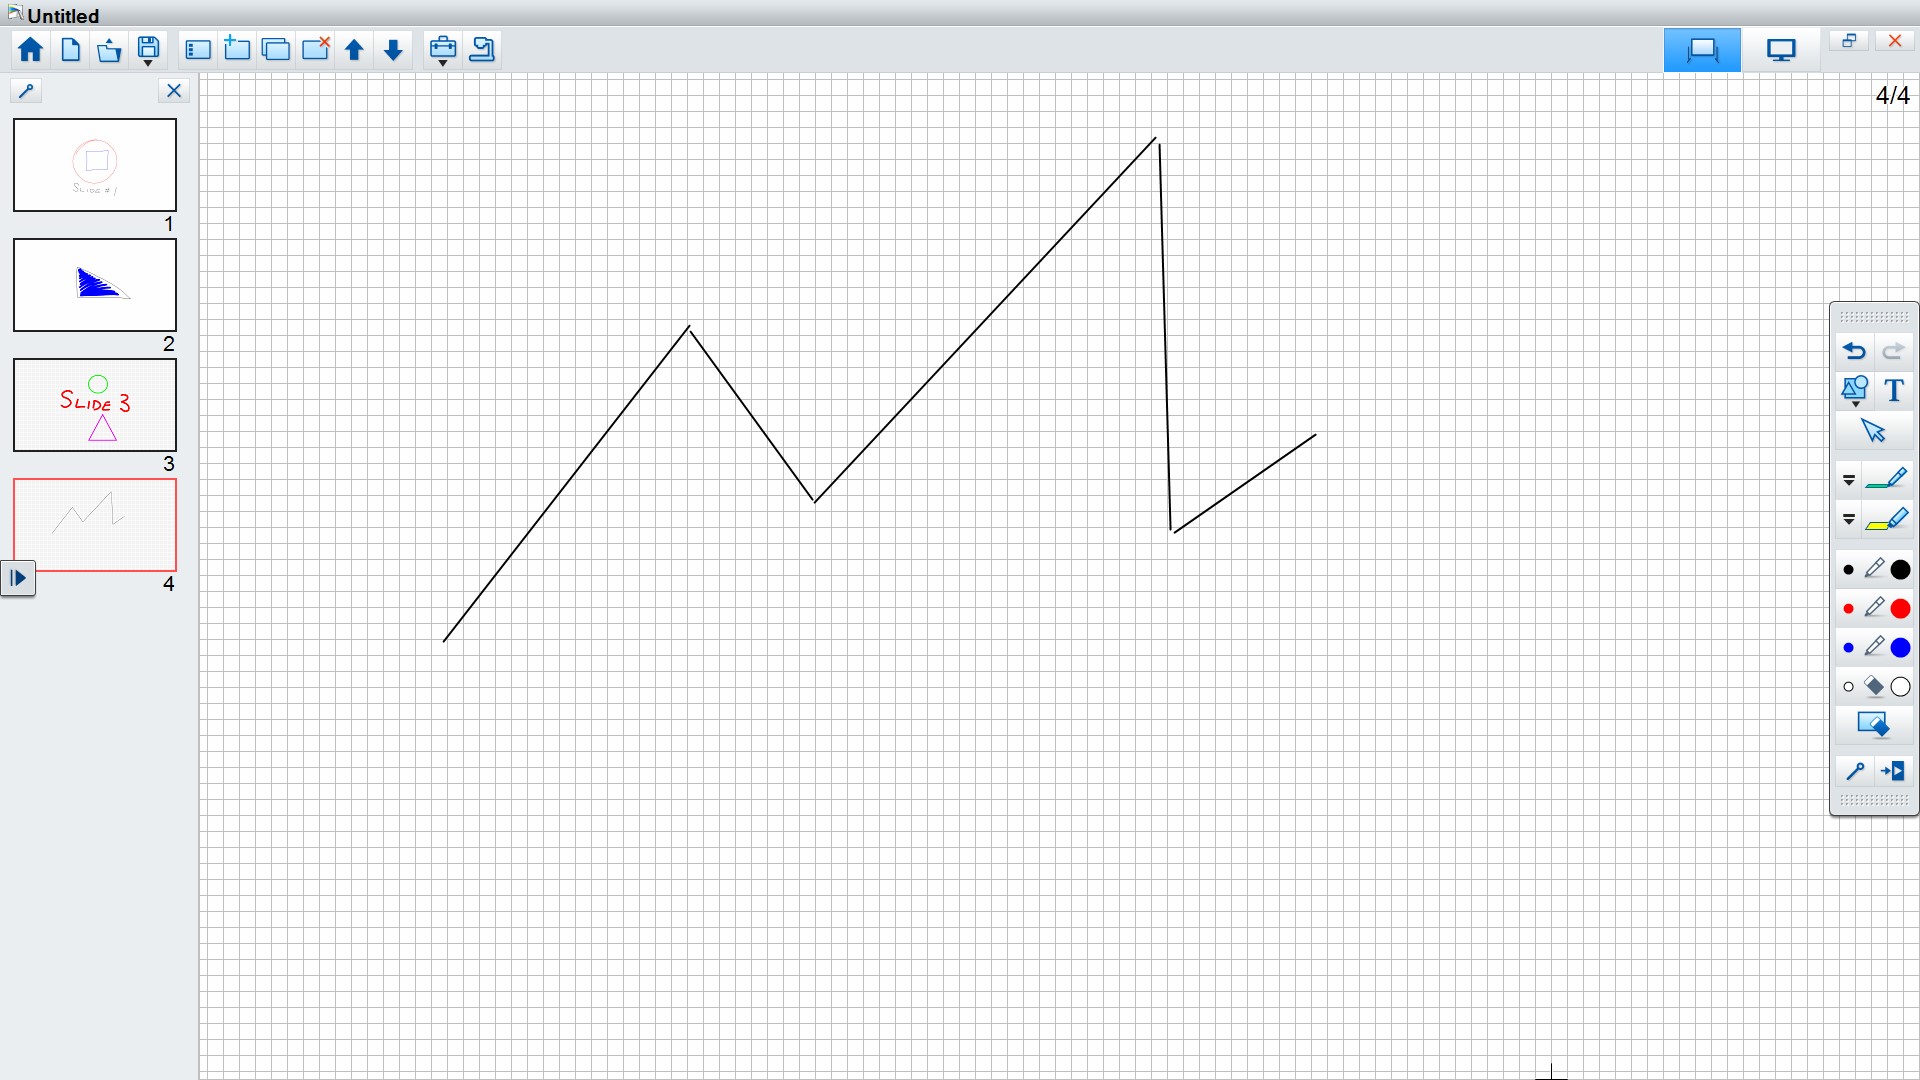
Upon opening a new document, a blank whiteboard will appear.
On the left side of the screen, you will see a slide sorter, showing you all of the slides you've created. Only one slide will appear when you open a new document.
Pen and shape options are available on the right side of the screen.
Use the electronic pens to write, draw, and select anything from the onscreen menus. |
 |
| Step Id |
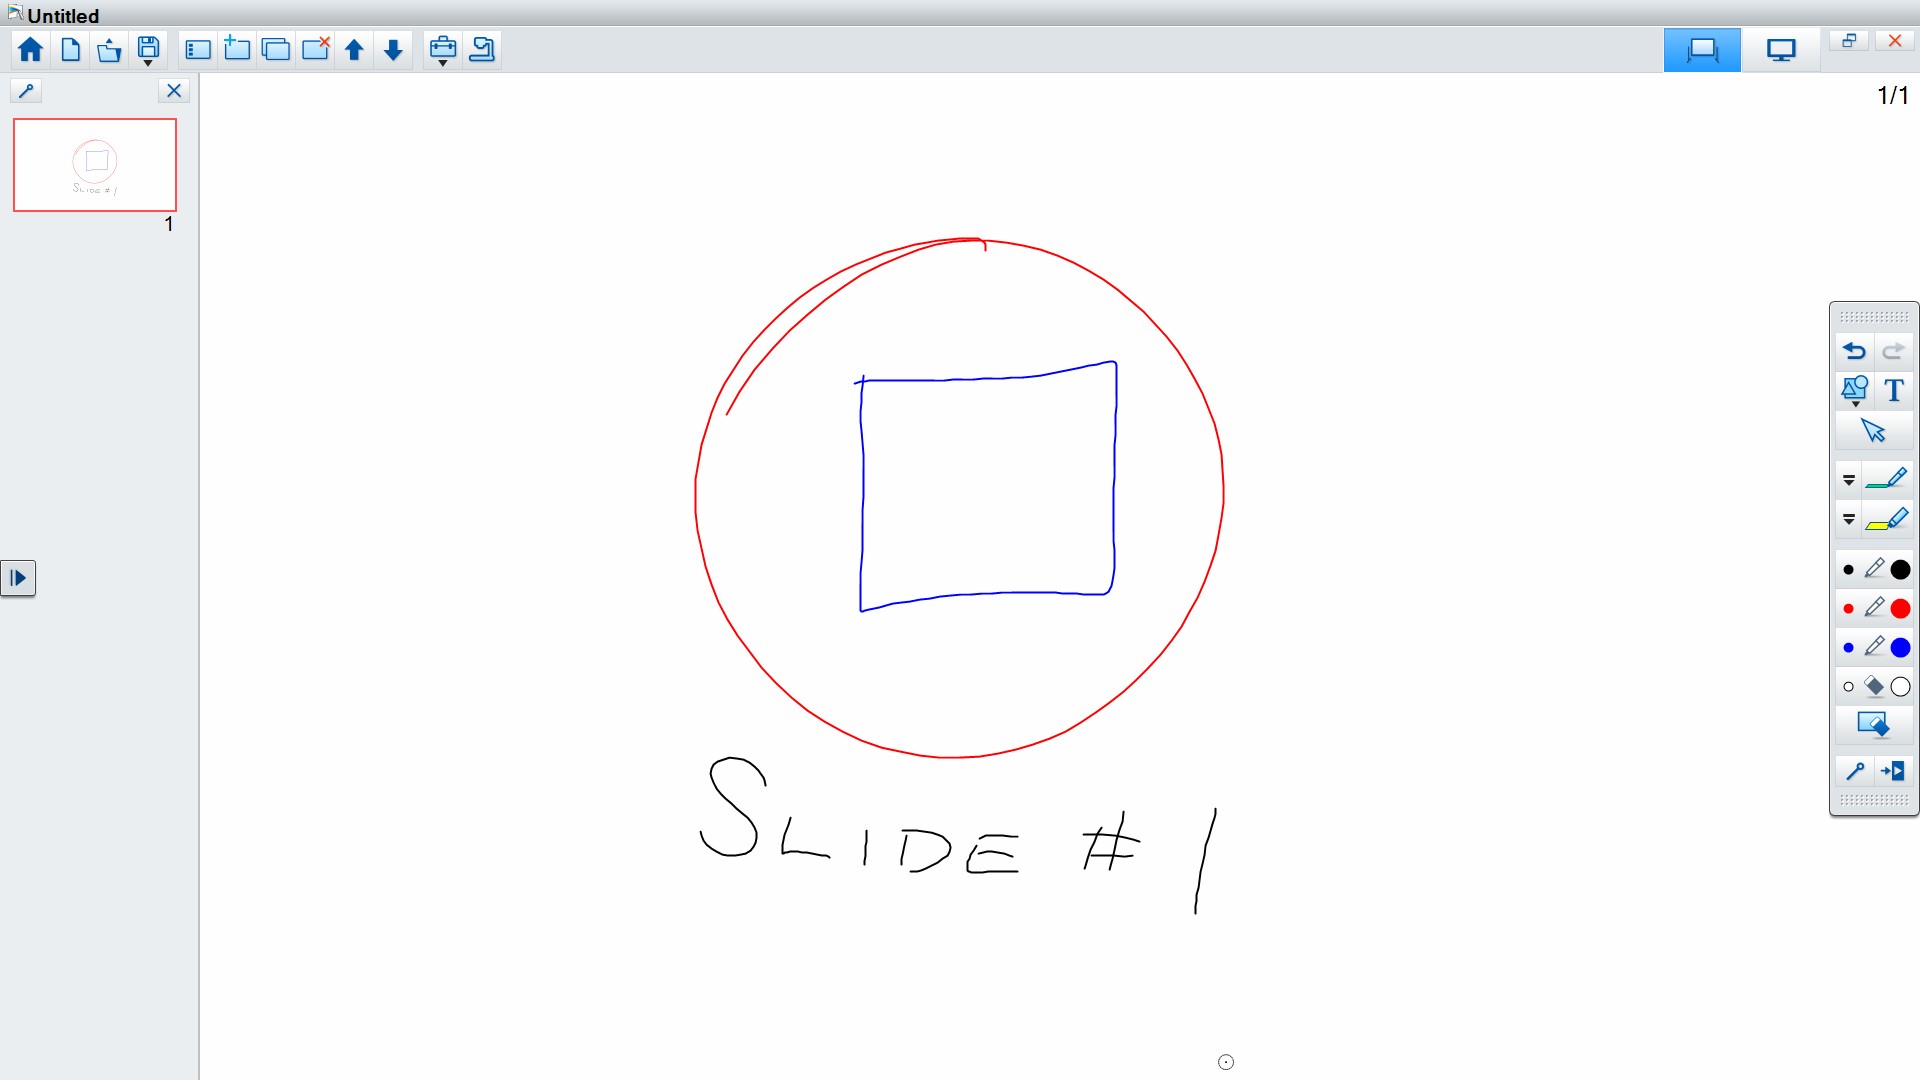
Choose the ink color, line weight, and draw on the blank surface of the slide.
|
 |
| Step Ie |
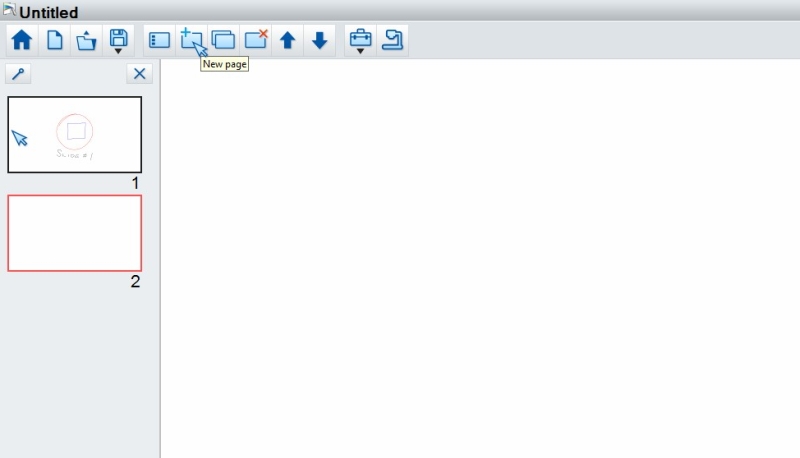
Rather than erase the board to present a new idea, simply create a new, blank slide.
Creating multiple slides will allow you to go back to previous ideas, and to save the entire presentation for viewing later, or continuation.
Choose the "New Page" icon from the top menu to create a new slide.
The whiteboard will clear, allowing you to begin to create a new slide.
You will see a new slide appear in the slide sorter at the left of the screen.
Your previous slides are available in the slide sorter. You may access them anytime by clicking on them with the electronic pen. |
 |
| Step If |
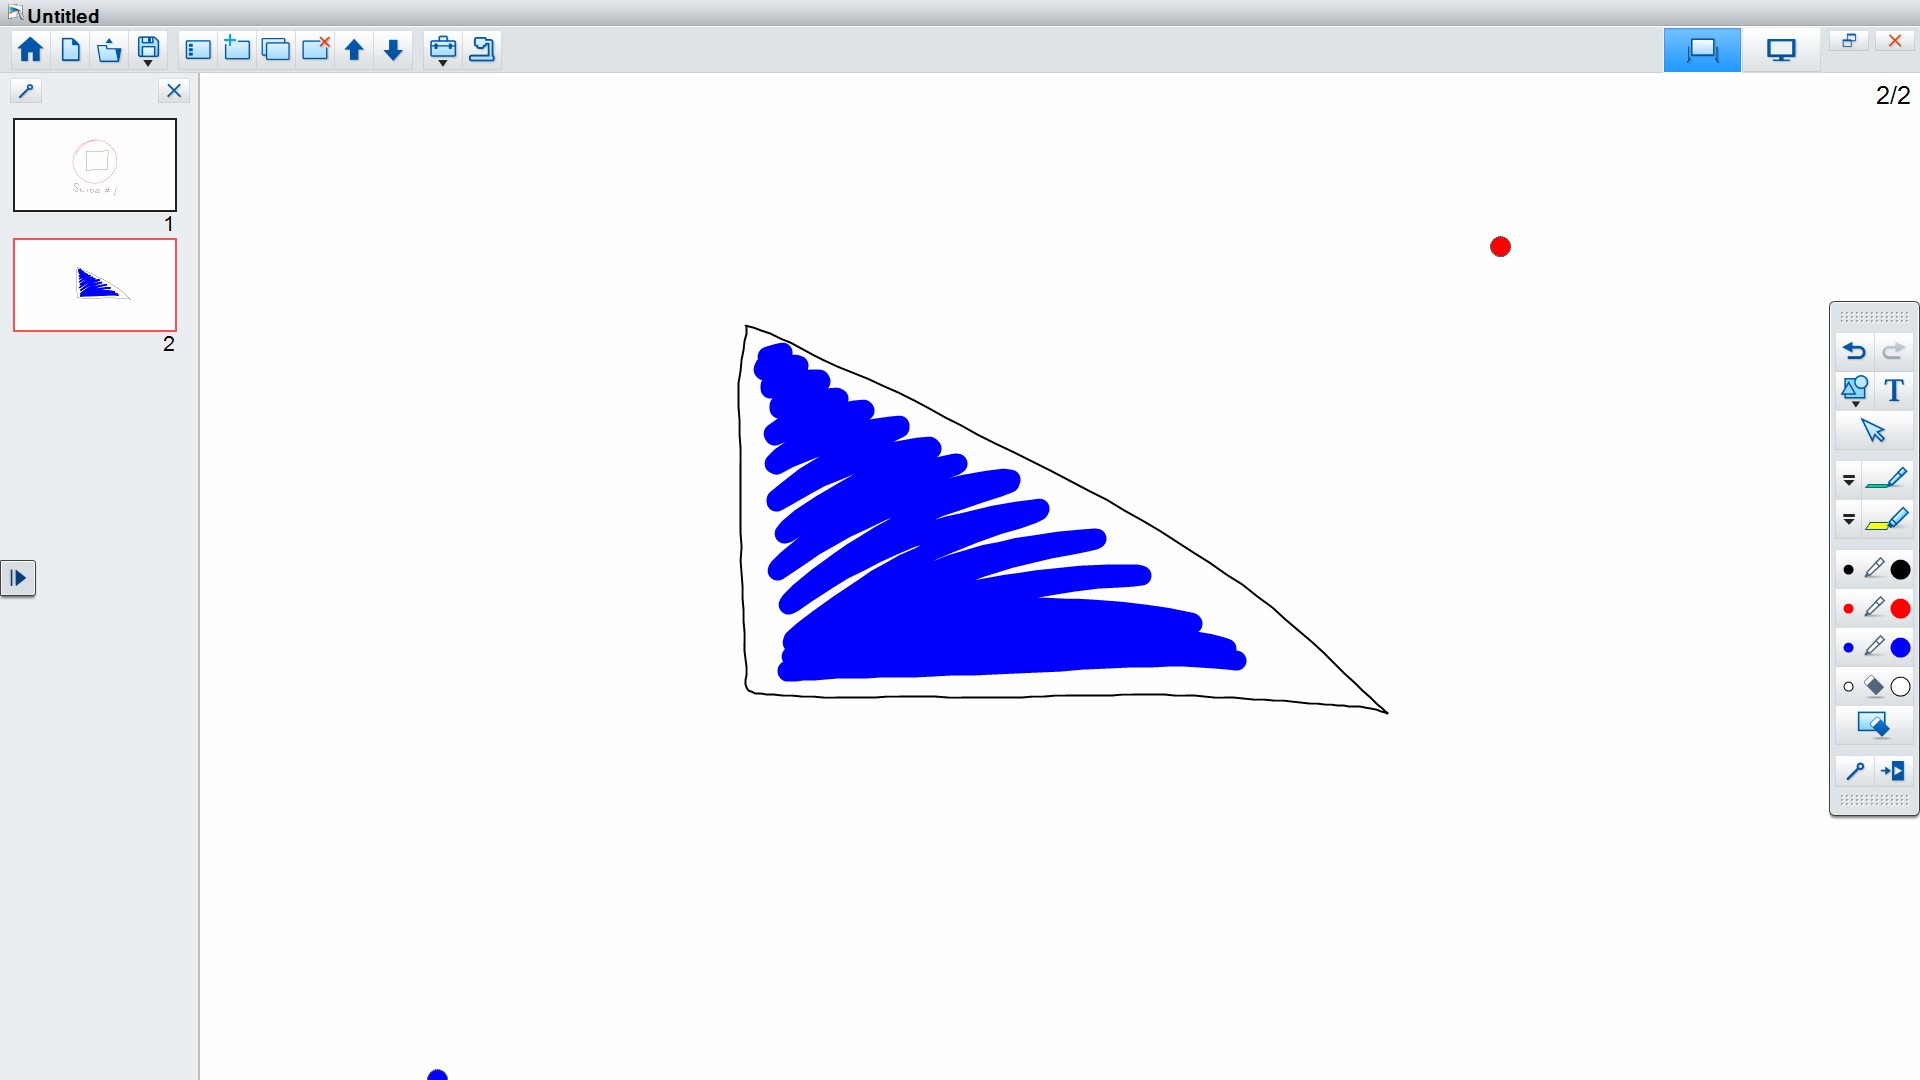
Draw on the new slide.
Create as many new slides as you wish.
|
 |
| Explore Options |
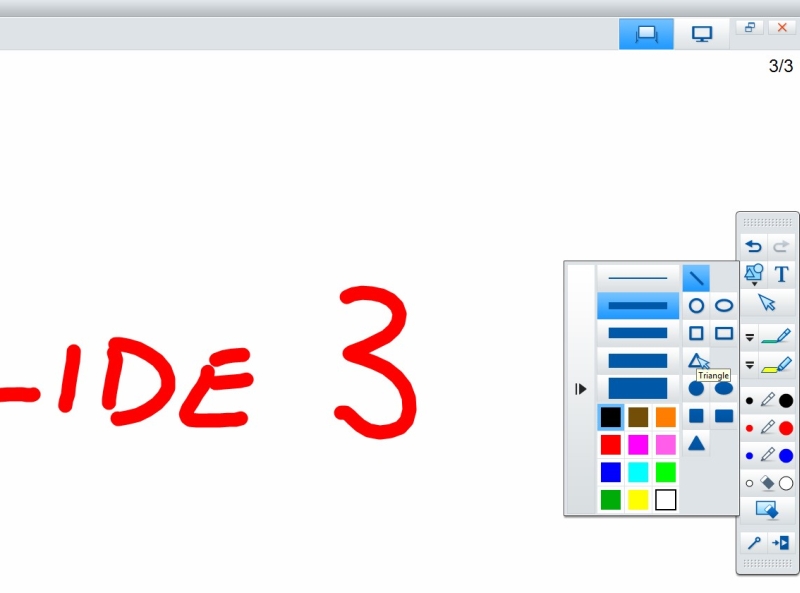
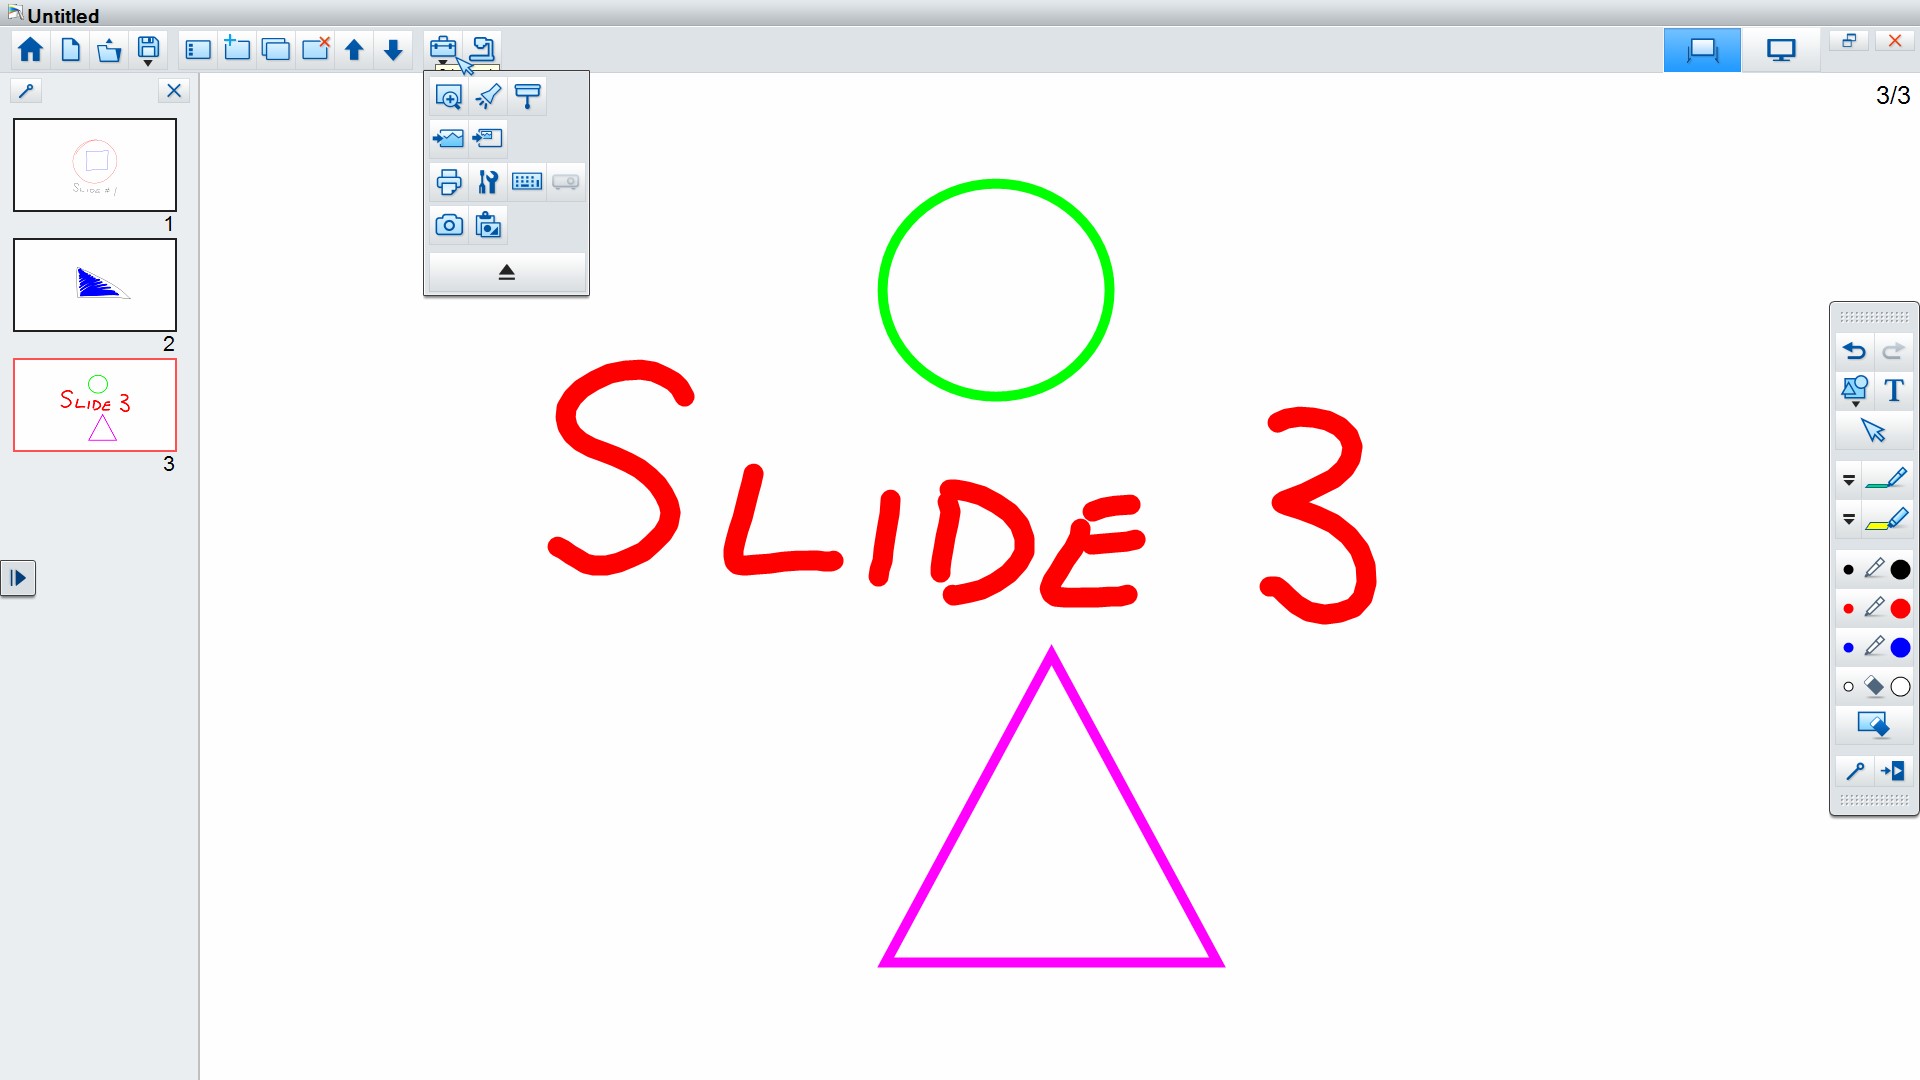
Use the shapes icon in the floating toolbar to create perfect shapes and lines.
Choose outlined shapes, filled shapes, color, and line weight.
To draw a shape, select the desired shape, then click on one point on the whiteboard, then drag the pen until the shape is the desired size. |
 |
| Step Ig |
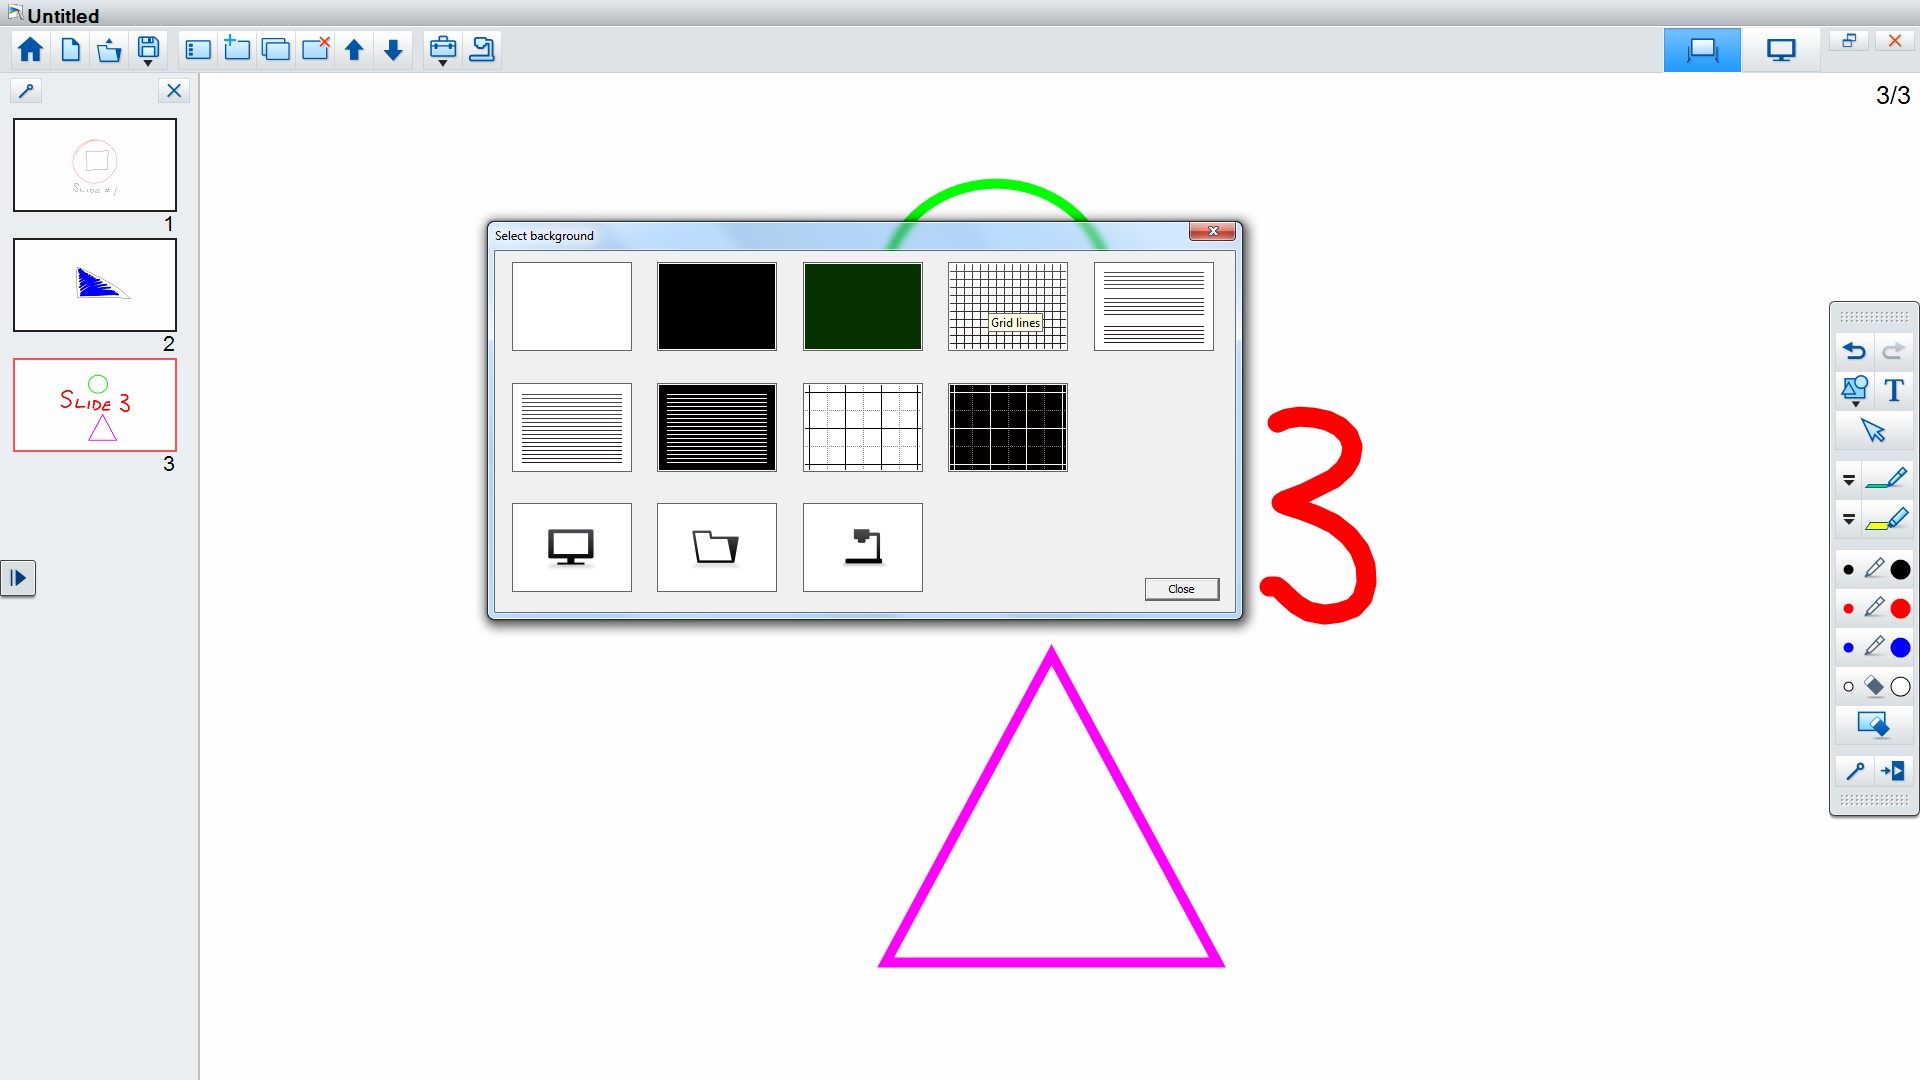
You may also include different backgrounds such as a grid for graphing or drawing to scale.
Select the toolbox icon from the top menu.
Then choose the background icon (second row, first icon). |
 |
| Step Ih |
When the dialog box appears, choose the background you wish.
Some selections have multiple options built-in. Click the selection multiple times to see each option.
When your choice is made, choose OK. |
 |
| Step Ii |
The background you chose will appear on the new slide
You may draw on the slide as usual, and even use the line tool from the shapes menu to draw perfectly straight lines. |
 |
| Step Ij |
Saving a sesson for use later, or for sharing with students.
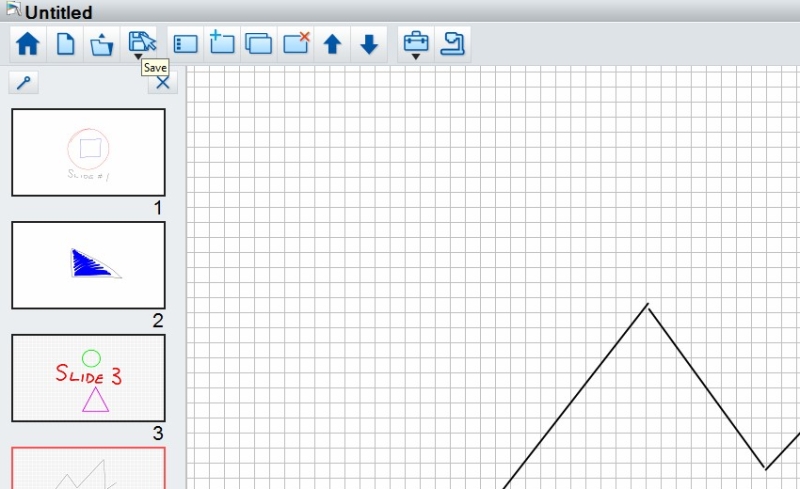
Choose the save icon from the top menu. |
 |
| Step Ik |
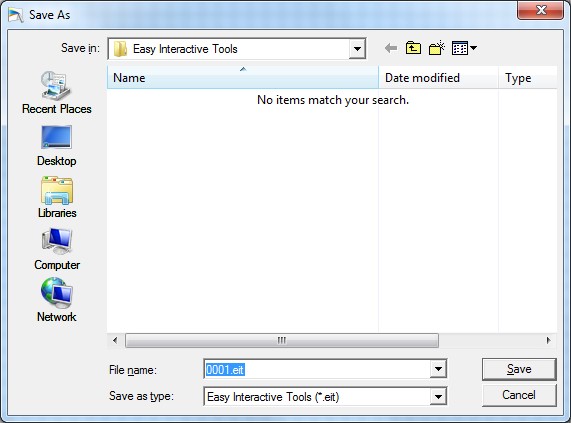
The Save As dialog will appear.
Name your presentation (file name).
Choose a destination. Remember you're using a public, classroom computer, so save to your F drive, a USB drive, Box, or another cloud service so you can access the slideshow from another computer.
Always save the file as a .eit ( Easy Interactive Tools) file. This will allow you to bring the presentation up again and edit it, add to it, or use it again in class.
If you care to share the slides with students, save the slideshow a second time, but this time, save as a PDF.
A PDF will include each slide as a page in a single document. |
 |
| Step Il |
Close the Interactive tools software by clicking on the X at the top right of the window.
Please remember to turn off the projector, and to log off the computer. |
|
| |
|
Revised 01-18
Send comments about this page to Tom Gill, Audio Visual Technology Coordinator tmgill@noctrl.edu |