Document Camera
 The
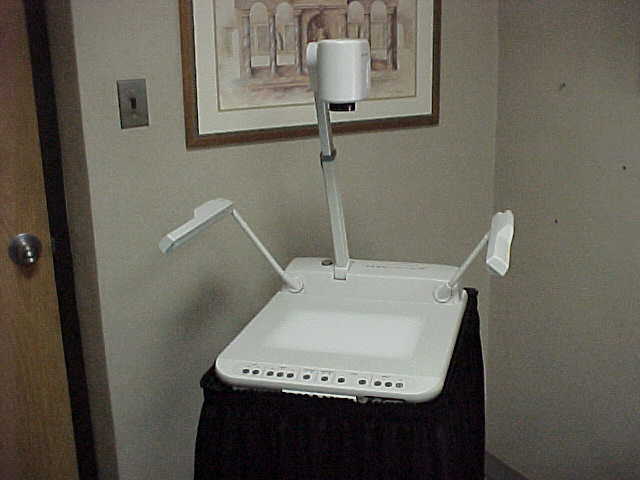
ELMO document camera is a portable visual presentation unit capable of capturing
all types of presentation materials. Text, photos, drawings and three
dimensional objects can be displayed on a TV monitor or video projector in full
color. The zoom lens can clearly display items as small as the date on
a dime. The ELMO document camera has two built in lights to illuminate
the objects being presented, and a base light that illuminates slides and transparencies
from beneath.
The
ELMO document camera is a portable visual presentation unit capable of capturing
all types of presentation materials. Text, photos, drawings and three
dimensional objects can be displayed on a TV monitor or video projector in full
color. The zoom lens can clearly display items as small as the date on
a dime. The ELMO document camera has two built in lights to illuminate
the objects being presented, and a base light that illuminates slides and transparencies
from beneath.
To request a document camera, click here.
Setting Up The Document Camera
1. Unfold
the camera and lights. 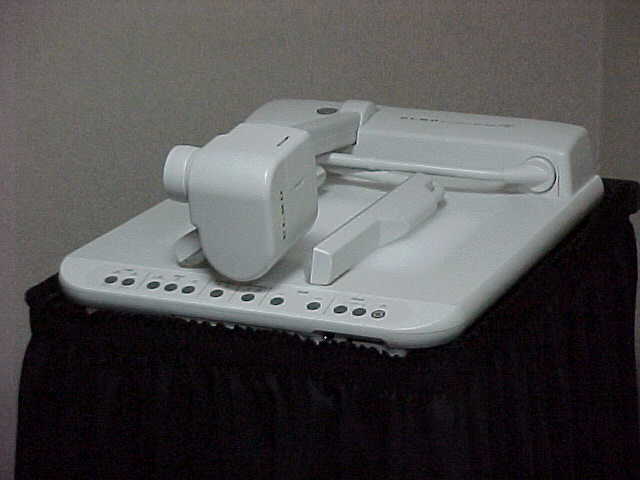
2. Connect the document camera to a power outlet.
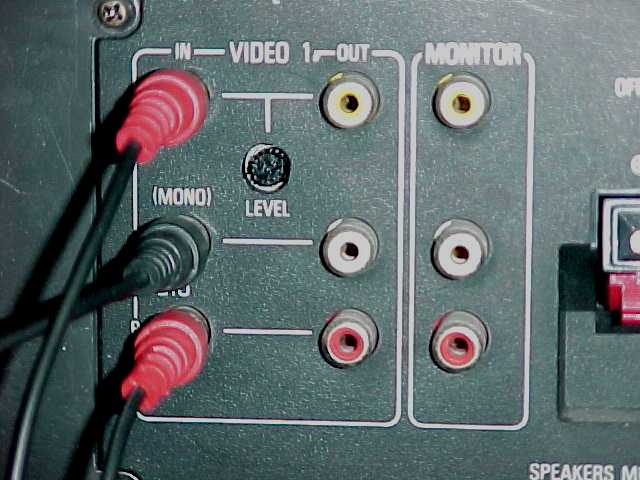
3. Connect the RCA type video cable to the video out terminal of the document camera.
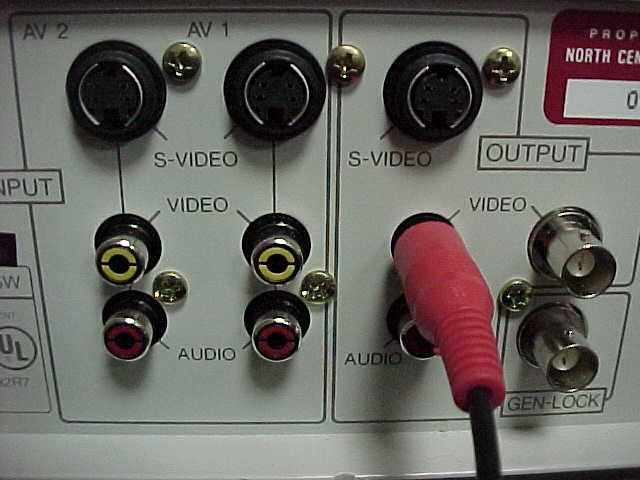
4. Connect the other end of the RCA type video cable to the video input of a TV monitor, VCR, or video projector.
5. Turn on document camera and the TV monitor.

Using The Document Camera
1. Place item to be displayed on the base of the document camera.
2. Make sure
the internal input is selected. 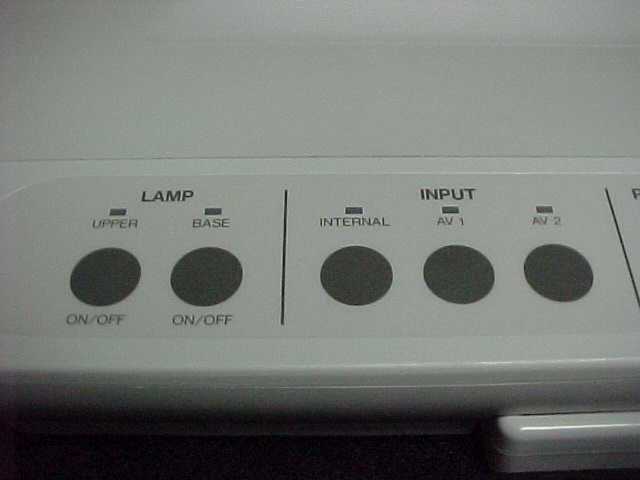
3. While looking at the TV monitor, adjust the size of the image by pressing the zoom or wide button, and press the auto focus button to obtain a clear image.
4. Turn on the upper lamp to illuminate solid objects on the stage. Turn on the base lamp to illuminate transparencies and slides.
Other Functions
Input Selection
Images from two additional video sources such as a VCR and laserdisc player can be connected to the document camera and displayed with the push of an input button
.
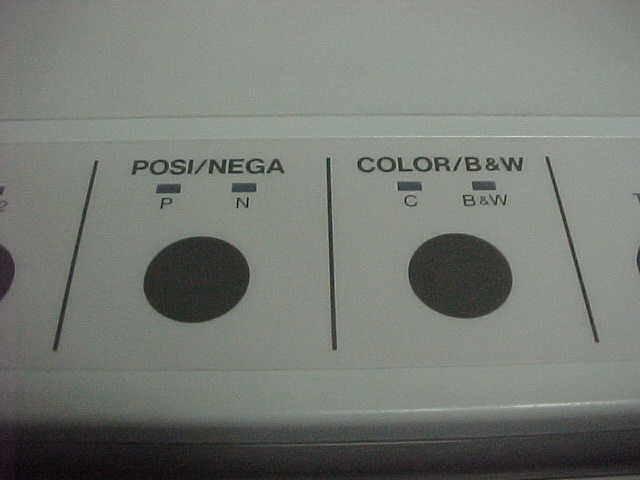
Posi/nega Conversion
Negative film can be displayed as positive images. Press the N for negative and P for positive.
Color/B&W Selection
To view black and white documents, choose the B&W selection, the image will be sharper than the color selection used for photos and three dimensional objects.
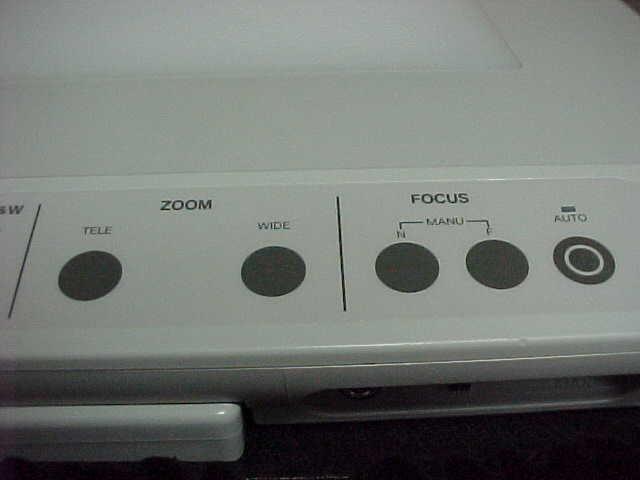
Zoom
To zoom in on a part of an object, press the "Tele" button. To zoom out, use the "Wide" button.
Focus
By pressing the auto focus button, the image will become clear automatically.
Any part of a three dimensional object can be focused upon by pressing the manual focus buttons.
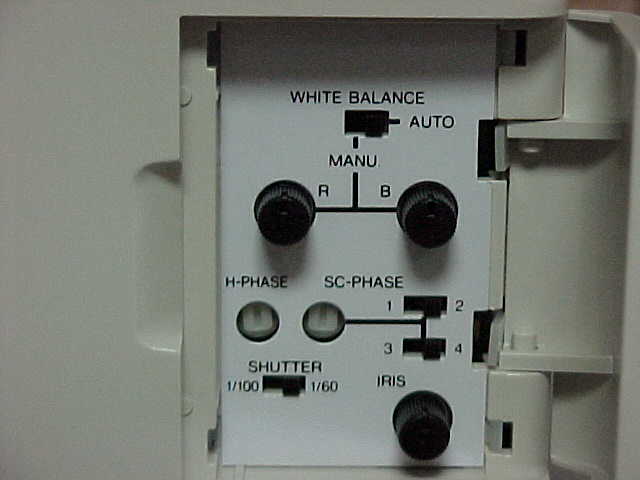
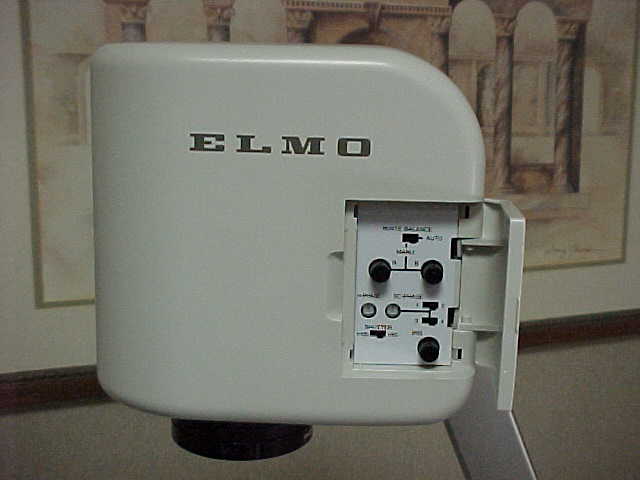
White Balance
Generally, the full-auto white balance is used. However, if necessary, the white balance may be adjusted manually by turning the "R and B" knobs.
Iris
Exposure may be adjusted by turning the iris knob. If the image is too dark, the exposure may be increased by turning the knob clockwise. If the images is washed out, the exposure may be decreased by turning the knob counter-clockwise. If the knob is kept in the center position, exposure will be adjusted automatically.
Need additional help with the document camera? See the Troubleshooting Guide.