| Step 1 |
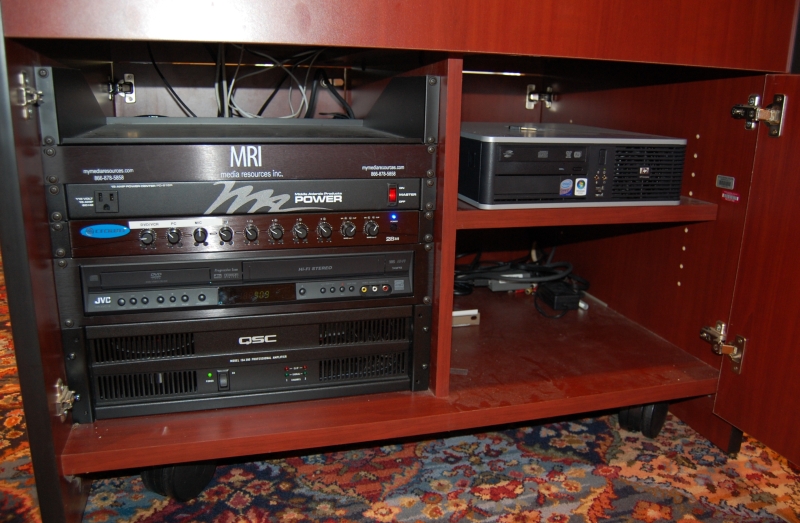
From the speaker's side of the lectern, locate the equipment rack on the lower-left side. |
 |
| Step 2 |
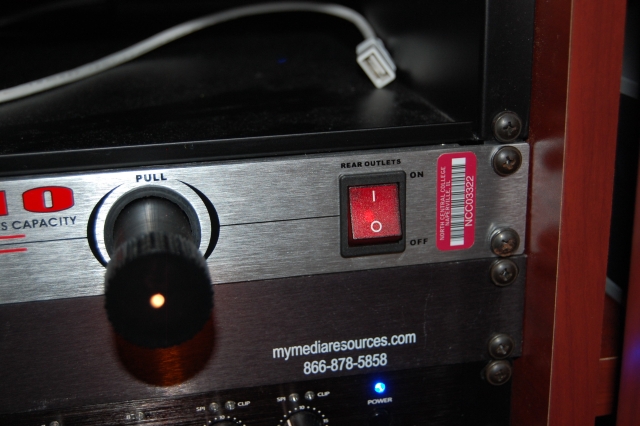
Use the main power switch to turn on all of the equipment. This switch is located at the top of the rack.
(check to make sure all of the equipment is powered up - occasionally, an individual piece of equipment does not power up automatically).
|
 |
| Step 3 |
If the computer is desired, open the cabinet door next to the equipment rack (the right side of the lectern) and turn on the computer.
|
 |
| Step 4 |
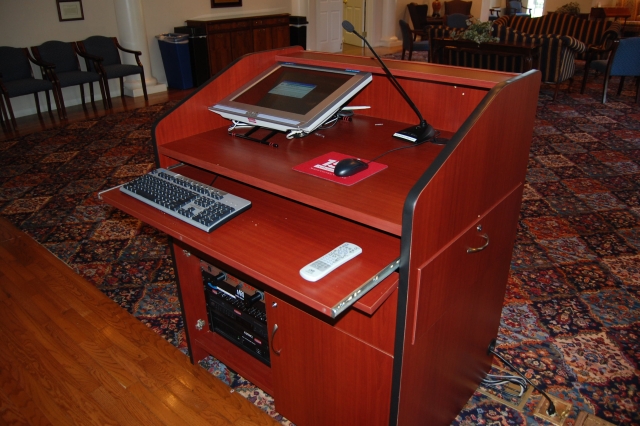
Open the keyboard drawer to access the keyboard and mouse.
|
|
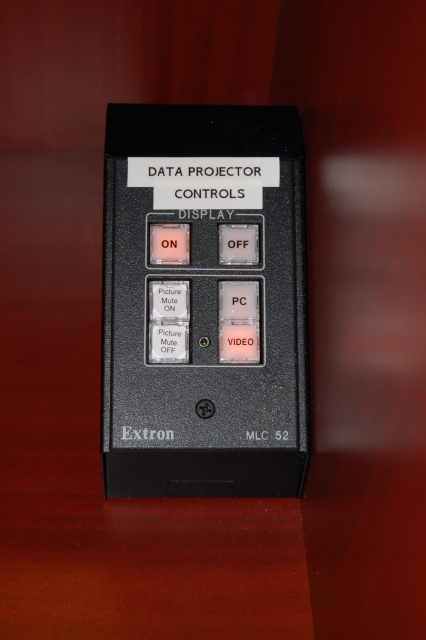
| Step 5 |
Using the projector controller, press the "ON" button to turn on the data projector. |
 |
| Hint |
Please note, the image will project clearly onto the wall, there is no need for a screen. |
|
| Step 6 |
Once the projector warms up, select the desired input.To view the computer, press the "Computer" button on the projector controller. For the DVD/VCR, press the "Video" button on the projector controller.
Use the buttons on the DVD/VCR or the remote control
to control a videotape or DVD. |
|
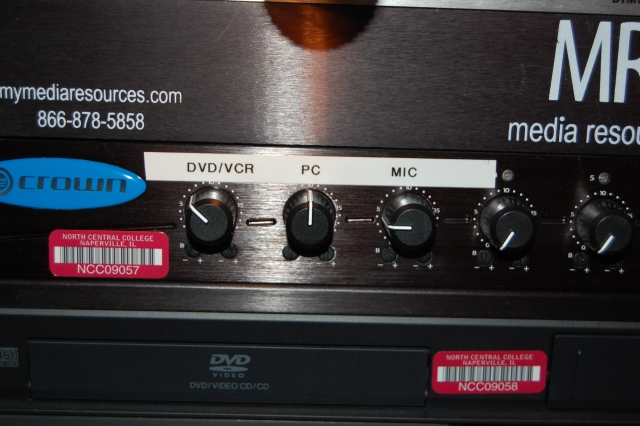
| Step 7 |
Adjust the volume of the computer or VCR/DVD by turning the individual knobs on the mixer located in the equipment rack. Each knob is clearly labeled. |
 |
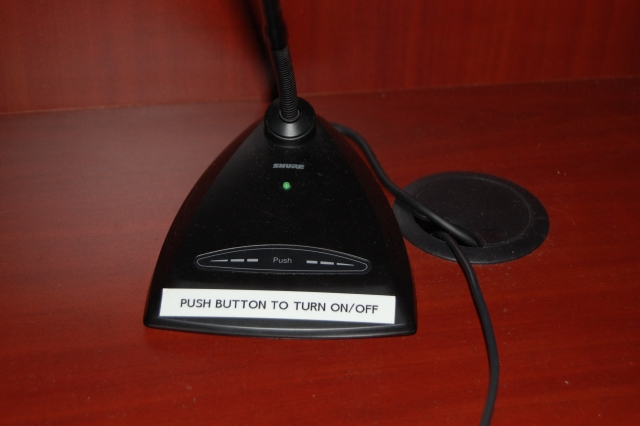
| Step 8 |
If a microphone is desired, turn on the microphone by pressing the microphone's power button located on the base of the microphone.
Volume adjustment may be accomplished by turning the knob labeled "mic"on the mixing board. Additional volume adjustment is made by turning the two master knobs located at the right of the mixer. |
|
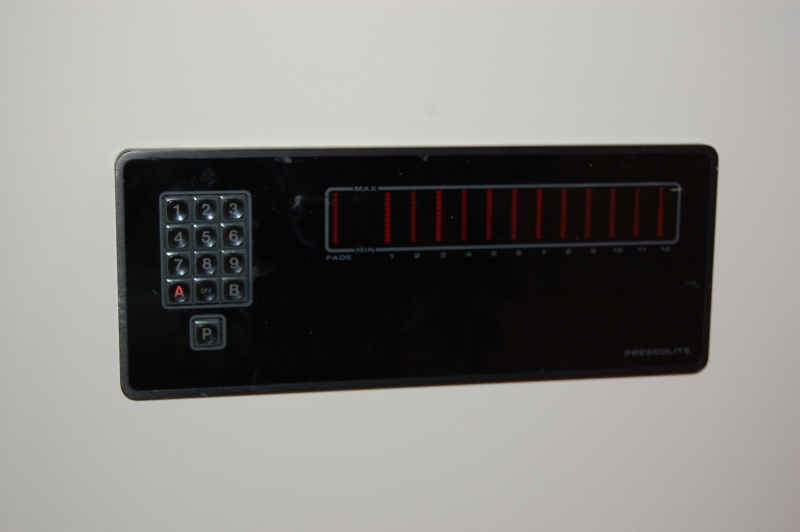
Room
Lights
|
The room lights may be dimmed to better emphasize the projected image.
The light panel is located on the wall behind the lectern, next to the closet door.
Preset number "9" turns off the lights near the front of the room, keeping lights on at the back of the room.
Press "A" to turn all the lights back on. |
 |
| |
|
|
| |
Connecting a
Laptop Computer |
|
| |
It is possible to connect a laptop computer to the multimedia equipment in Smith Hall.
Follow steps 1, 2 and 5 - 7 above, then proceed to step A below. |
|
| Step A |
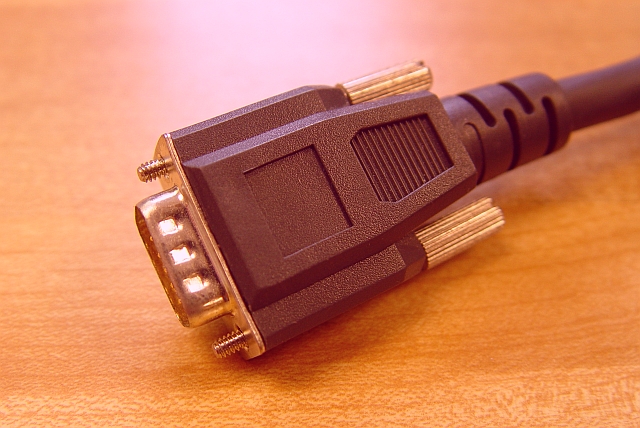
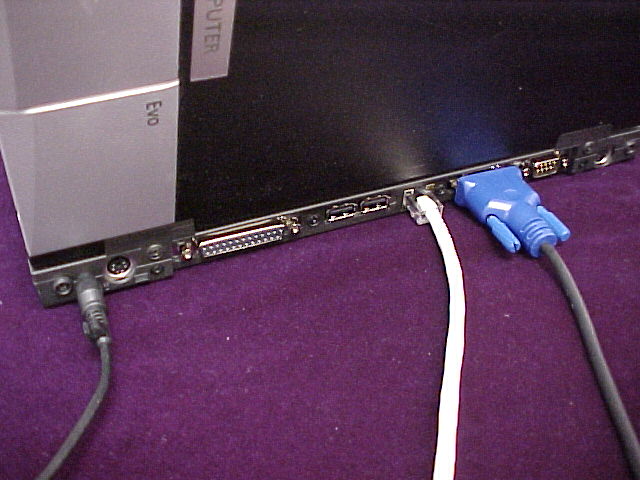
Locate the HD15 cable on the top of the multimedia lectern. This cable is the same type used to connect a desktop computer to a monitor, in the photo below, it is shown between the mouse and the monitor, but it may be tucked behind the monitor. |
 |
| Step 2 |
Plug the HD15 cable into the HD15 port on the laptop computer.
The lectern will automatically detect the laptop computer, and display it on the data projector. If the desktop computer is turned on, the laptop computer signal will automatically override the desktop signal.
|
 |
| Hint |
If the laptop computer is turned on and connected properly, and steps 1, 2 and 5 -7 have been followed, yet the image is not seen on the data projector, use the laptop computer's display toggle feature. These steps vary from manufacturer, but generally the external display port can be turned on and off by holding down the blue "FN" key, and pressing "F4." |
|
| Hint |
To resume using the desktop computer, simply unplug the HD15 cable from the laptop computer, and the projector will automatically switch back. |
|
| |
|
|
Power
Down |
|
|
| Step a |
When finished, please use the projector controller to turn off the projector. Press "OFF" |
|
| Step b |
Log off the computer and shut down using the mouse and keyboard. |
|
| Step c |
Turn off the main power switch located at the top of the left hand side equipment rack. |
|
| |
|
|
| |
|
Revised 12-11
Send comments about this page to Tom Gill, Instructional Media
Coordinator tmgill@noctrl.edu |