Classrooms With Smartboards
North Central College


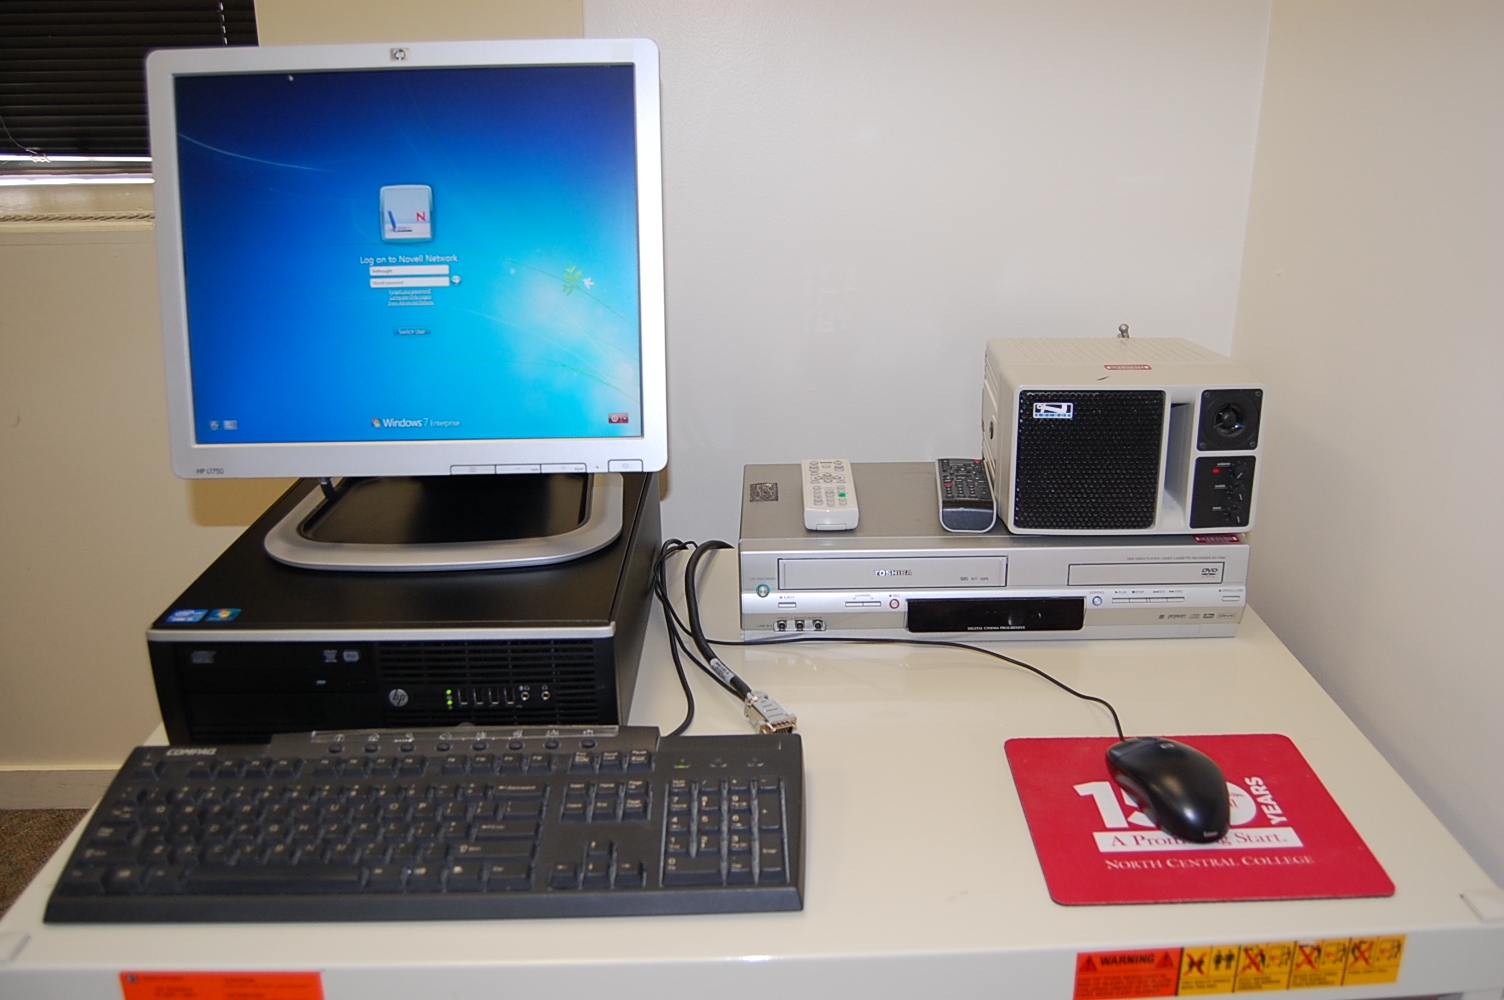
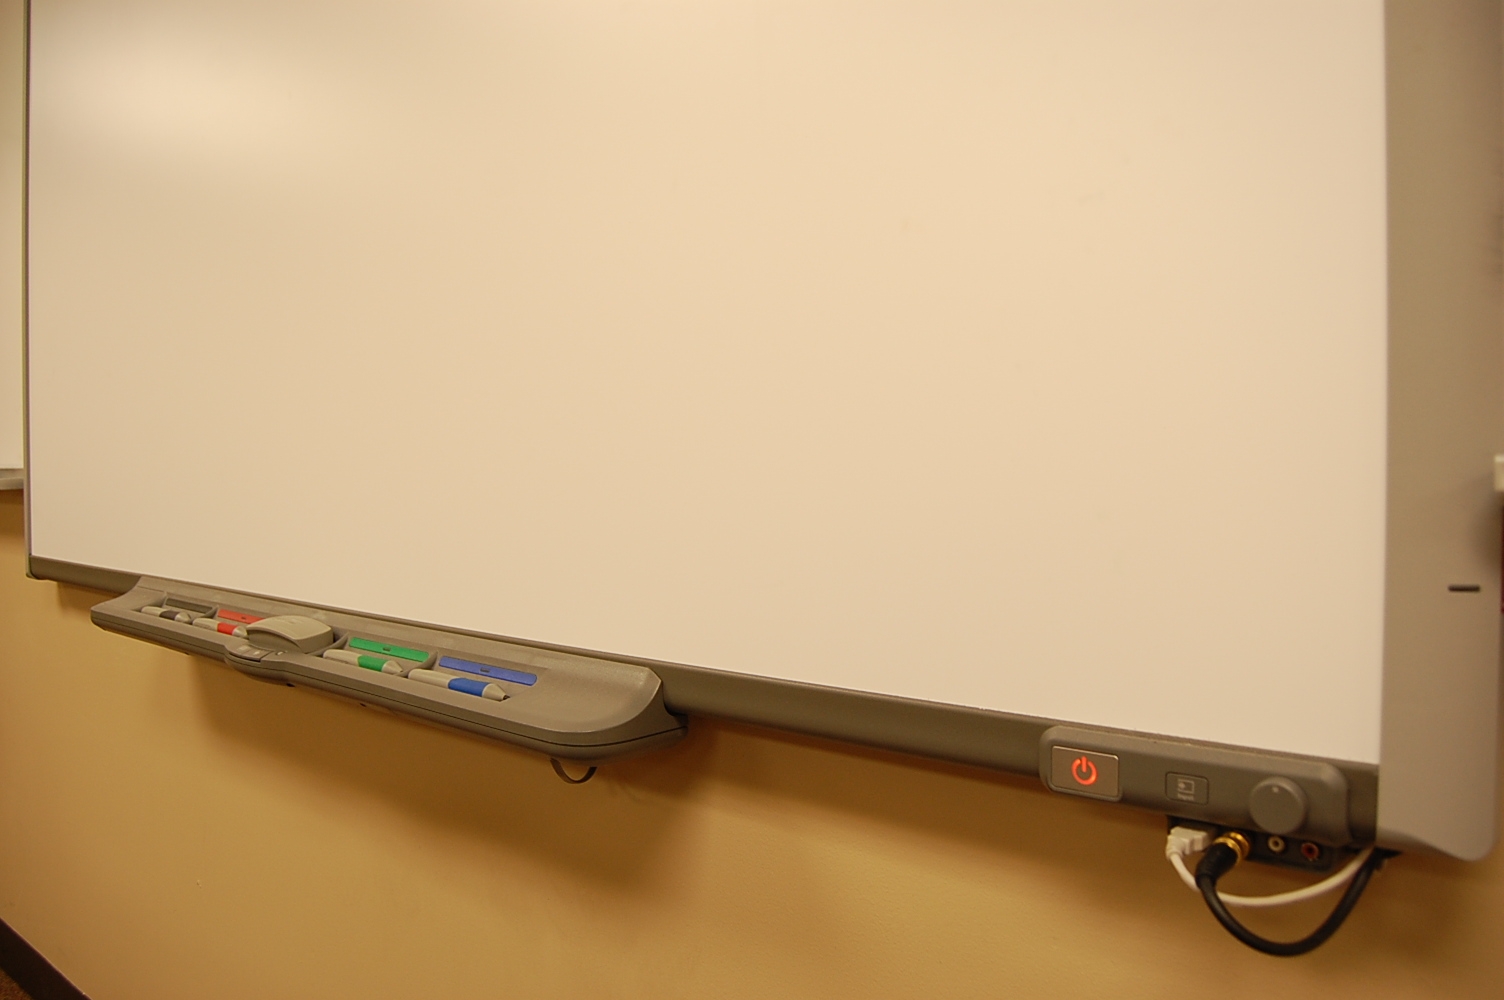
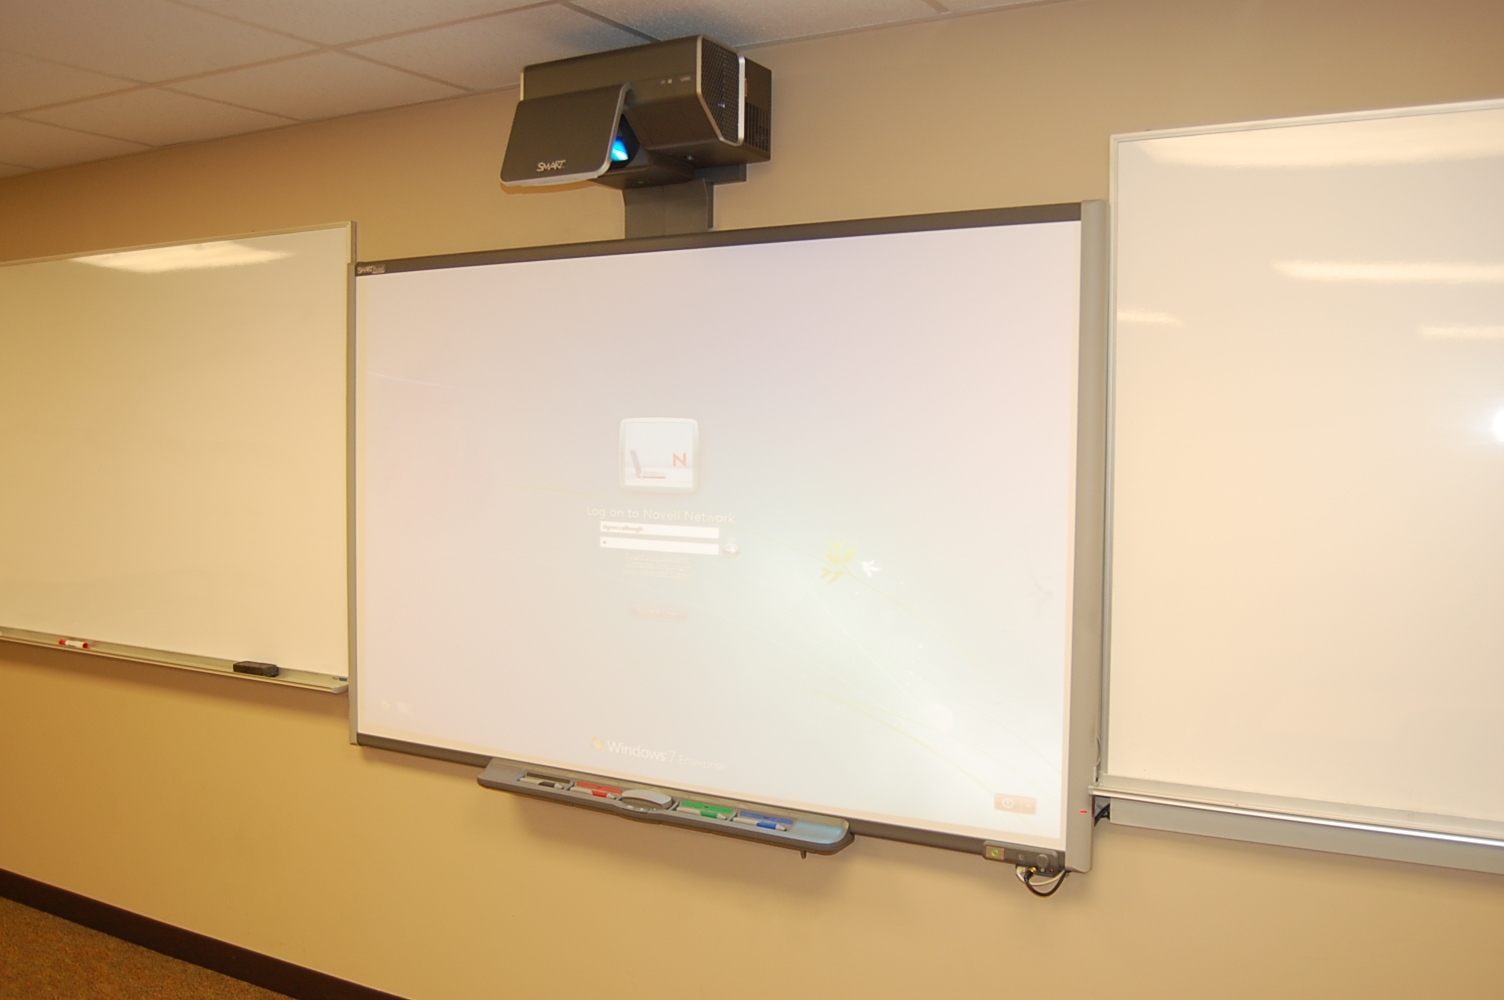
Several Classrooms at North Central College come equipped with Smartboards, or interactive whiteboards. Used as a projection surface, Smartboards allow the instructor to control the computer by touching the projected image. They can also write or draw on the board, and save these annotations for reference at a later time.

Two types of Smartboard set ups can be found on campus. A Smartboard utilizing a ceiling mounted data projector, and a Smartboard and projector combination.

For instructions on how to use the Smartboard utilizing the ceiling mounted data projector, please see the General Classroom Equipment page.

For FAQs on the Smartboard, please see the ITS Smartboard FAQ page.


Step 1 Turn on and log into the computer using your college login and password.
Step 2

Turn on the Smartboard Projector.

Press the illuminated "Power" button on the ledge of the Smartboard.

Or, if supplied, press the power button on the Smarboard remote control.


Step 3

The Smartboard projector defaults to the input setting used by the last session in the room, so if the computer is desired, make sure the projector is set to the "RGB 1" input. If not, use the "Input" button on the Smartboard ledge (shown in the photo above) to cycle through the available inputs. Press the button again and again until the desired input is found.

If the DVD/VCR is desired, press the "Input" button on the Smartboard ledge until you reach the video input.


  Connecting a
Laptop Computer
 
  It is possible to connect a laptop computer to the multimedia equipment in the classrooms.

Follow steps 1, 2 and 3 above, then continue with the steps below:
 
Step A Locate the HD15 cable on the top of the equipment cart or table. This cable is the same type used to connect a desktop computer to a monitor.
Step 2 Plug the HD15 cable into the HD15 port on the laptop computer. Plug the attached stereo mini cable into the laptop headphone jack.


The system will automatically detect the laptop computer, and display it on the data projector. If the desktop computer is turned on, the laptop computer signal will automatically override the desktop signal.
Hint If the laptop computer is turned on and connected properly, and steps 1, 2 have been followed, yet the image is not seen on the data projector, use the laptop computer's display toggle feature. These steps vary from manufacturer, but generally the external display port can be turned on and off by holding down the blue "FN" key, and pressing "F4."  
Hint To resume using the desktop computer, simply unplug the HD15 cable from the laptop computer, and the projector will automatically switch back.  
     
Power
Down
   
Step a When finished, press the power button on the Smartboard ledge two times. One press asks to confirm the power down cycle, the second press turns off the projector.
Step b Log off the computer. Logging off will keep the computer powered up and ready for the next user to log in.  
     
     
    Revised 07-12
Send comments about this page to Tom Gill, Instructional Media Coordinator tmgill@noctrl.edu