| |
Connecting to a
Laptop Computer |
|
| Step 1 |
Insert the power cord into the AC IN connection on the back of the projector.
Plug into a standard electrical outlet. |
 |
| Step 2 |
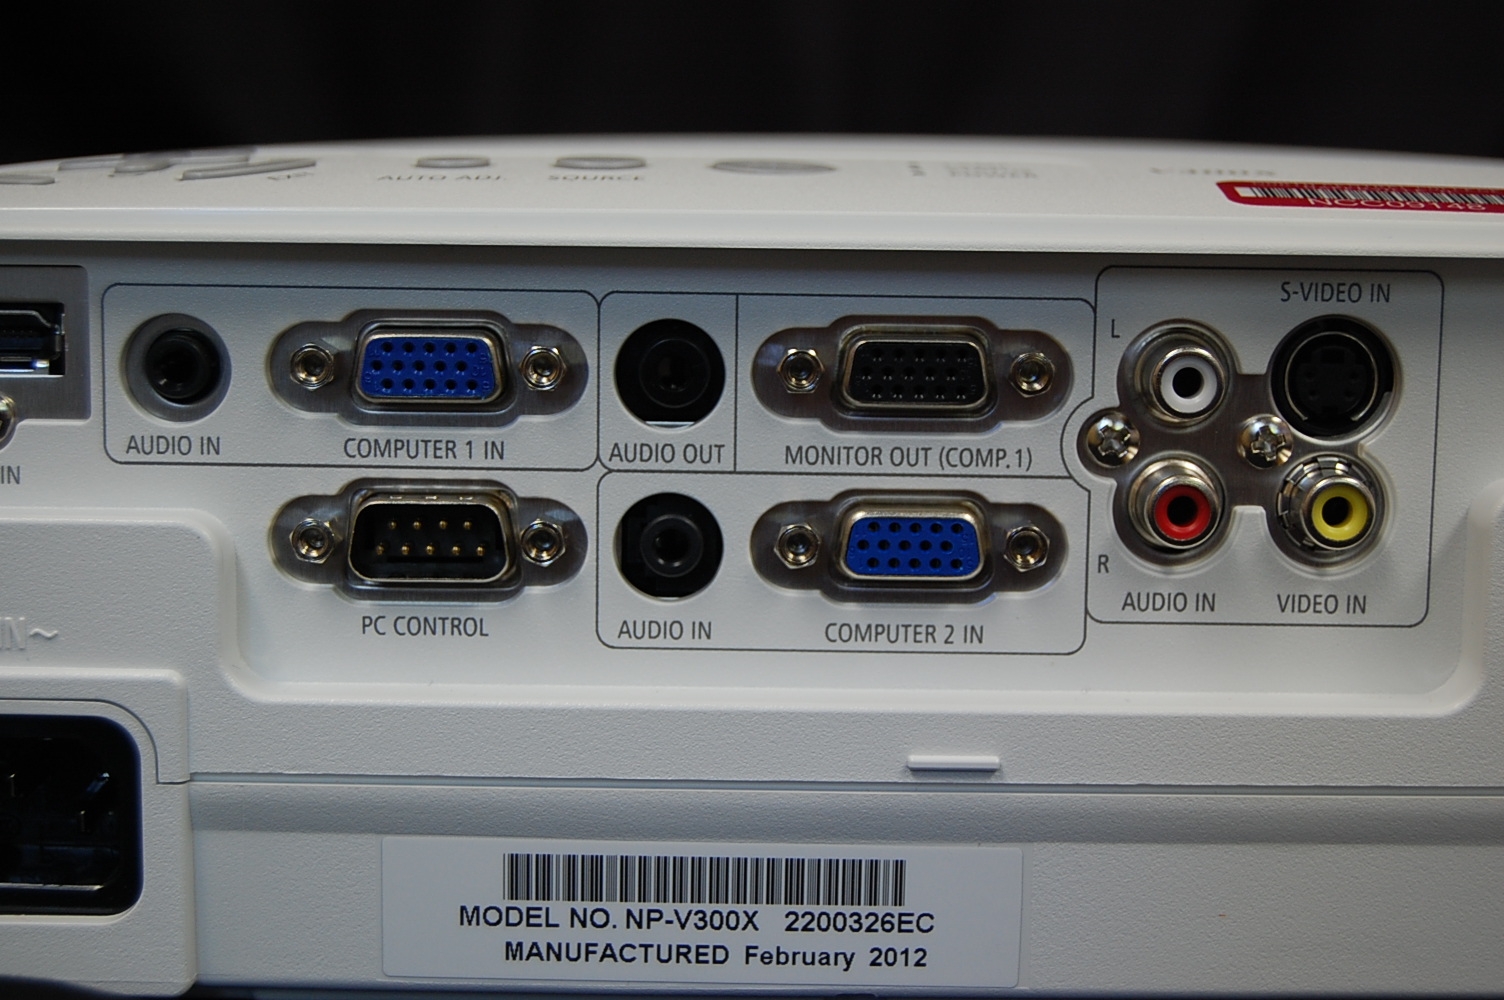
Connect the supplied HD15 cable to the "Analog" input on the back of the projector.
|
|
| Step 3 |
If audio is desired, plug the supplied RCA audio cable into the "Audio in" port directly below the "Analog" input.
|
|
| Step 4 |
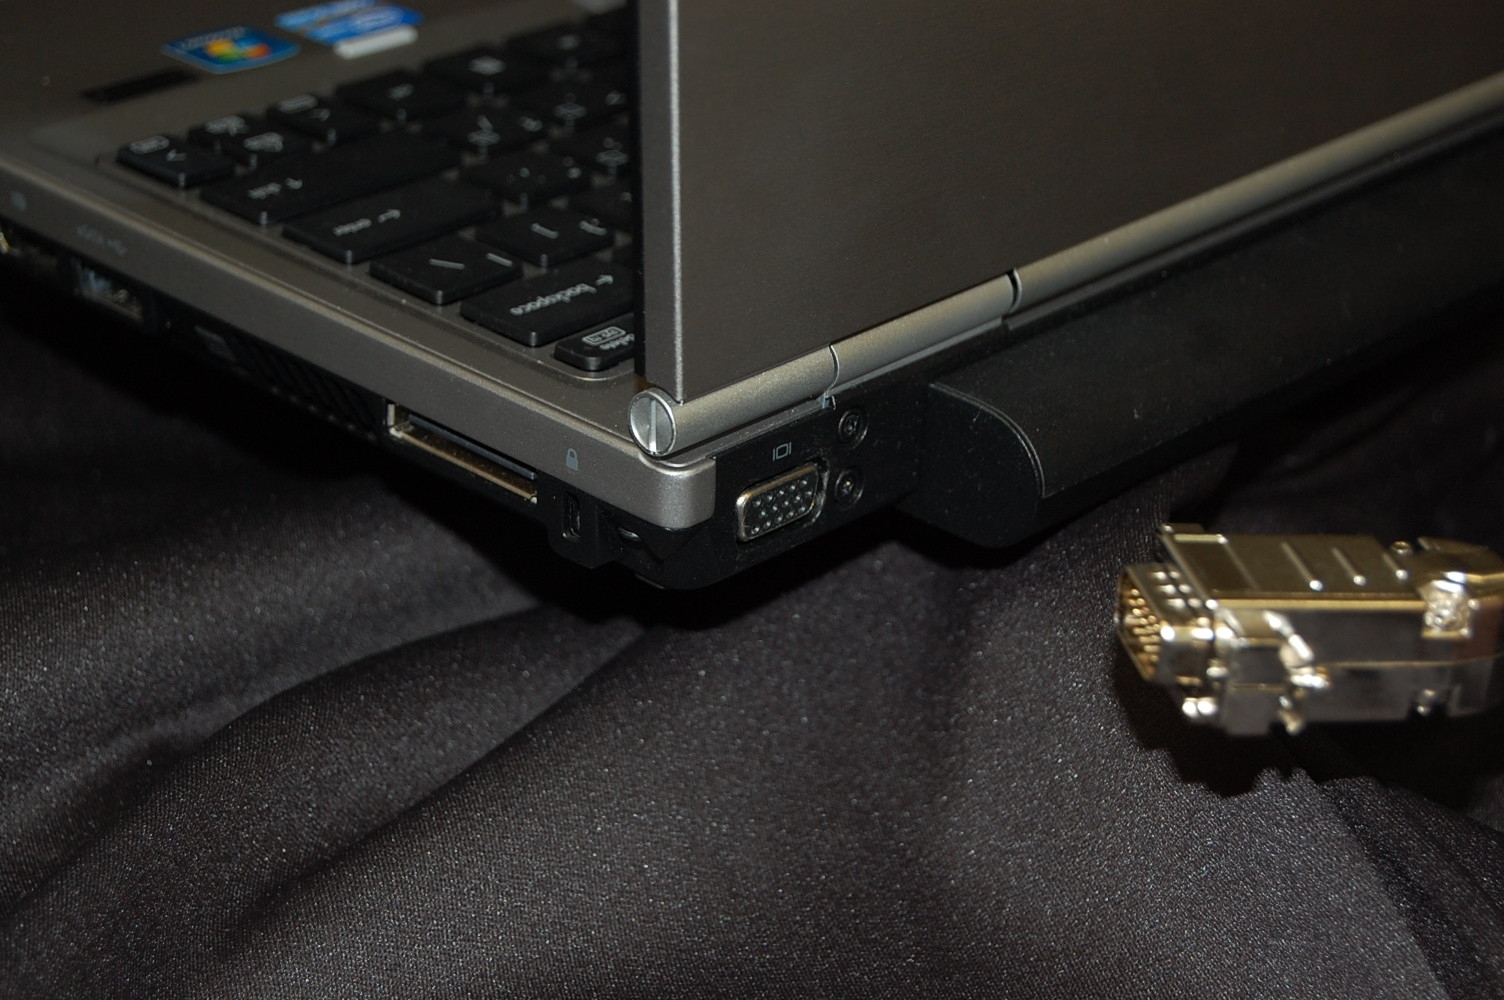
Connect the other end of the HD15 cable to the computer's monitor out port.
New model laptop computers do not have screw holes for the HD15 cable, simply press the connector firmly into the port. |
 |
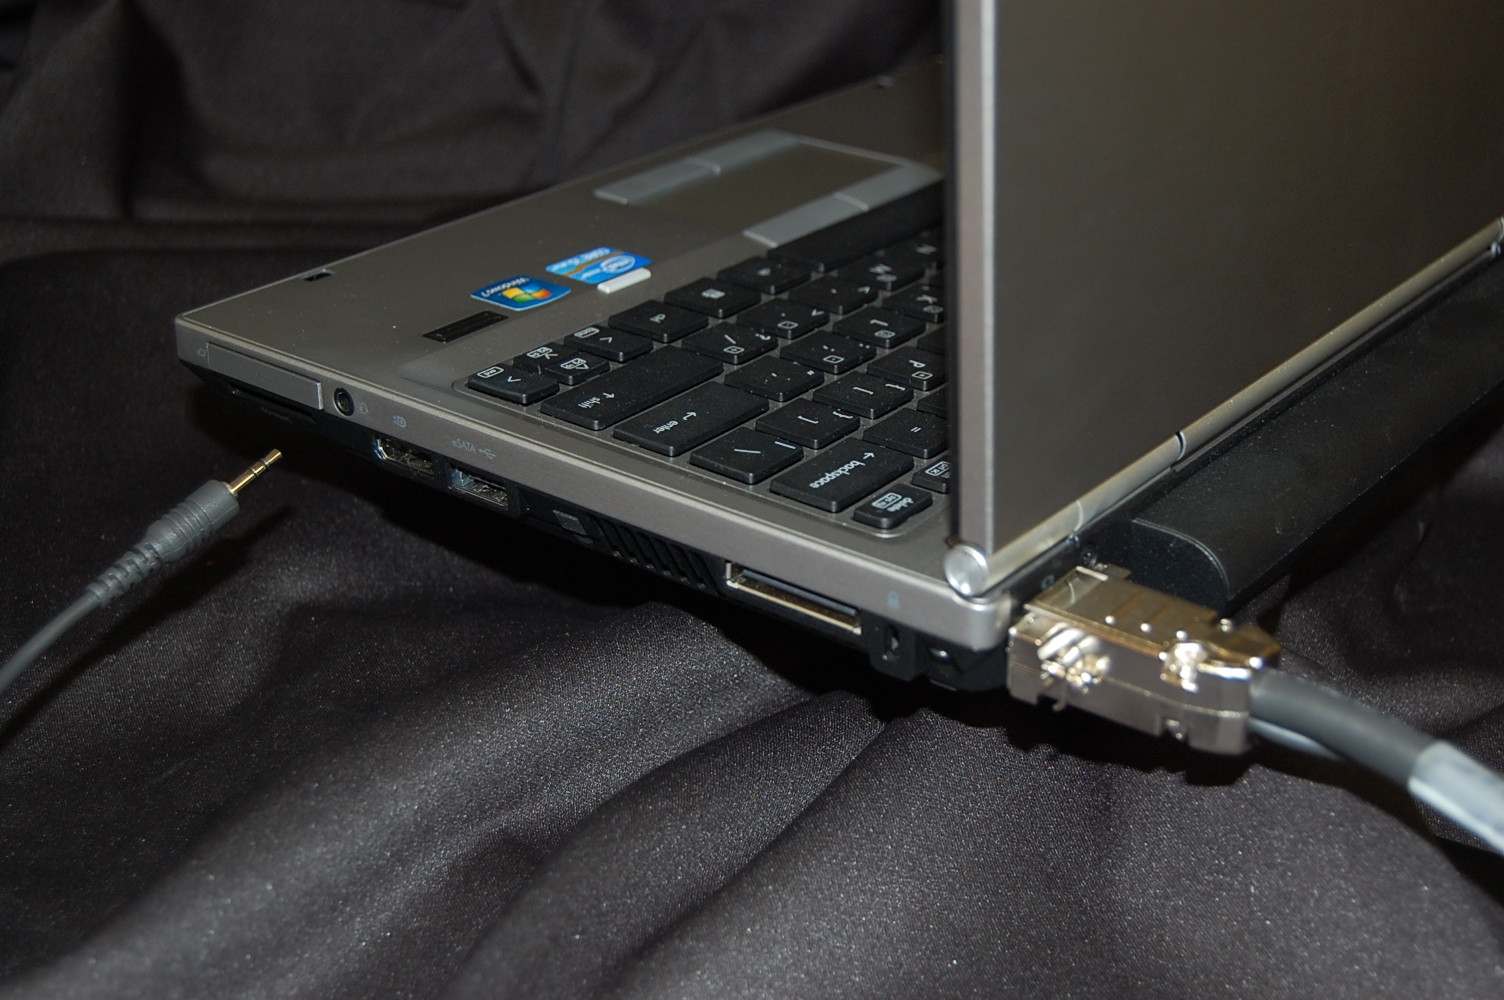
| Step 5 |
If computer audio is desired, connect the stereo mini cable to the headphone jack on the laptop computer. |
 |
| Step 6 |
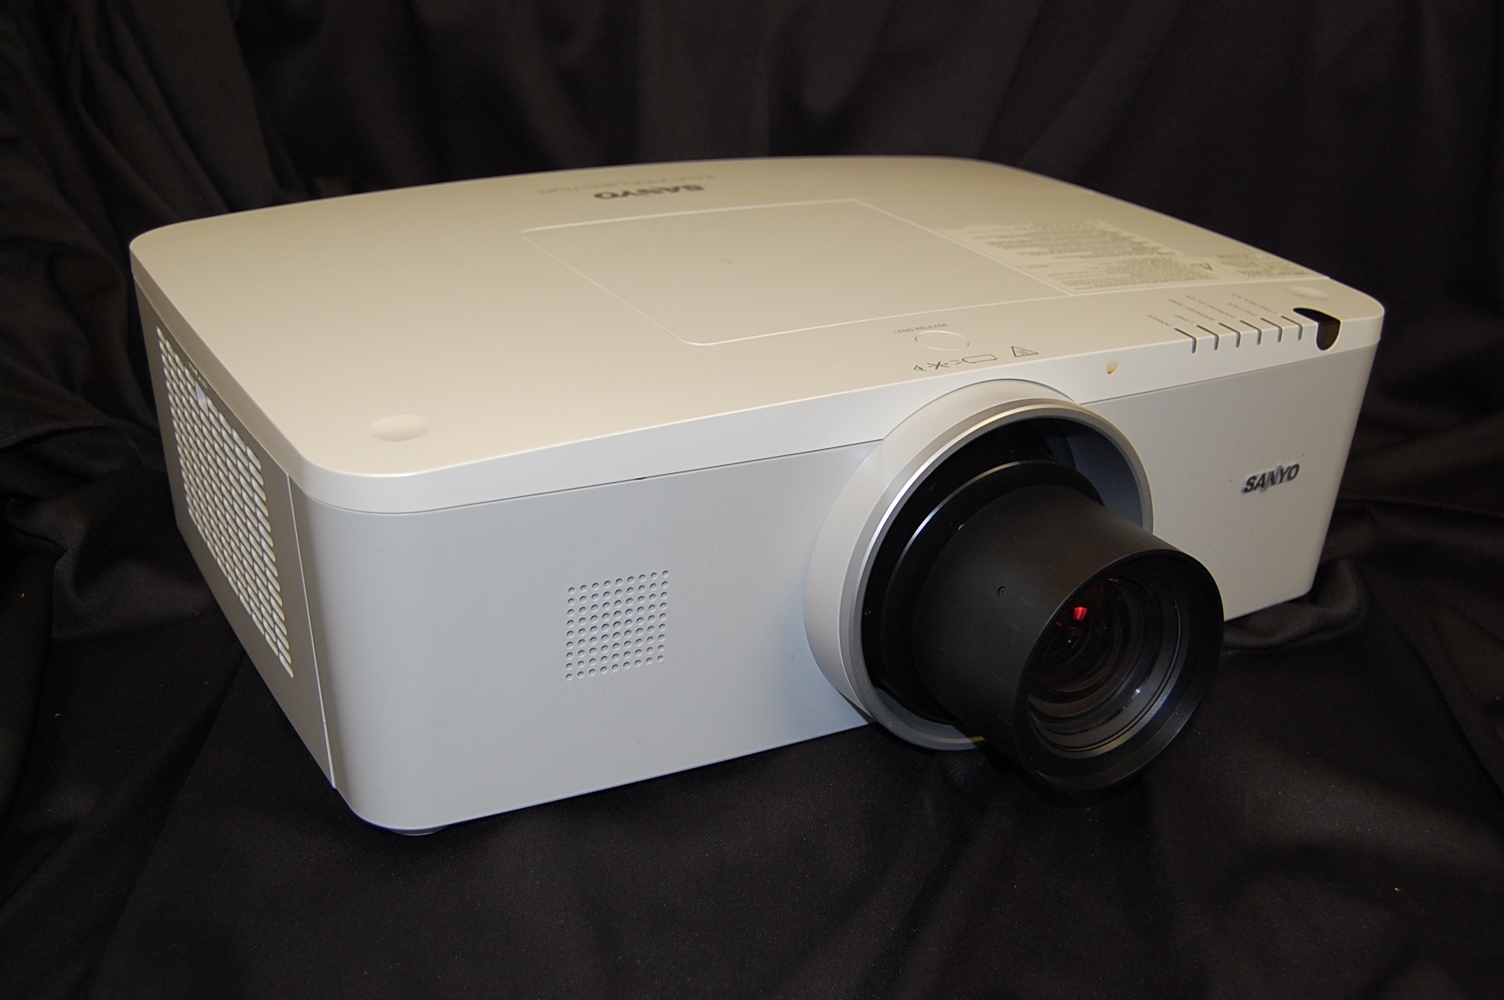
Turn on the data projector by pressing the"on" button on the side of the projector, or by pressing the "on" button on the remote control. |

 |
| |
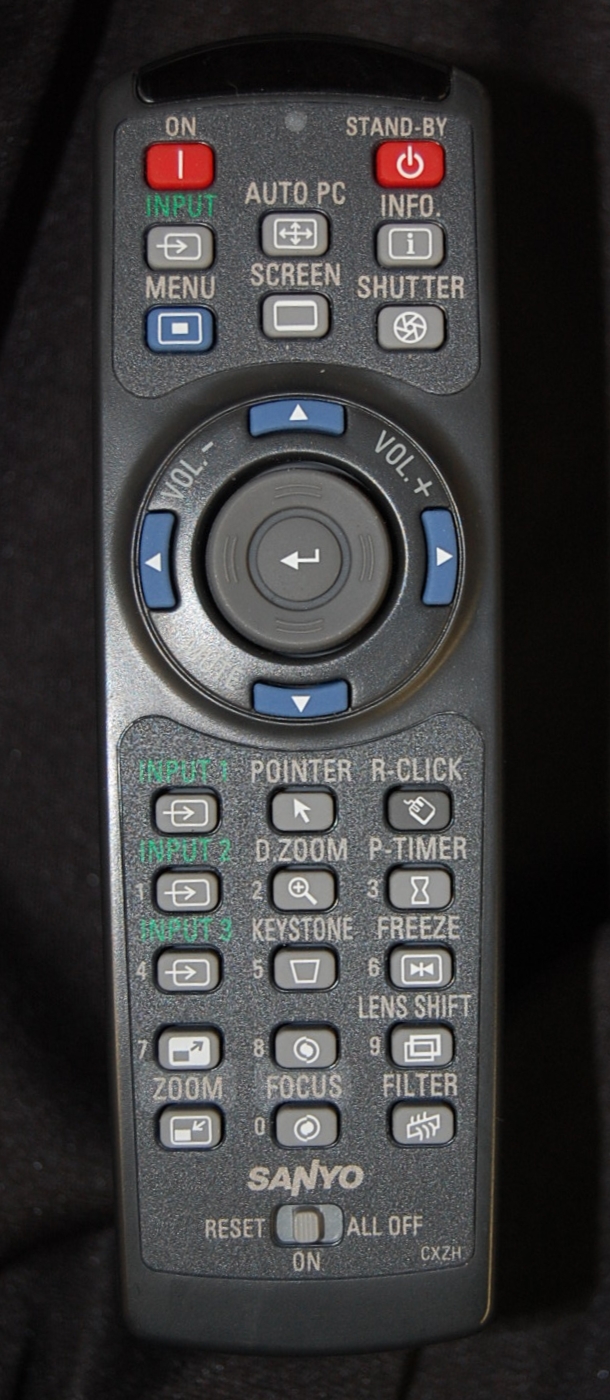
Select the analog input by pressing the "INPUT 1" button on the remote control, or by pressing the "input" button on the projector itself.
Pressing the input button will cycle through the available inputs. |
|
| Hint |
If the laptop image appears only on the laptop monitor and not on the projector, the monitor port on the laptop needs to be turned on.
PC: Control Panel/Display/Connect to a projector. Then choose "duplicate"
MAC: Access the display properties, then chose "mirror display" |
|
| Step 7 |
To fill the screen, resize the image by pressing the "Zoom" button on the remote control. To enlarge the image press the button with the arrow pointing up and right. To decrease the size, press the button with the arrow pointing down and left. |
|
| Step 8 |
Focus the image by pressing the "focus" button on the remote control. Use the buttons above and below the word "focus" to achieve a clear image. |
|
| |
Connecting Video |
|
| Step A |
A DVD player or VCR can be connected to the projector.
Connect a standard RCA video cable to the DVD's "Video OUT" port. |
|
| Step B |
Run the other end of the video cable to the data projector's "Video IN" port located on the back of the projector. |
 |
| Step C |
Connect a standard RCA audio cable to the DVD's "Audio OUT" port. |
|
| Step D |
Connect the other end of the audio cable to the data projector's "Audio IN" port (next to the Video In). |
|
| Step E |
Select the "Video" input on the projector by pressing the "video" button on the remote control, or by pressing the "input" button on the projector top.
Press the "input" button multiple times until the desired input is displayed. |
|
| Hint |
Volume may be adjusted by pressing the "volume + or -" buttons on the remote control or on the projector top. |
|
| Step F |
To fill the screen, resize the image by pressing the "Zoom" button on the remote control. To enlarge the image press the button with the arrow pointing up and right. To decrease the size, press the button with the arrow pointing down and left. |
|
| Step G |
Focus the image by pressing the "focus" button on the remote control. Use the buttons above and below the word "focus" to achieve a clear image. |
|
| |
|
Revised 07-12
Send comments about this page to Tom Gill, Instructional Media
Coordinator tmgill@noctrl.edu |