Philips Voice Tracer MP3 Recorder
North Central College

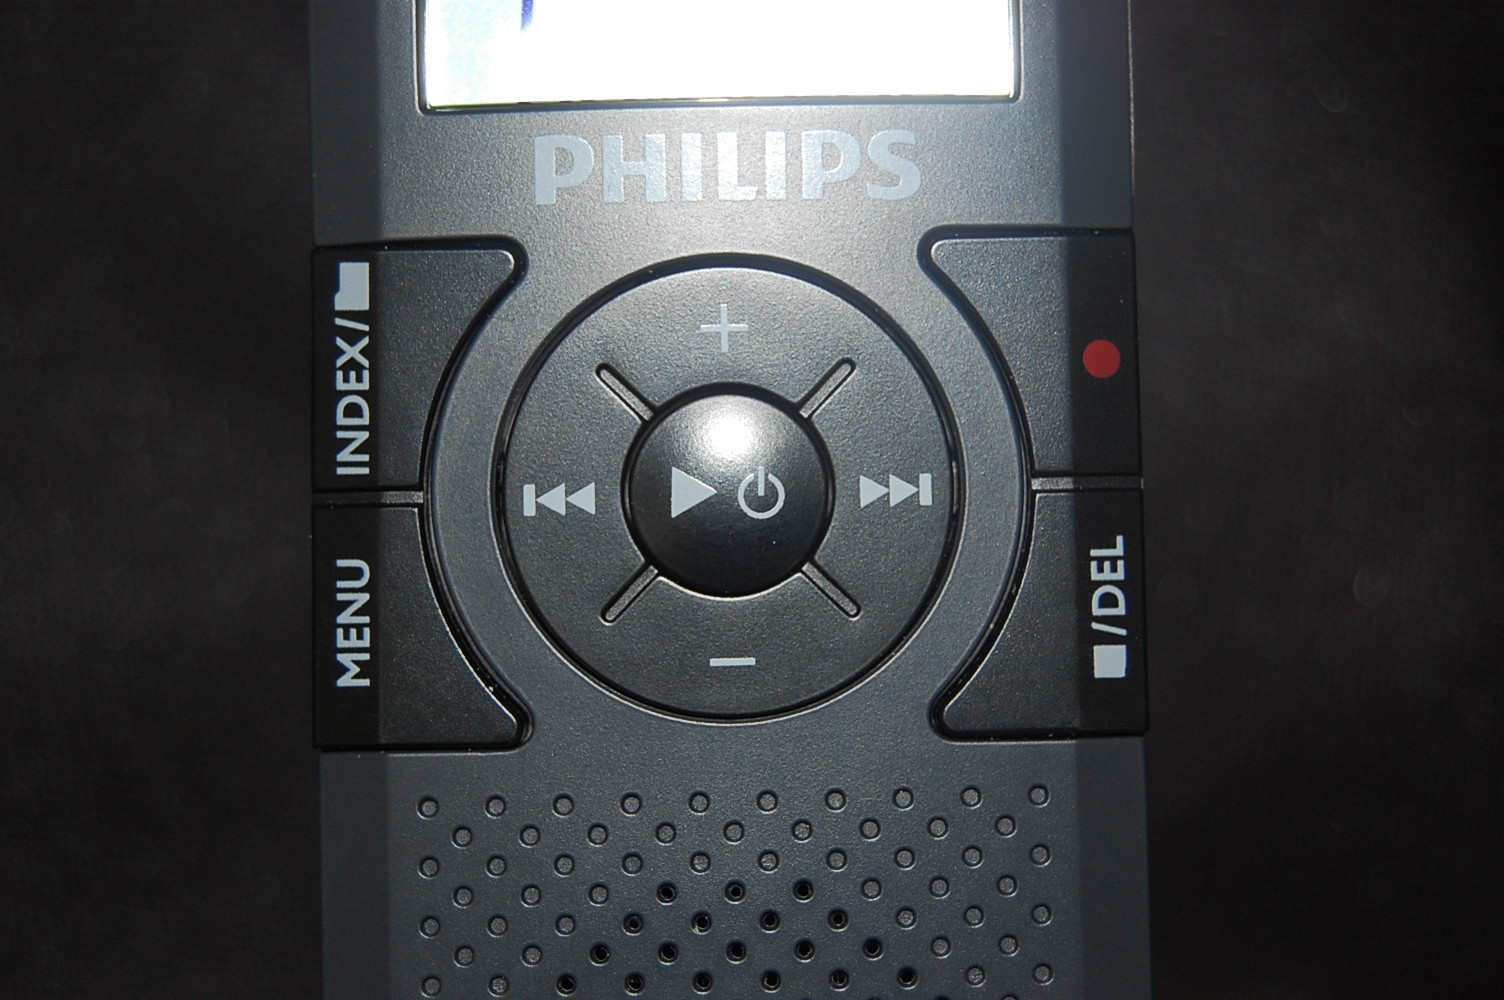
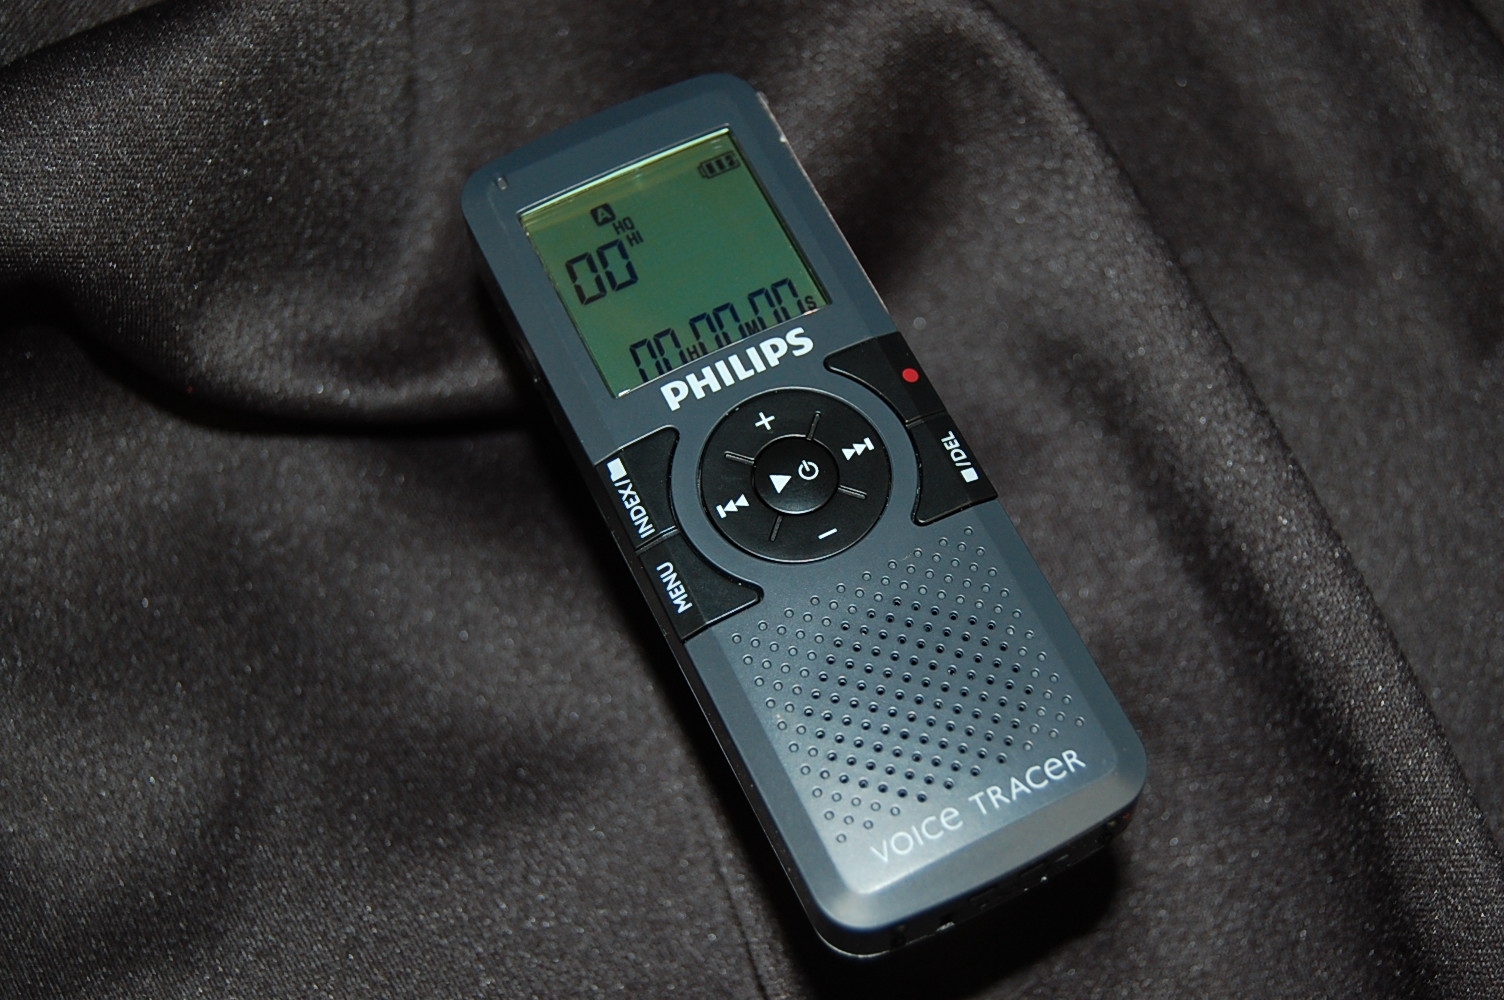
The Philips Voice Tracer MP3 recorder is perfect for recording interviews, lectures, presentation and more.

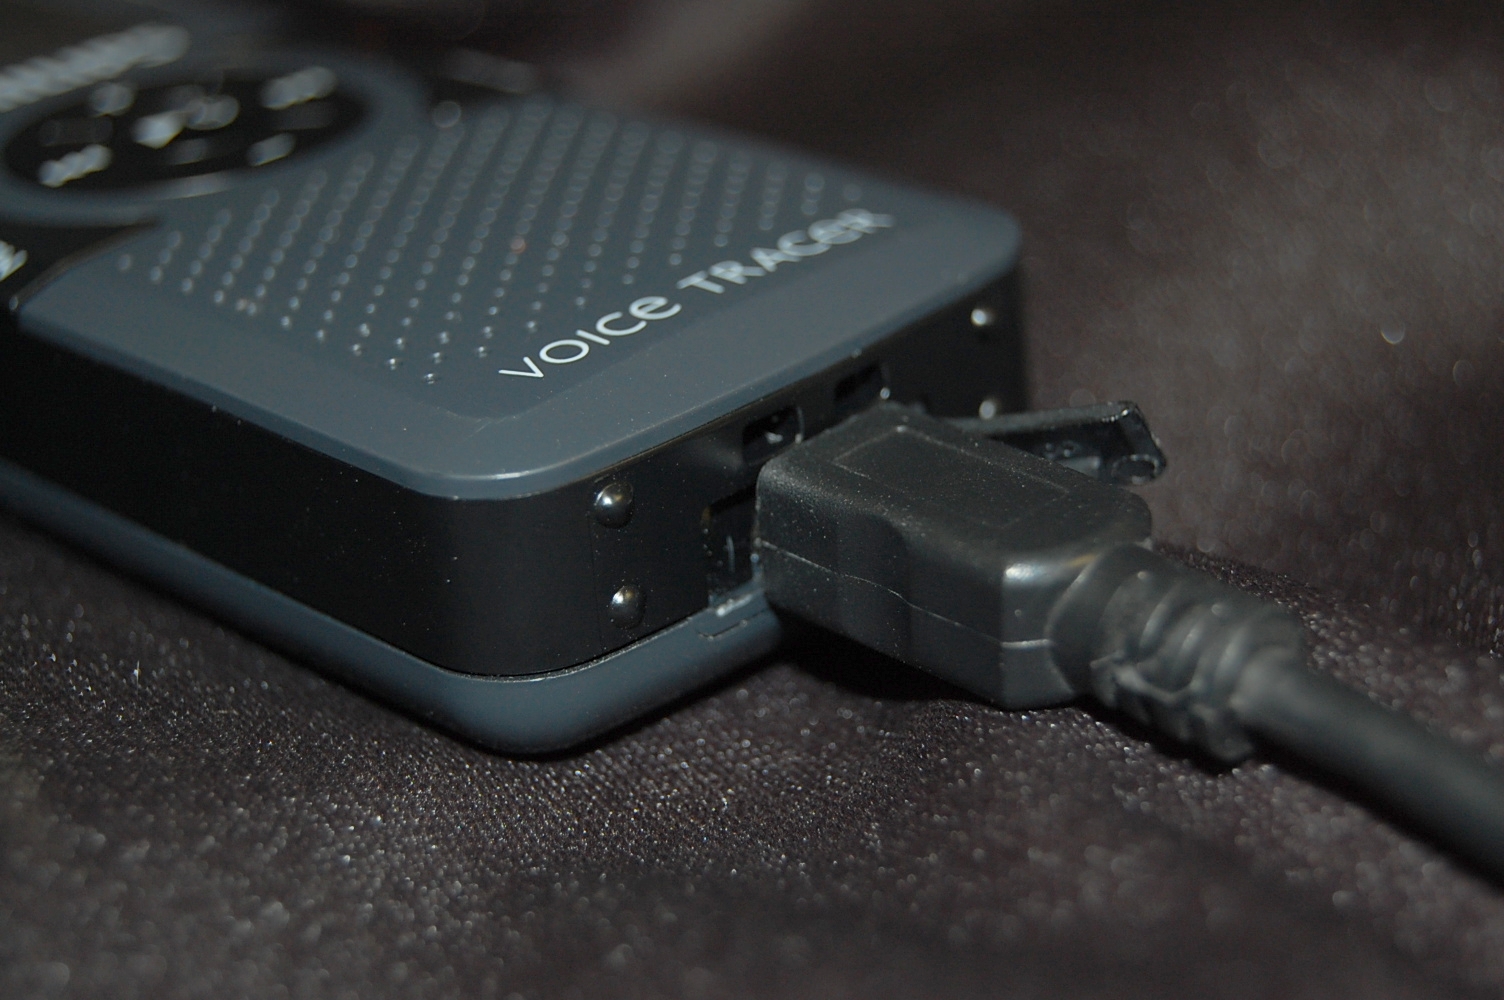
Records directly to MP3 format, there is no need for conversion software, and the internal hard drive holds hours of audio.

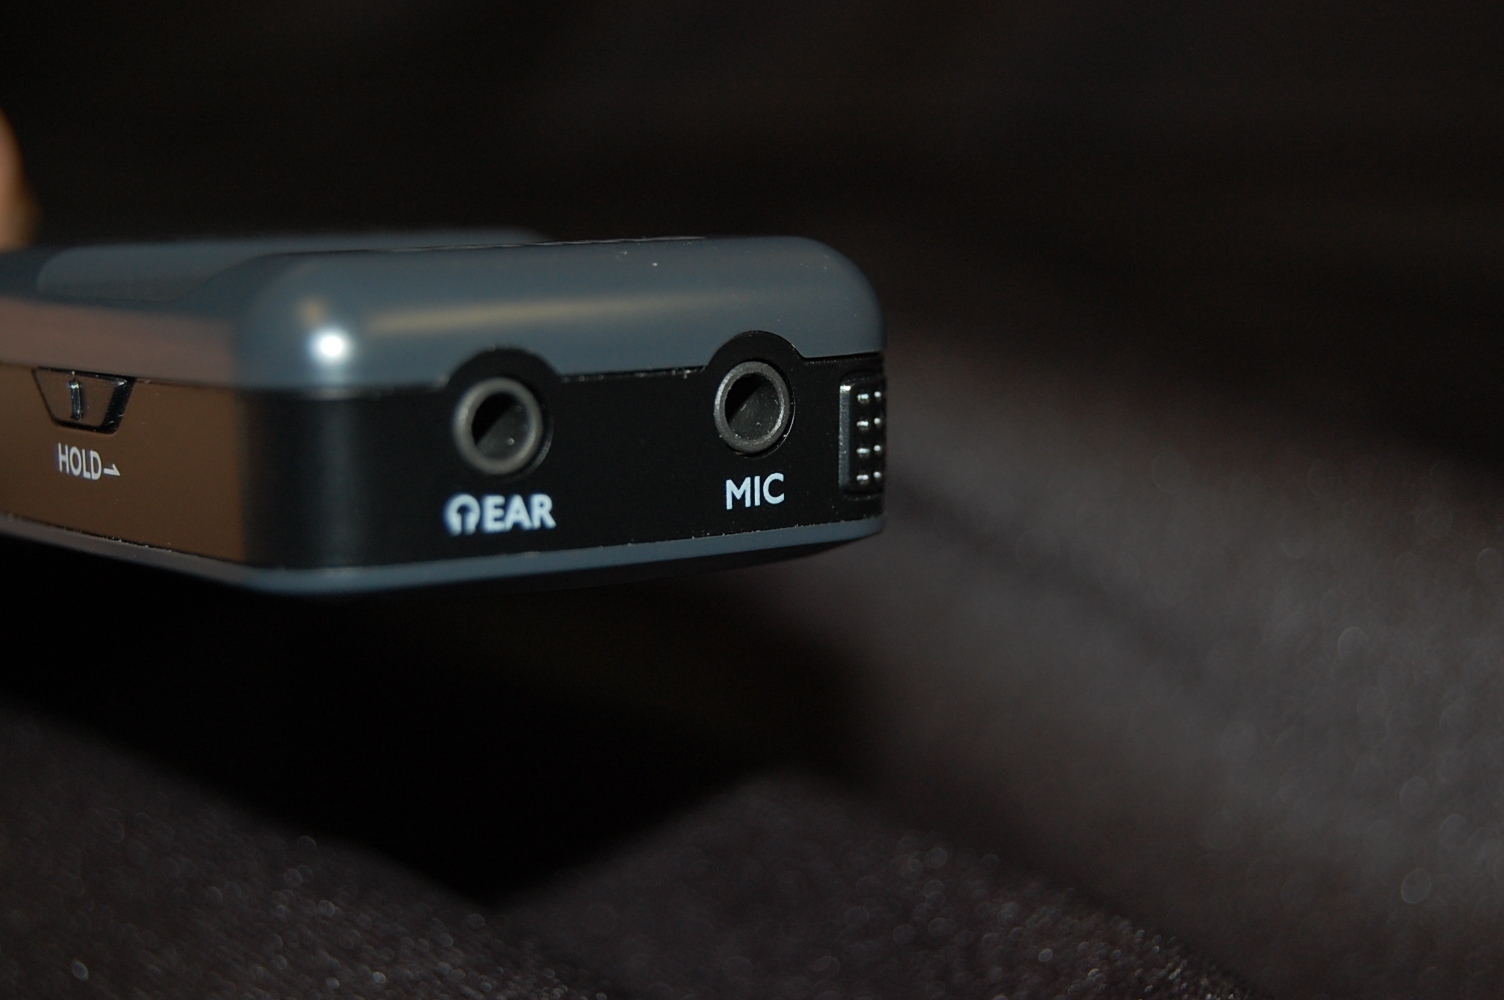
The recorder includes an external microphone jack and headphone jack.


  Recording  
Step 1

Turn on the voice recorder by pressing and holding the power button located in the center of the control dial.


Hint

Make sure the "hold" button is not set to hold. This puts the recorder in stand by mode and it will not respond.

Step 2

Press the "Index" folder button to select the folder for the recording. This is not an important step, but could assist in organizing recordings.

Step 3

Press the red record button to begin recording audio.

The timer on the display will begin to keep track of the record time.

 
Step 4

To stop recording, press the stop/DEL button on the lower right side of the control panel.

To record another selection, simply press the red record button again. A new file will be created on the internal drive. A different folder can also be chosen prior to recording again - follow step 2 above.

     
  Playback  
Step A To play back a file, first choose the desired folder by pressing the "Index" folder button. Each time the button is pressed, it will cycle through the available folders.
Step B Choose the correct file number by pressing the left or right double arrow buttons located around the center of the control panel.  
Step C Press the play button (the arrow button in the center) to hear the selection.  
     
  Transferring Files  
Step a To transfer an audio file to a computer, connect one end of the supplied USB cable to the port on the recorder, and the other end to a computer.
Step b

The recorder will act as a USB mass storage device. Use Windows Explorer (PC) or a new Finder window (Mac) to view and transfer the files to a computer.

The files can then be played on a computer, transferred to an MP3 player, burned to a CD or used in any software program that accepts MP3.

 
  Deleting Files  
Step aa

Once the audio files are successfully transferred to a computer, they may be deleted from the recorder.

Use the "Index" folder button to select the folder the recording is in.

Step bb Press and hold the stop "DEL" button until the word "delete" appears on the display.  
Step cc Use the left and right double arrow buttons to choose whether you wish to delete the selected file or the entire folder.  
Step dd Press the play/arrow button to make your selection. The choose "N" for no or "Y" for yes to delete the file.
     
    Revised 07-12
Send comments about this page to Tom Gill, Instructional Media Coordinator tmgill@noctrl.edu