NEC NP400 Data Projector
North Central College

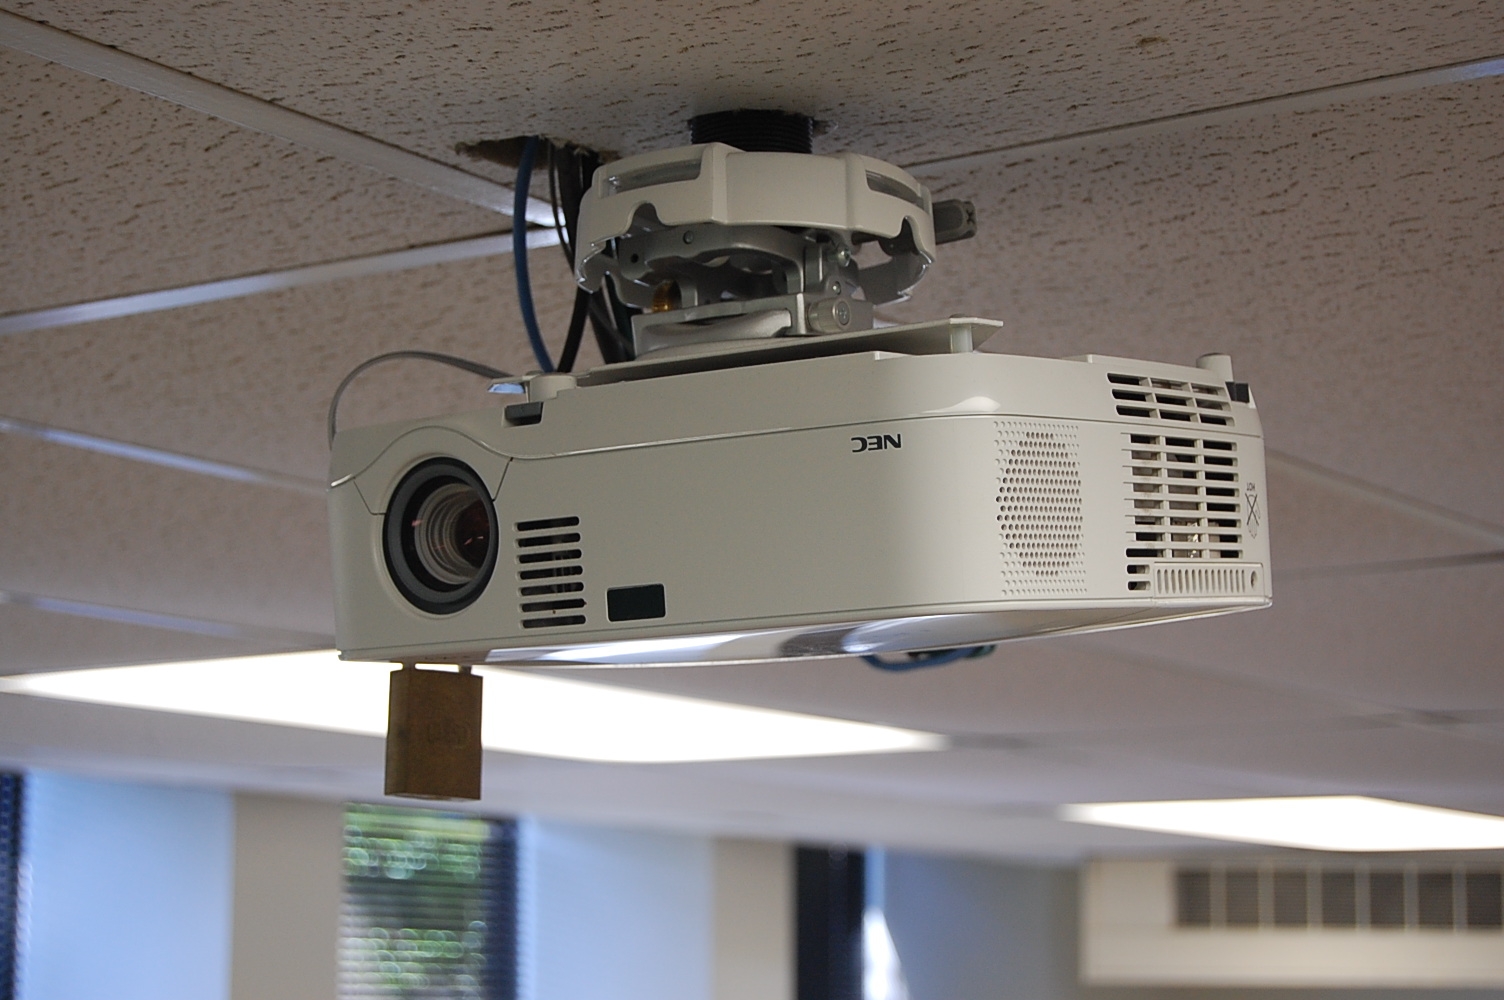
The NEC NP400 projector can be found mounted on the ceiling in most classrooms on campus.

It is also used as a portable data projector for presentations off campus, or in spaces without a permanent projector.

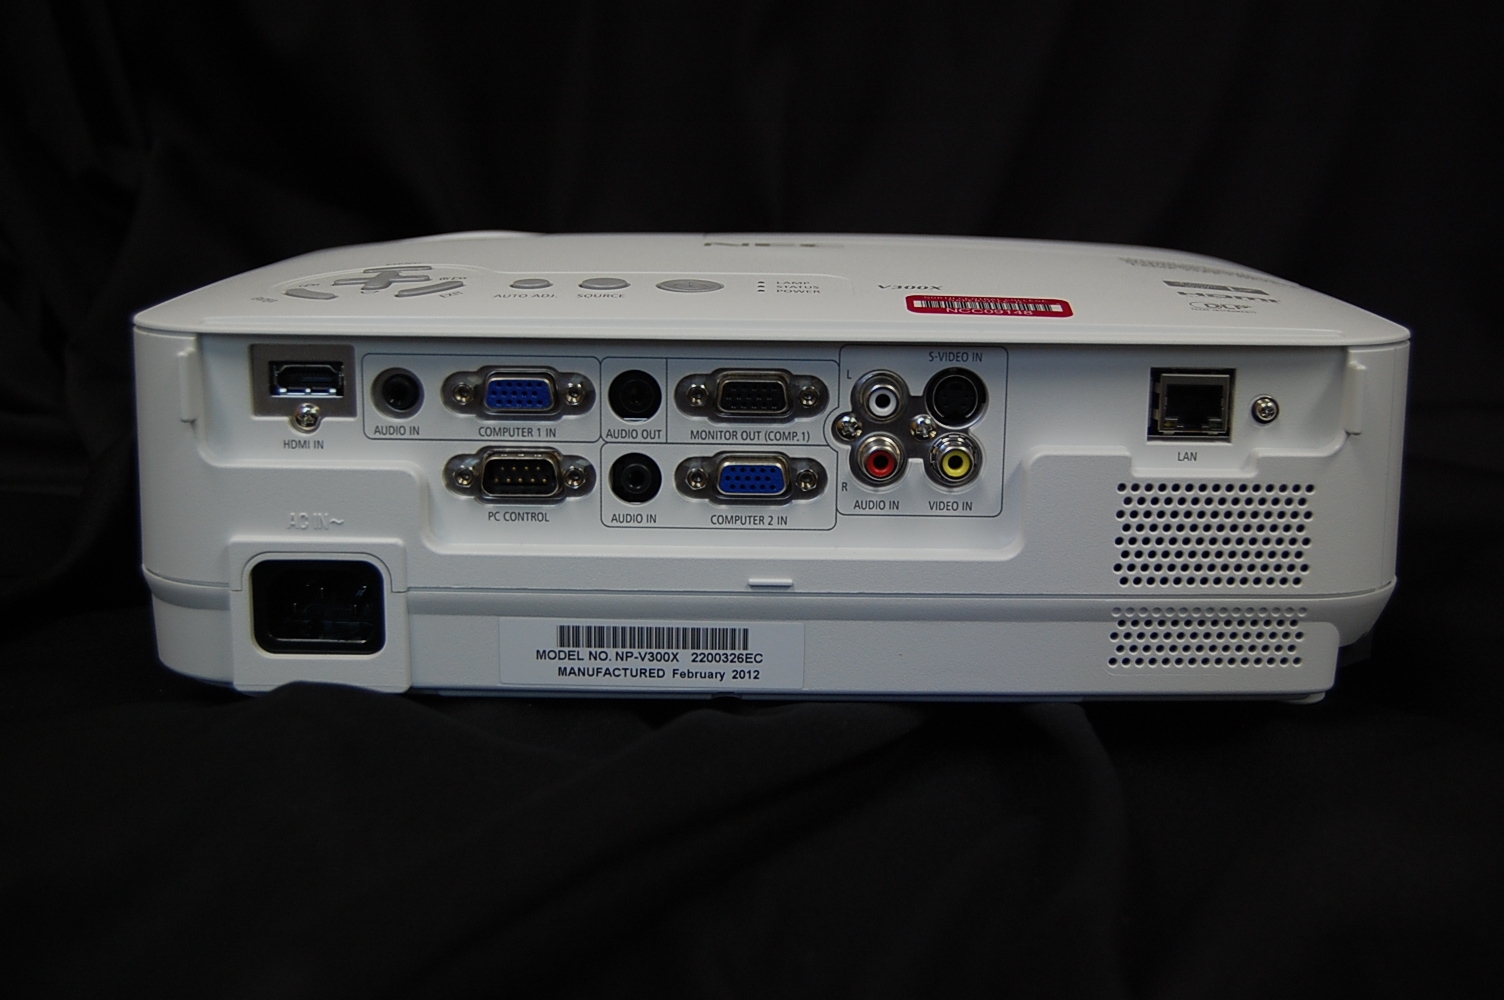
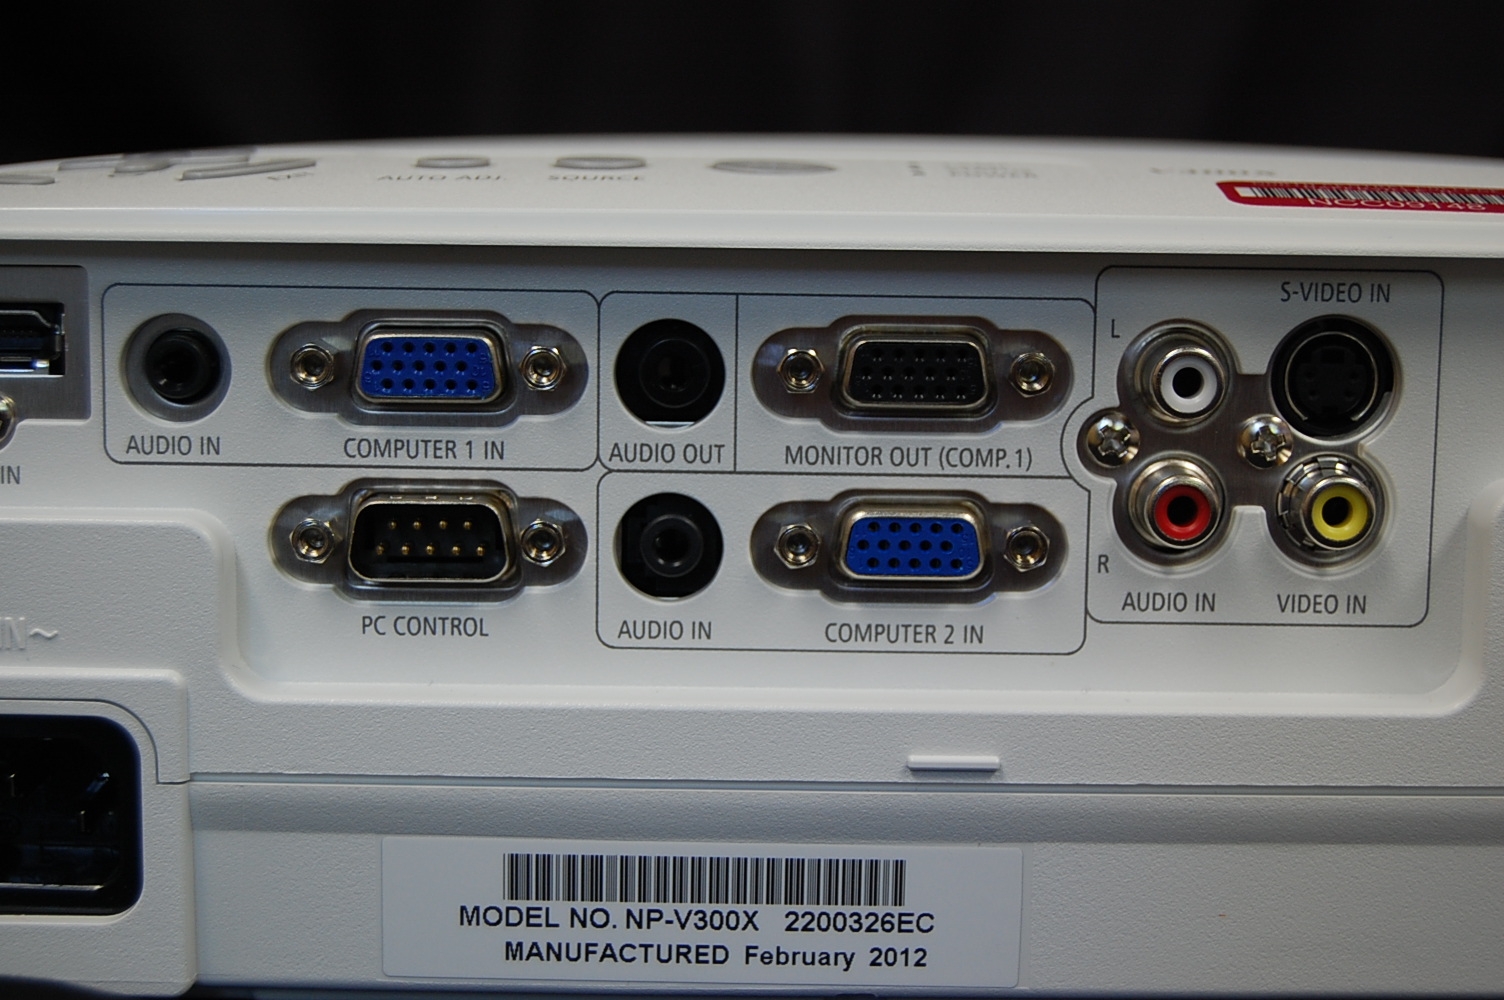
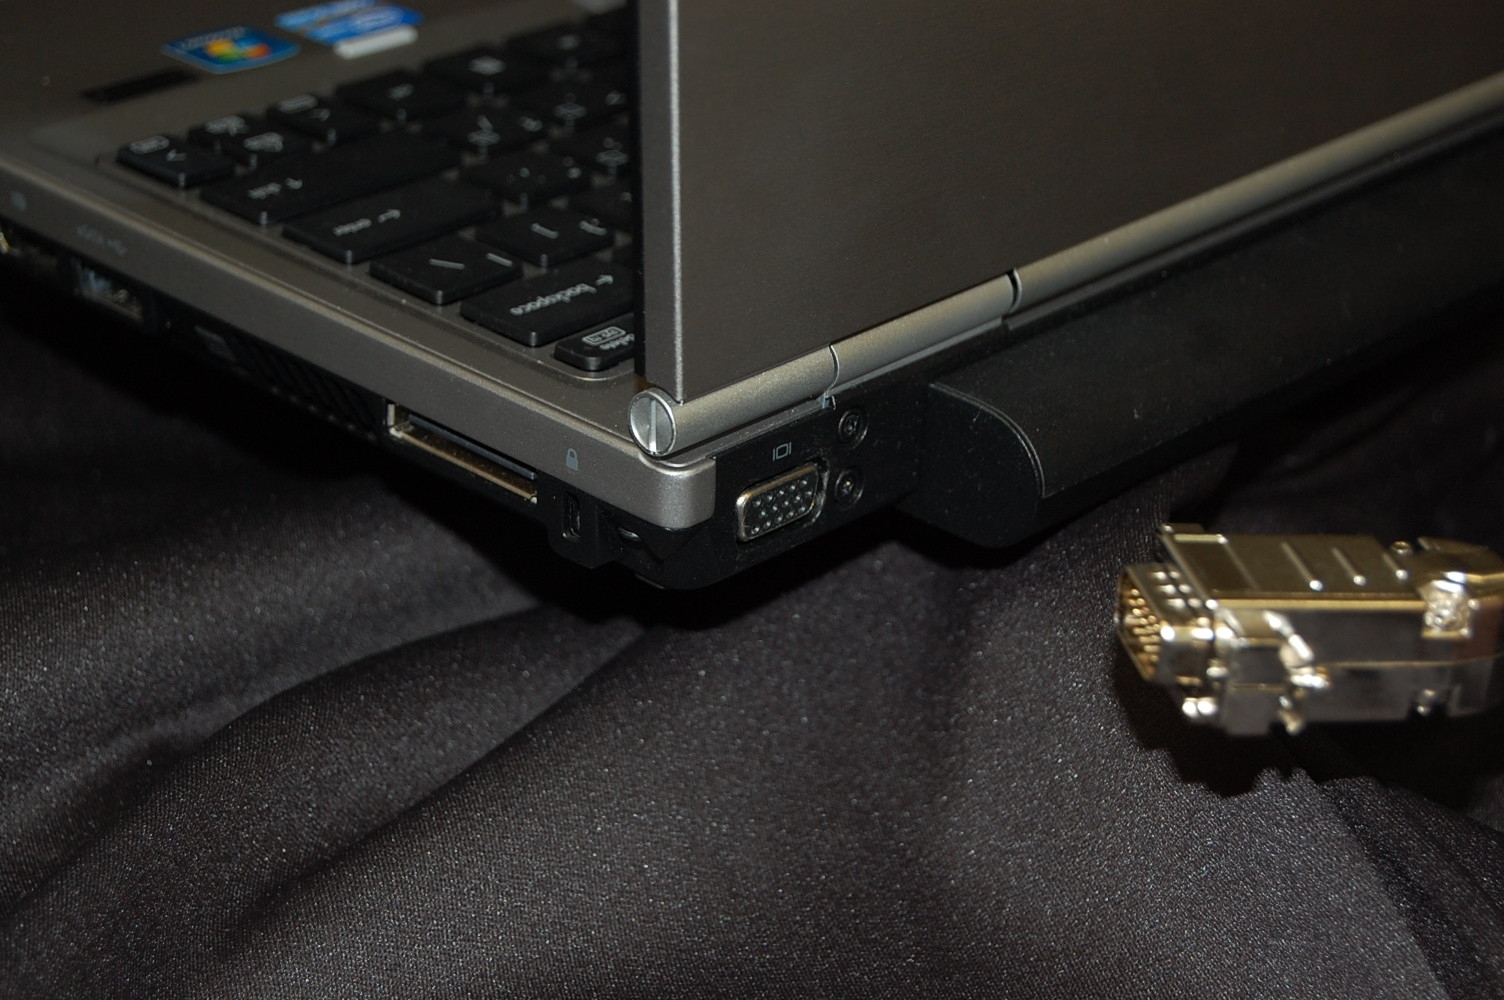
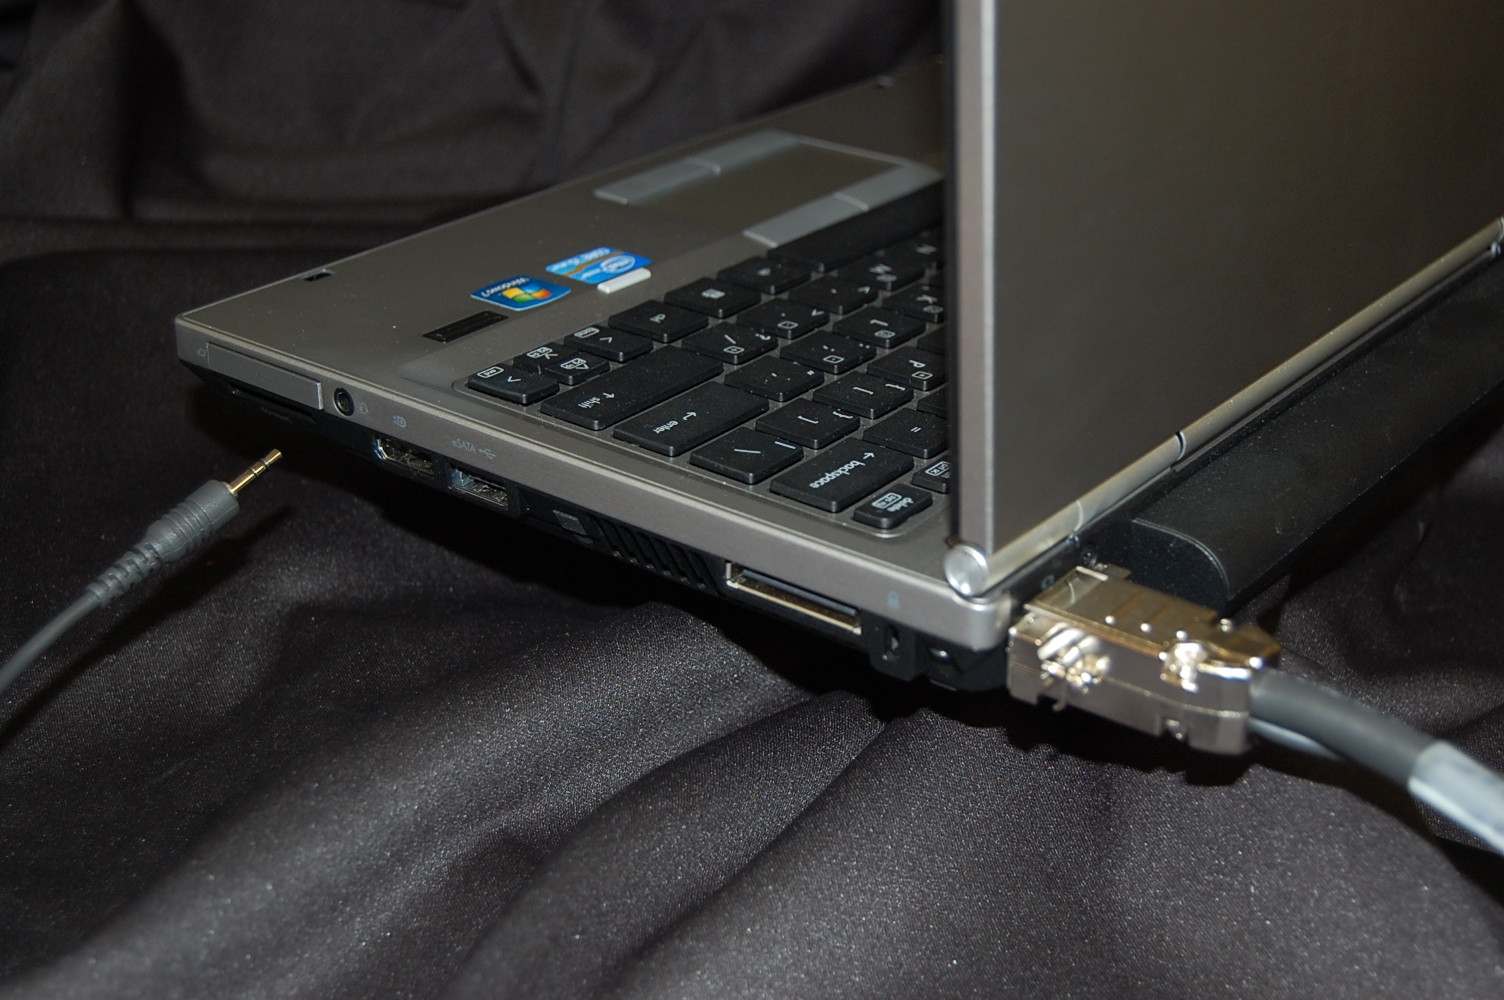
The NEC NP400 projects computer data from a PC or Mac (Mac adapter required), as well as video from any composite source such as a DVD player.

It also includes a built-in speaker for convenience.


  Connecting to a
Laptop Computer
 
Step 1

Insert the power cord into the AC IN connection on the back of the projector.

Plug into a standard electrical outlet.

Step 2

Connect the supplied HD15 cable to the "Computer 1 in" input on the back of the projector.

Step 3

If audio is desired, plug the supplied stereo mini cable into the "Audio in" port directly next to the "Computer 1 In" input.


Step 4

Connect the other end of the HD15 cable to the computer's monitor out port.

New model laptop computers do not have screw holes for the HD15 cable, simply press the connector firmly into the port.

Step 5 If computer audio is desired, connect the stereo mini cable to the headphone jack on the laptop computer.
  Turn on the data projector by pressing the power button on the top of the projector, or by pressing the power button on the remote control.
 

Select the "computer 1" input by pressing the "computer 1" button on the remote control, or by pressing the "source" button on the projector itself.

Pressing the source button will cycle through the available inputs.

 
Hint

If the laptop image appears only on the laptop monitor and not on the projector, the monitor port on the laptop needs to be turned on.

PC: Control Panel/Display/Connect to a projector. Then choose "duplicate"

MAC: Access the display properties, then chose "mirror display"

 
  Connecting Video  
Step A

A DVD player or VCR can be connected to the projector.

Connect a standard RCA video cable to the DVD's "Video OUT" port.

 
Step B Run the other end of the video cable to the data projector's "Video IN" port located on the back of the projector.
Step C Connect a standard RCA audio cable to the DVD's "Audio OUT" port.  
Step D Connect the other end of the audio cable to the data projector's "Audio IN" port (next to the Video In).  
Step E

Select the "Video" input on the projector by pressing the "video" button on the remote control, or by pressing the "source" button on the projector top.

Press the "source" button multiple times until the desired input is displayed.

Hint Volume may be adjusted by pressing the "volume + or -" buttons on the remote control or on the projector top.  
Hint

To momentarily hide the projected image from the audience, press the "AV Mute" button on the remote control. The lamp will remain on, but simply project a blank screen.

When ready to display the image, press the "AV Mute" button again.


    Revised 07-12
Send comments about this page to Tom Gill, Instructional Media Coordinator tmgill@noctrl.edu