Nikon D40 Digital SLR Camera
North Central College


The Nikon D40 Digital SLR camera is primarily reserved for use by photography students, but when available, it may be borrowed by the campus community for College related work.

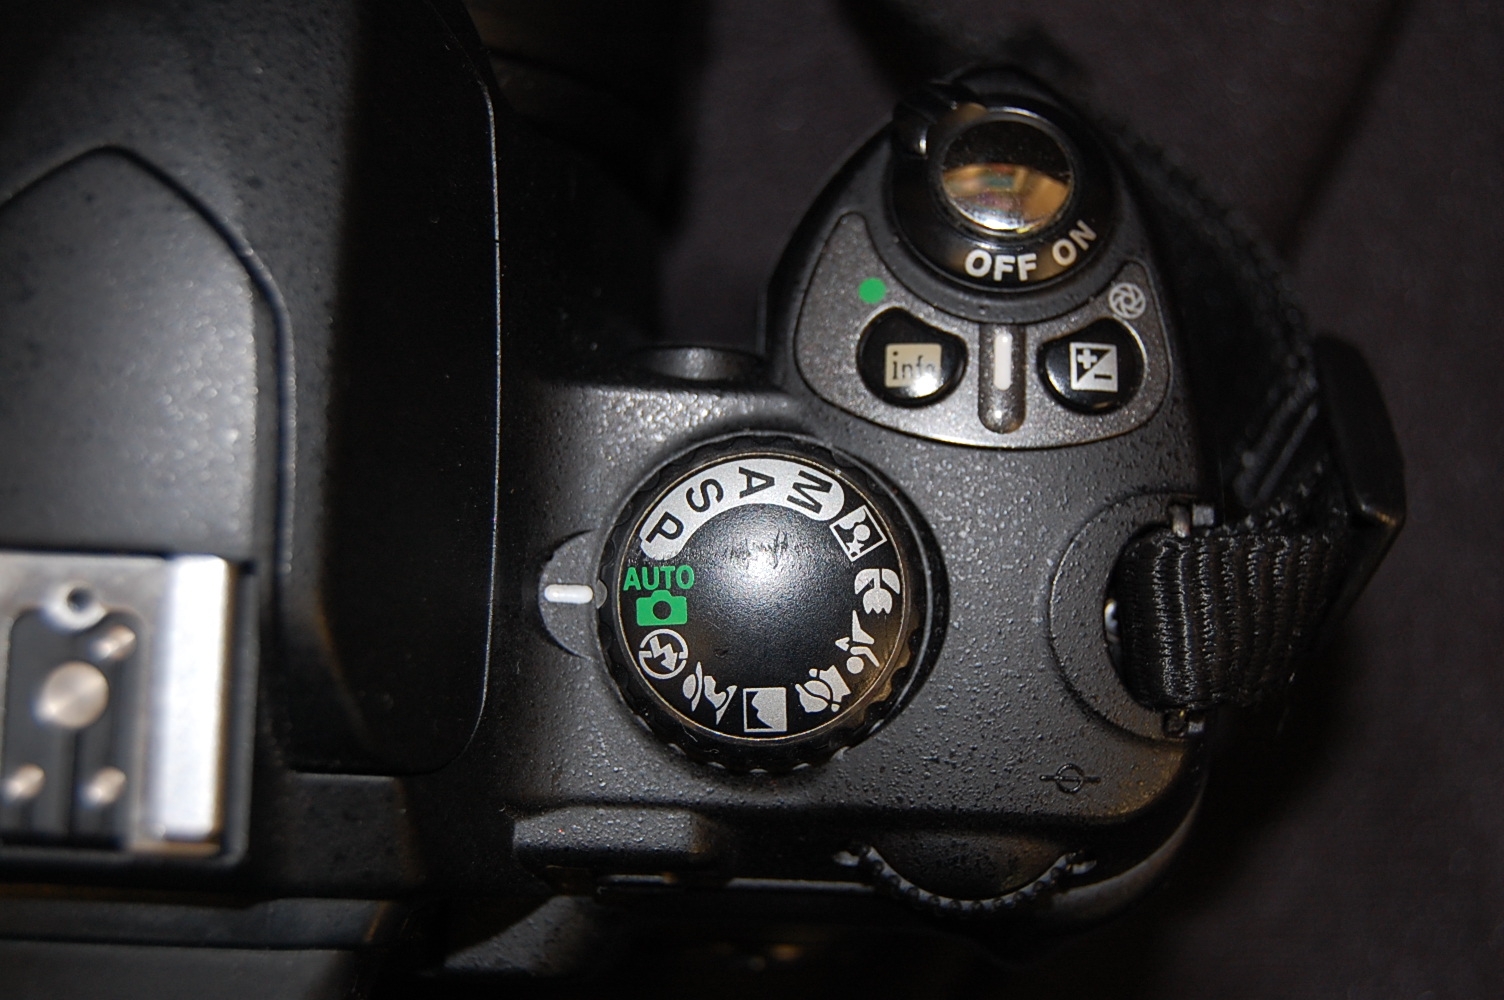
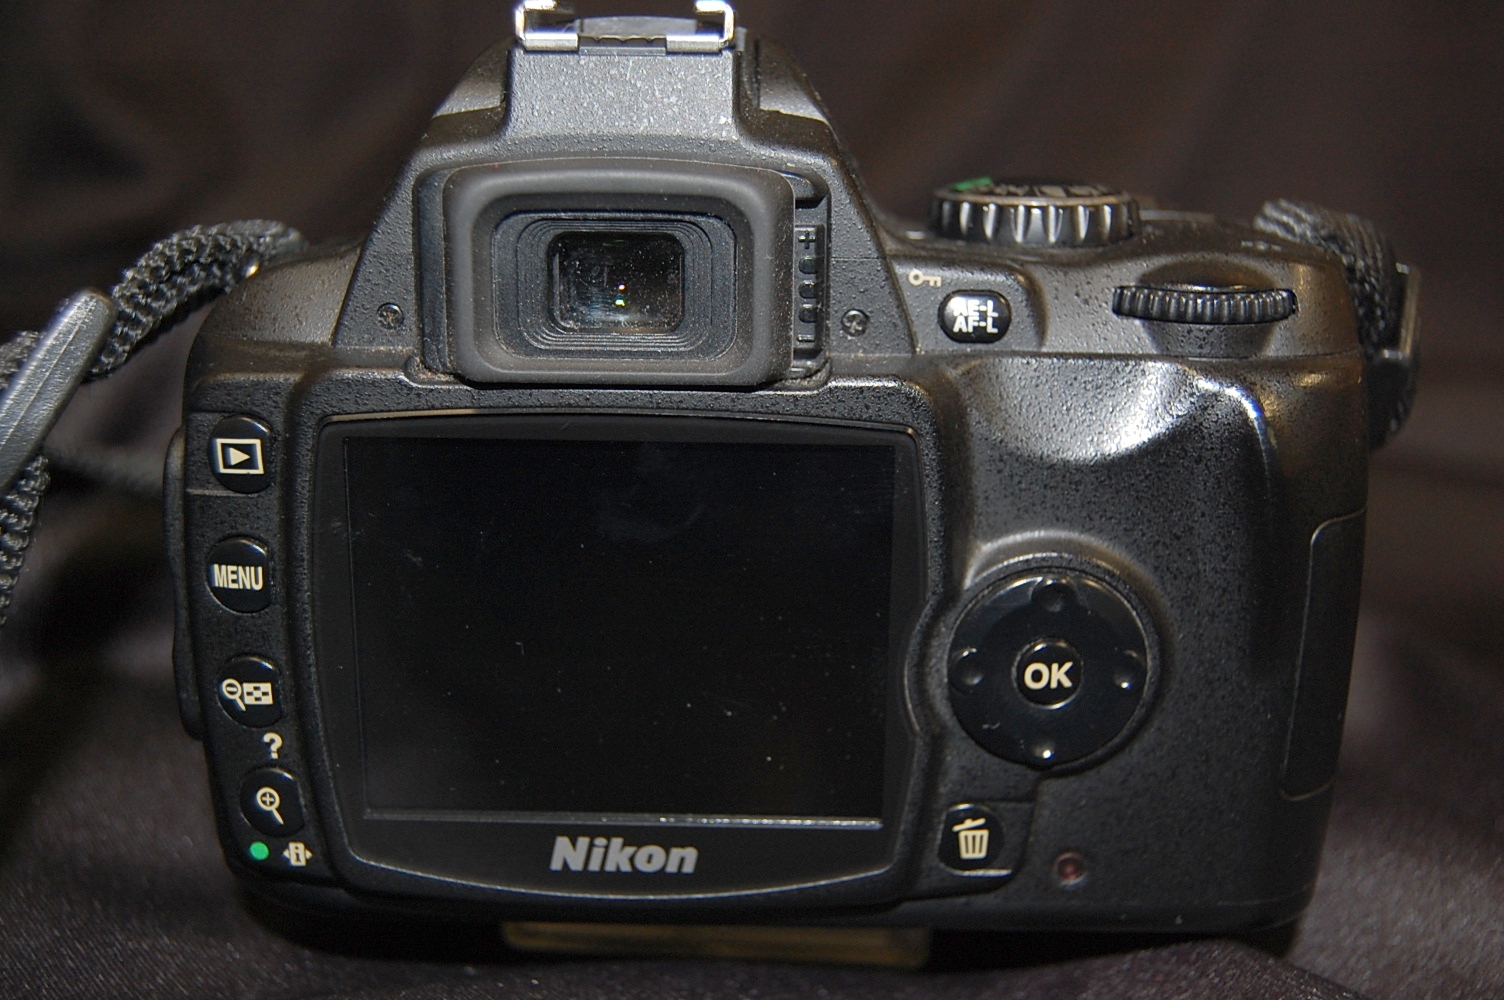
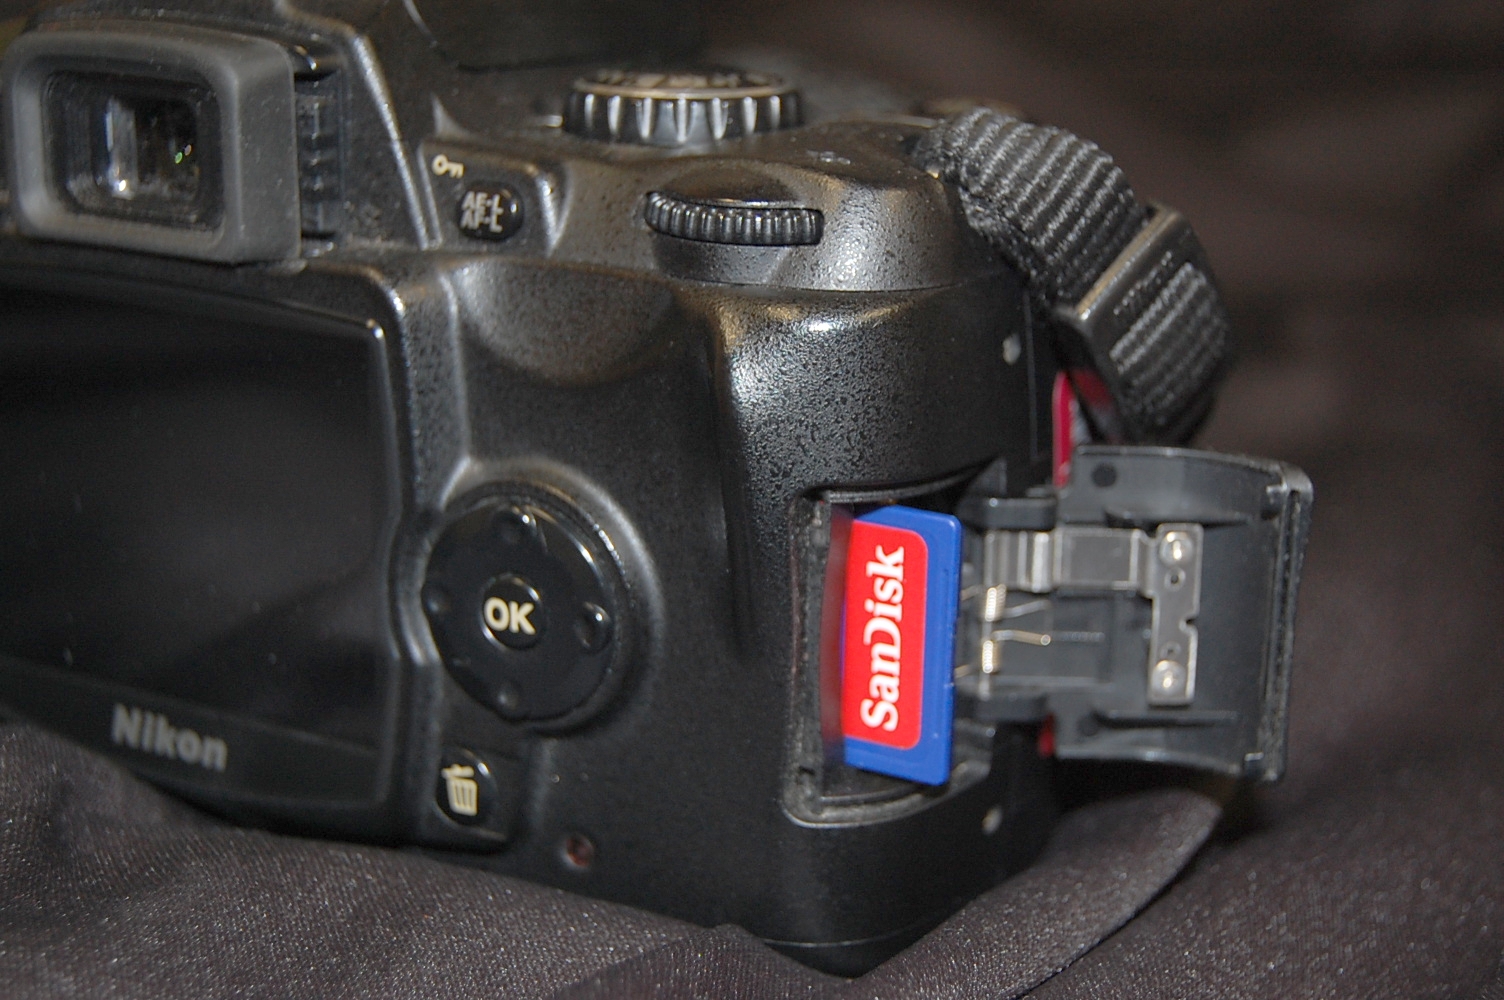
The camera features an 18mm to 55mm zoom lens, 6 megapixels, and a 2Gb SD card.

Detailed instructions for this camera may be found here


Step 1 Turn on the camera by rotating the "on off" ring located at the top of the camera, surrounding the shutter release button.
Step 2

Select the desired mode for the type of photography being done. Rotate the dial until the mode lines up with the white indicator.

For casual users, "Auto" mode is best.

M or manual mode gives complete control over aperture and shutter.


Step 3

For auto focus or manual focus, slide the switch on the lens to A for auto or M for manual.

Never turn the lens focus ring if the lens is set to auto.

If set to auto, when the shutter release is pressed, the lens will automatically focus on the targeted item.

Note You must look through the viewfinder on this model camera - the display is only for review of images, not a live screen.  
Step 4 Turn the large ring on the lens to zoom in or out.  
Step 5

Press the shutter release half way down and hold it for a moment to lock in the focus and light meter.

Then, press it all the way down to take the photograph.

You may also press the button all the way down in one step, but the camera may take half a second or more to meter and focus on the subject.

  Reviewing Photos  
Step A

Directly after the shutter release is pressed, the photo is shown for two seconds on the rear display.

You may also review images by pressing the arrow button located on the rear of the camera, on the top left side.

Step B

Press the left and right arrows on the navigation ring surrounding the "OK" button on the back of the camera to navigate through the images on the display.

Press the + or - buttons to zoom in or out of a selected image. This is perfect for making certain an image is focused properly.

 
  Downloading Images to a Computer  
Note

The images are saved to an SD card inserted into the camera.

The card may be removed by opening the card door located on the right side of the camera.

The card can then be placed into an SD card reader for transfer to a computer.

Step a

Images can also be transfered to a computer via USB.

Connect the supplied USB cable to the camera's USB port located behind the rubber cover, on the left side of the camera.

Connect the other end of the USB cable to a PC or Mac.

The camera may auto connect, or, you may need to browse for the "Nikon" drive that will appear as a mass storage device.

Use Windows Explorer (PC) or a new Finder window (Mac) to view the image files and to copy them to a folder on your computer.


Hint

Always use "copy" to transfer the images to a computer; or you can also drag the file from the Nikon folder to the desired folder. Never use "cut."

Never delete the images on the SD card using the computer - always delete images using the camera's delete feature.

 
  Deleting Images  
Step aa

Once all images are transfered to a computer, you may delete them from the SD card.

You may delete individual photos by navigating to them (see step A), then pressing the trash button on the lower right side of the rear of the camera.

Confirm the delete by pressing the OK button.

Step bb To delete all images at once, you can reformat the SD card by pressing the menu button and choosing the wrench icon, then "Format Memory Card"  
     
    Revised 07-12
Send comments about this page to Tom Gill, Instructional Media Coordinator tmgill@noctrl.edu