| |
Still Images |
|
| Step 1 |
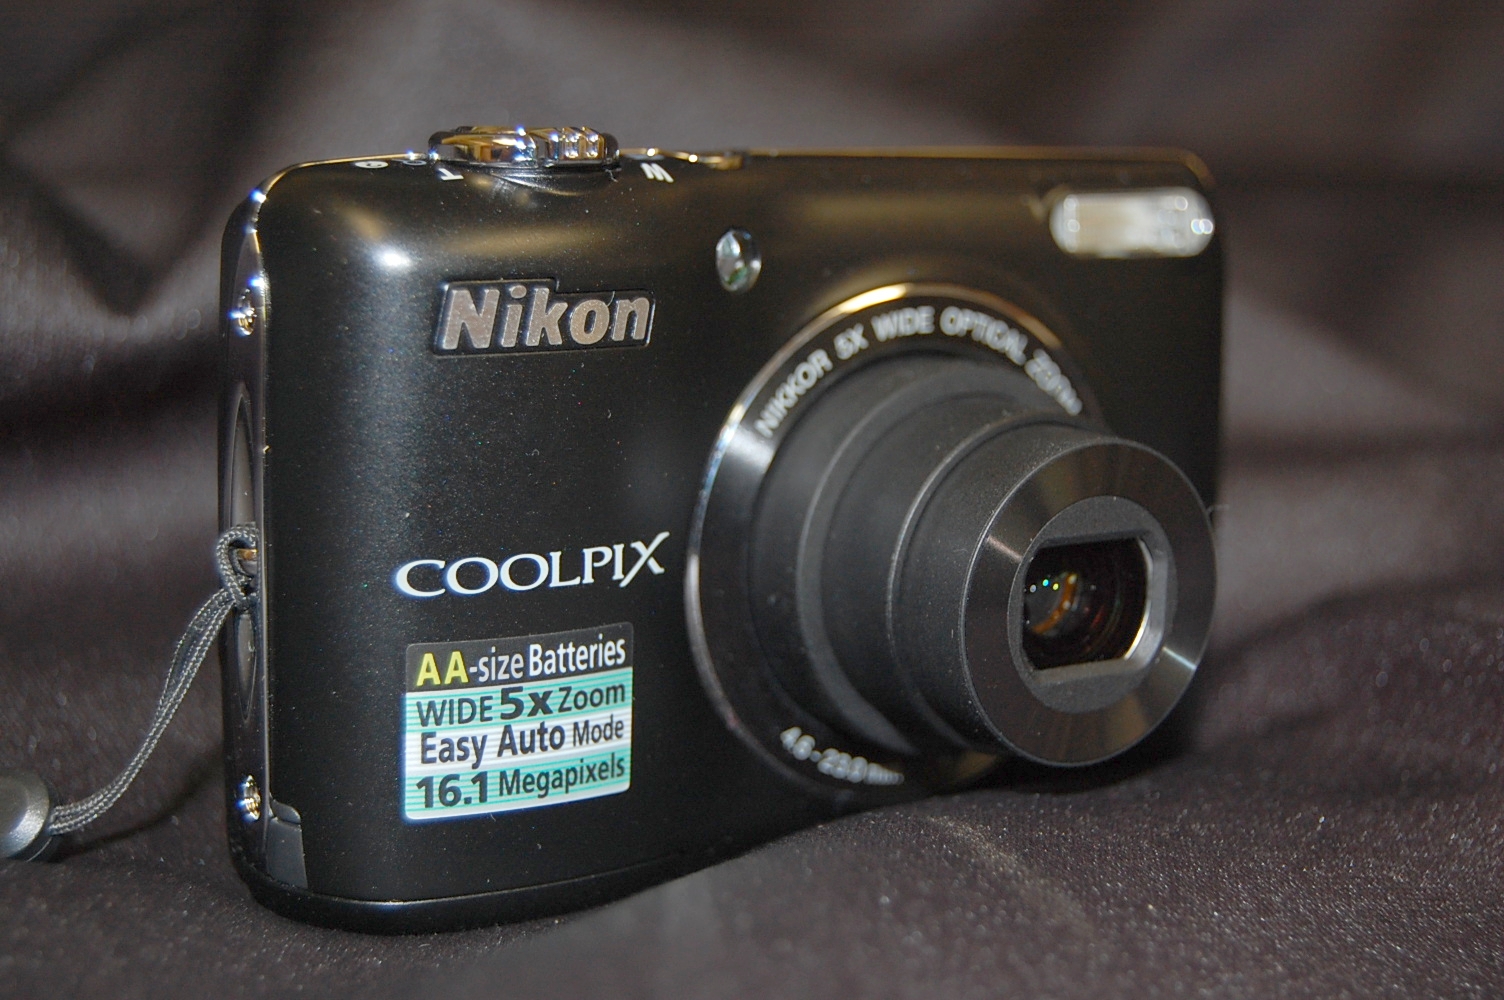
Turn on the camera by pressing the power button located on the top of the camera.
Make sure nothing blocks the lens as it telescopes out.
|
 |
| Step 2 |
Press the camera button (located on the back, right side of the camera) to select photo mode.
|
 |
| Step 3 |
Press the camera button again to select a photo scene if desired by using the navigating ring around the "OK" button to move within the on screen menu.
Scenes make picture taking easy by automatically setting up the camera for a specific use. Examples of scenes are: Auto, Portrait , Landscape, Sports, Nightshot, Macro... Select the one closest to the activity you're trying to capture.
Press the OK to select the scene. |
|
| Step 4 |
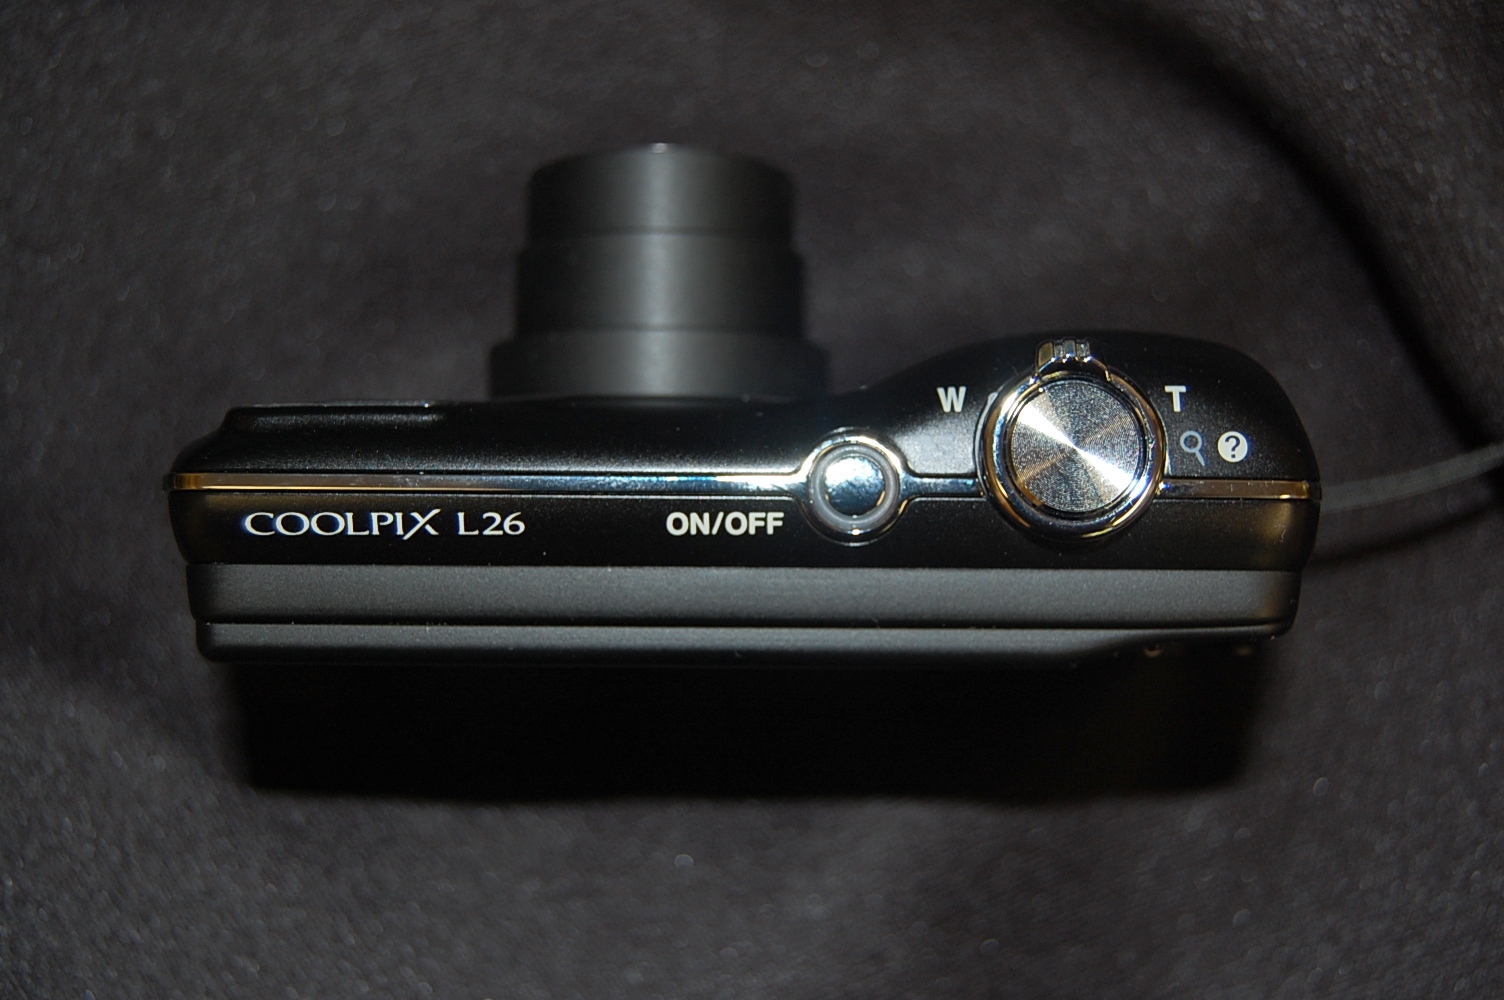
To zoom in or out, slide the zoom ring toward "W" for wide or "T" for tight.
The ring is found around the shutter release button, on the top of the camera, where your right, pointer finger rests. |
|
| Step 5 |
Press the shutter release button to capture the photo. |
|
| Hint |
To obtain the best focus and exposure, press the shutter release button HALF WAY DOWN and hold the button. Doing so allows the camera to set the exposure and focus to the subject you've selected.
When the focus and exposure are set, the camera will sound a beep.
Now press the button all the way down to take the photo.
You can hold the button half way down to lock in the exposure and focus, for several seconds, until the action you're trying to capture happens - then press the button all the way down. The shutter will release instantly - without delay. |
|
| |
|
|
| |
Capturing Video |
|
| Step A |
Turn on the camera by pressing the power button (located on the top of the camera)
|
|
| Step B |
Press and hold the video button (located on the top, right of the rear of the camera). The button icon looks like an old fashioned video camera.
The camera will go into video mode. Press it again to begin to capture video. A timer on the display will show how much video can be captured on the card. |
|
| Hint |
You may zoom in and out to compose your video using the zoom ring located around the shutter release button. |
|
| Step C |
Press the video button again time to stop the recording. |
|
| |
|
|
| |
Viewing your images and videos |
|
| Step a |
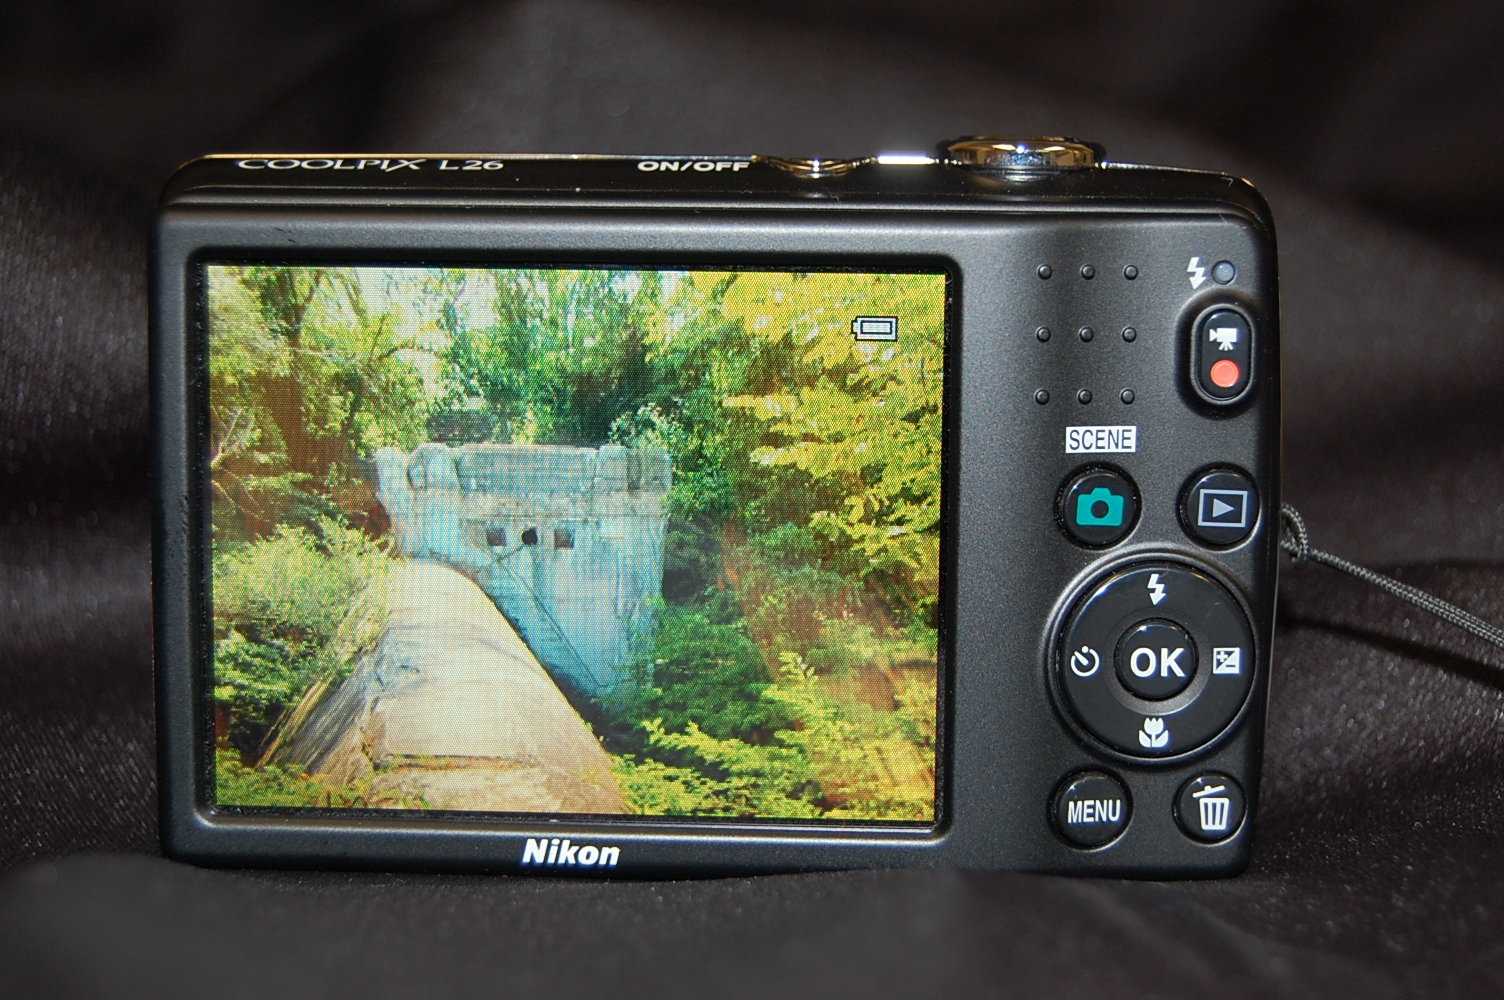
With the camera powered up, press the arrow button on the back of the camera.
This sets the camera into preview mode, displaying the images and videos on the preview screen.
The most recent image or video will appear on the screen. |
|
| Step b |
Navigate through the images by pressing the right and left sides of the navigating ring around the "OK" button. |
|
| Step c |
To play a video, find the desired video, the press the OK button to play the file. |
|
| |
|
|
| |
Uploading Images and Videos |
|
| Step aa |
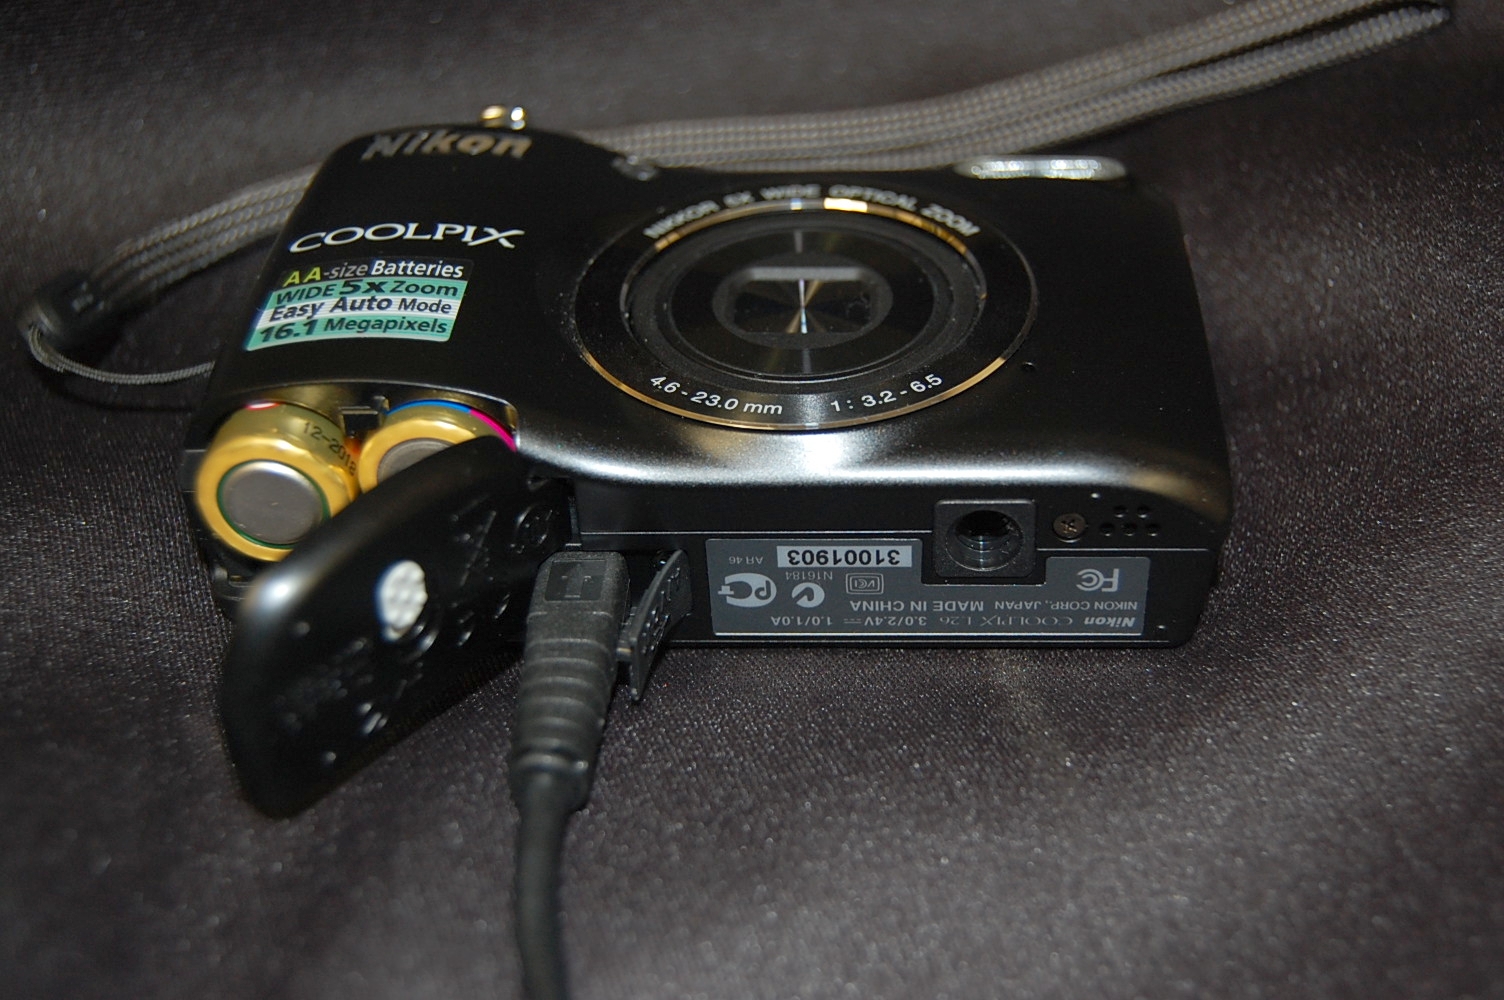
Connect the supplied USB cable to the camera's USB port, and the other end to a computer's USB port. |
 |
| Step bb |
The camera will act as a mass storage device, and Windows Explorer (PC) or a new Finder window (Mac) can be used to copy the files to a folder on the computer. |
|
| |
Delete Files |
|
| |
Once the images and videos are transferred to a computer, they may be deleted from the camera. |
|
| Step A1 |
In preview mode, navigate to the desired images to be deleted. Use the navigation ring around the "OK" button. |
|
| Step A2 |
Press the trash button to delete the selected images. |
|
| |
|
|
| |
|
Revised 07-12
Send comments about this page to Tom Gill, Instructional Media
Coordinator tmgill@noctrl.edu |