Connecting a Laptop Computer
To a Classroom Data Projector

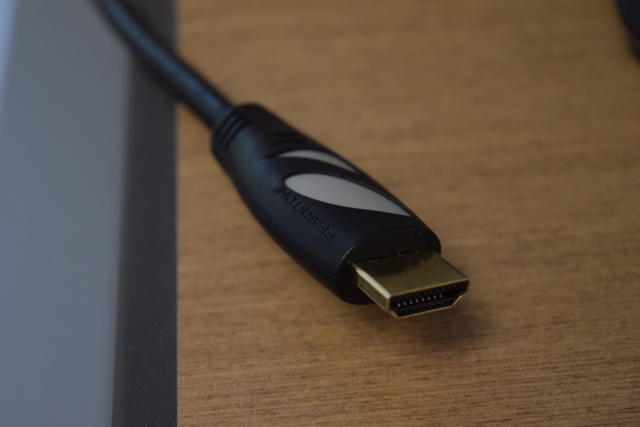
All North Central College classrooms and meeting rooms include an aux cable to connect laptop computers to the ceiling mounted data projection systems.

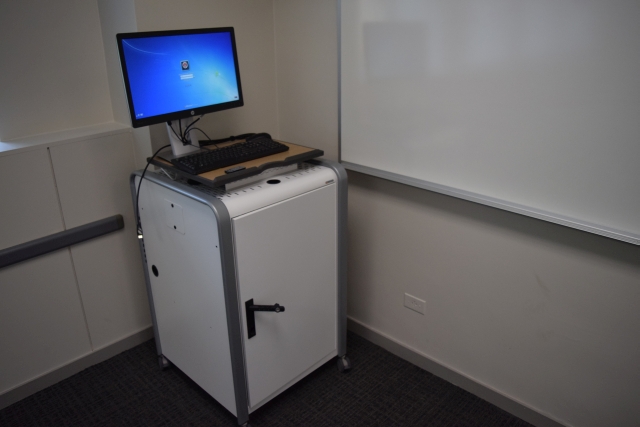
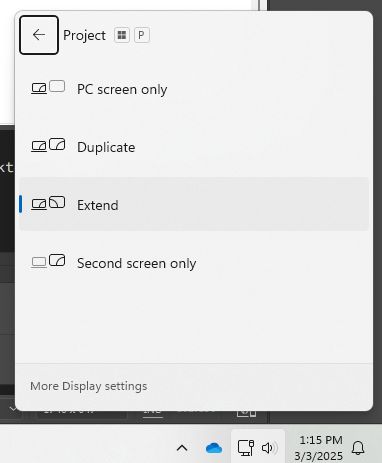
When connected, the laptop image replaces the desktop computer image on the projector. If connected, the audio from the laptop computer will also switch over and play on the classroom speaker.

Please do not unplug ANY cable from the back of any classroom equipment or from the connection plate on the wall.


Step 1

Turn on the laptop computer. If it's a college laptop, log in using your username and password.

 
Hint If only using the laptop, you do NOT need to log in to the classroom desktop computer.  
Step 2

Turn on the classroom data projector using the projector's remote control.

Press the blue power button

Hint

When turned on, the data projector defaults to the correct input - HDMI 1.

So changing the projector's input is never necessary.

 
Step 3

In the majority of classrooms, a cart similar to the one shown at the right is used for the desktop computer.

An HDMI cable is available on each cart.

Here, it can be seen hanging from the top of the cart, down to the left.


Step 4


Connect this HDMI cable to the HDMI port on your laptop computer.

An appropriate adapter may be needed for your particular type of computer.


The most common type is USBc to HDMI.

     
Step 5

Once connected, the computer and projector will communicate, and the laptop image will replace the desktop image on the data projector.

If this does not occur within 20 seconds, check the cable to make sure it is seated correctly.

Depending upon your computer, you may need to "turn on" the external port on your computer.

To do this:

On Windows computers, hold down the "windows key" and press "P" This will open a small window with options for external displays.

To show the same thing on the computer and projector, choose "Duplicate."

"Extend" will allow an application to be seen on the projector, and something different on the computer.

  On Macs, access the display settings to "Mirror" the display (show the same thing on the projector as the computer), or "Extend" to show one application on the projector, and another on the computer.  
Hint Unplugging the HDMI cable from the computer will automatically display the desktop computer in the classroom.  
    Revised 03-25
Send comments about this page to Tom Gill, Instructional Media Coordinator tmgill@noctrl.edu